How to Scan the Backs of Photos With Handwritten Notes
Step-by-step: capture both sides of photos, pair the files correctly, and preserve handwritten notes with the images.
Contents
The handwriting on the back of a photo often holds the only record of who appears in the image, when it was taken, and why it mattered to the person who wrote it. Without capturing that back, you preserve the picture but lose the context. Scanning both sides and keeping them paired ensures the story stays with the image across devices, cloud storage and future generations.
Digitizing photographs with handwritten notes on the back: Capturing both sides of photographs and making sure that handwritten notes written on the back of photographs are captured in the digitization process by using structured file names for the front and back of photographs and optional text transcription of the handwritten notes. By establishing a consistent practice for capturing images of the front and back of photographs, the handwritten notes will be easily searched for and retrieved by you and others in the future. We show how to scan a photograph front and back in sequence and create corresponding file names to store them together in a digital folder. By linking corresponding front and back scans of photographs together, they can be easily managed by people working with large collections and stored in most file systems and digital asset management systems. This can be done by ensuring that front and back scans of photographs have identical base file names and different suffices (e.g. image001_front.jpg and image001_back.jpg). In addition to keeping a copy of the handwriting as an image, optional transcription of handwritten notes can be entered into a separate field or even a separate document. This allows for searchability of the information without requiring optical character recognition (OCR), and provides a readable copy of the information should the handwriting be difficult to read. The handwriting on the reverse of a photograph is kept as an image, retaining the personal touch that written notes convey as well as the historical context of the written text. This method can be applied using flatbed scanners, as well as using photographic reproduction services. The system can be used for very small family collections, or for very large archival projects.
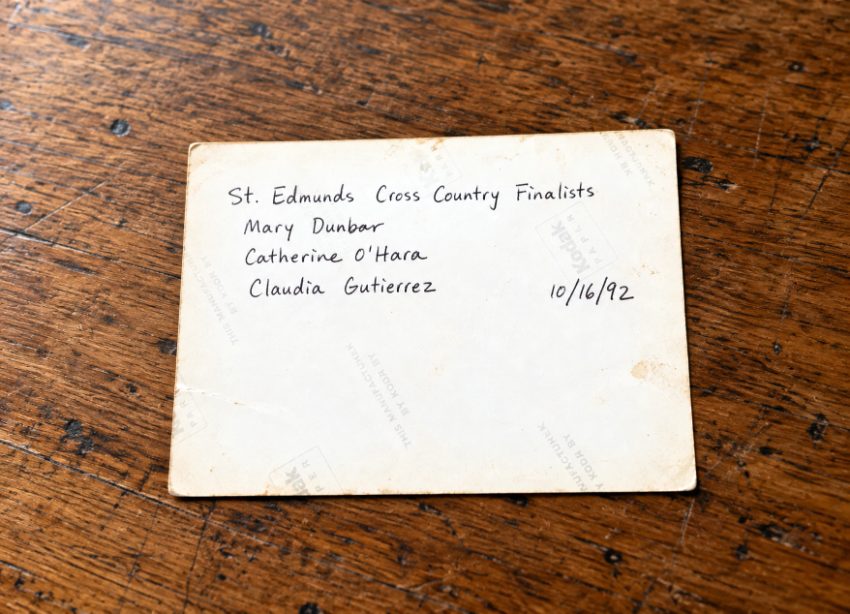
Preserving handwritten details found on photo backs helps maintain important context for future generations.
What You Need Before You Start
Prior to beginning to scan, check the original photograph for stability. If the photograph appears to be bent, sticky to other things, or otherwise fragile, then special handling of that photograph will be required. The National Archives’ digitization guidance cautions against using an automatic document feeder (ADF) to scan fragile, weak, bent, or particularly valuable papers. Further, photographs that are stuck to the pages of an album, as well as mounted photographs on backing boards, are handled as if bound and require reference to specific handling information for such materials rather than attempted removal from the album or backing board.
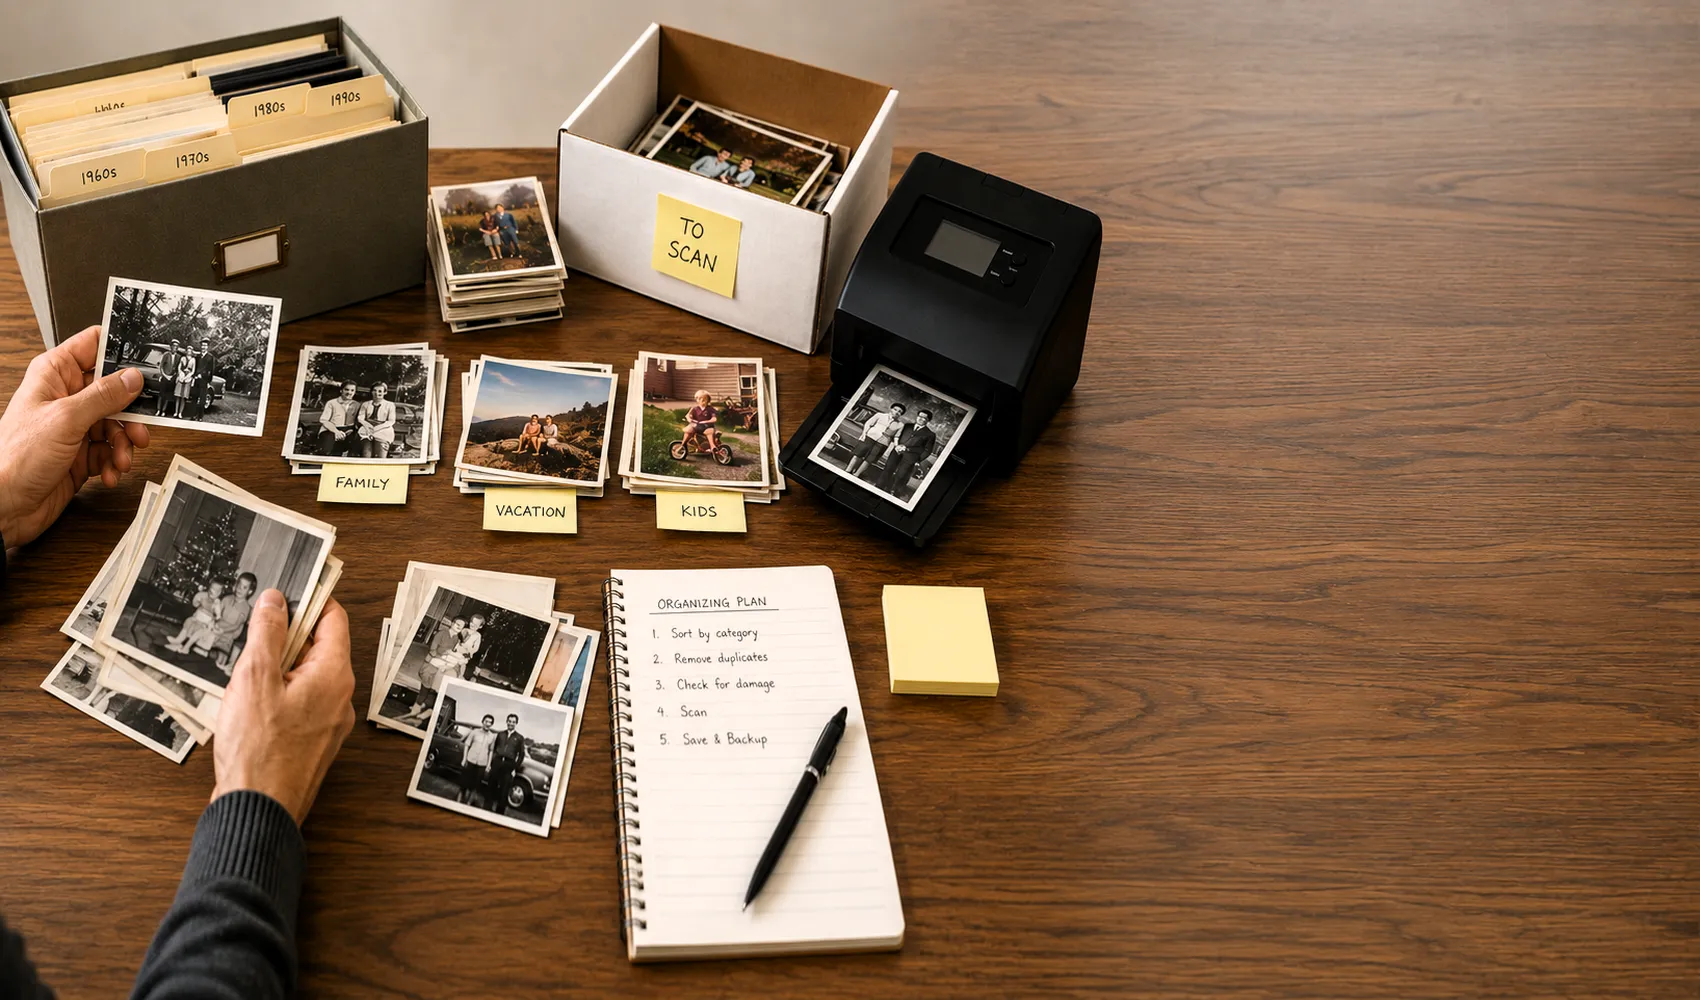
Choose photographs that will lie flat on the scanner without having to be pressed down or flexed. Clean the area where you will be scanning. Set up a file naming system that will work for all of your images. According to the Library of Congress, it’s best to use file names that describe the images. Add tags and descriptions to photographs of people and of subjects in order to make it easy to search for them in the future.
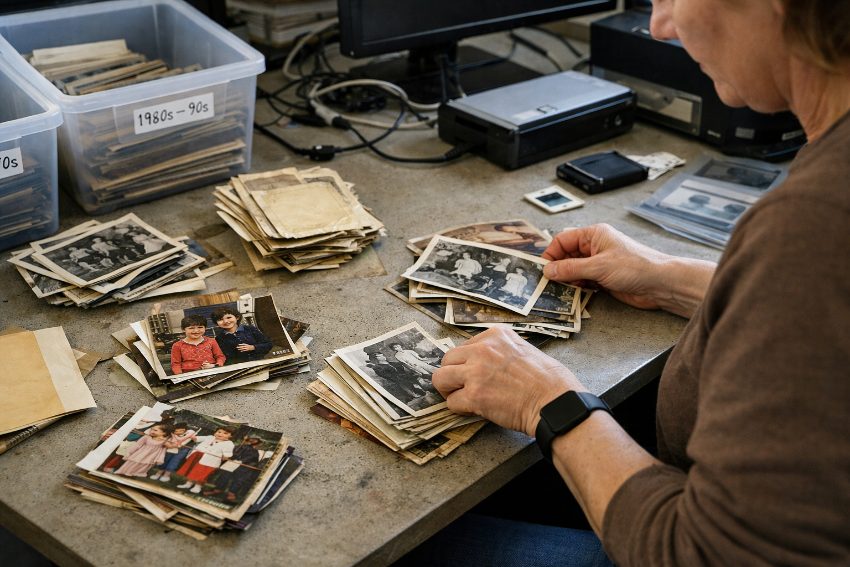
Working in small batches of photos to categorize and manage ensures you have time to do each step of the process well and prevents misfiled images and lost context. Even processing a few images at a time and being very methodical will ensure an image is never torn from its hand-written story.
1. Choose Which Backs and Surrounding Notes to Capture
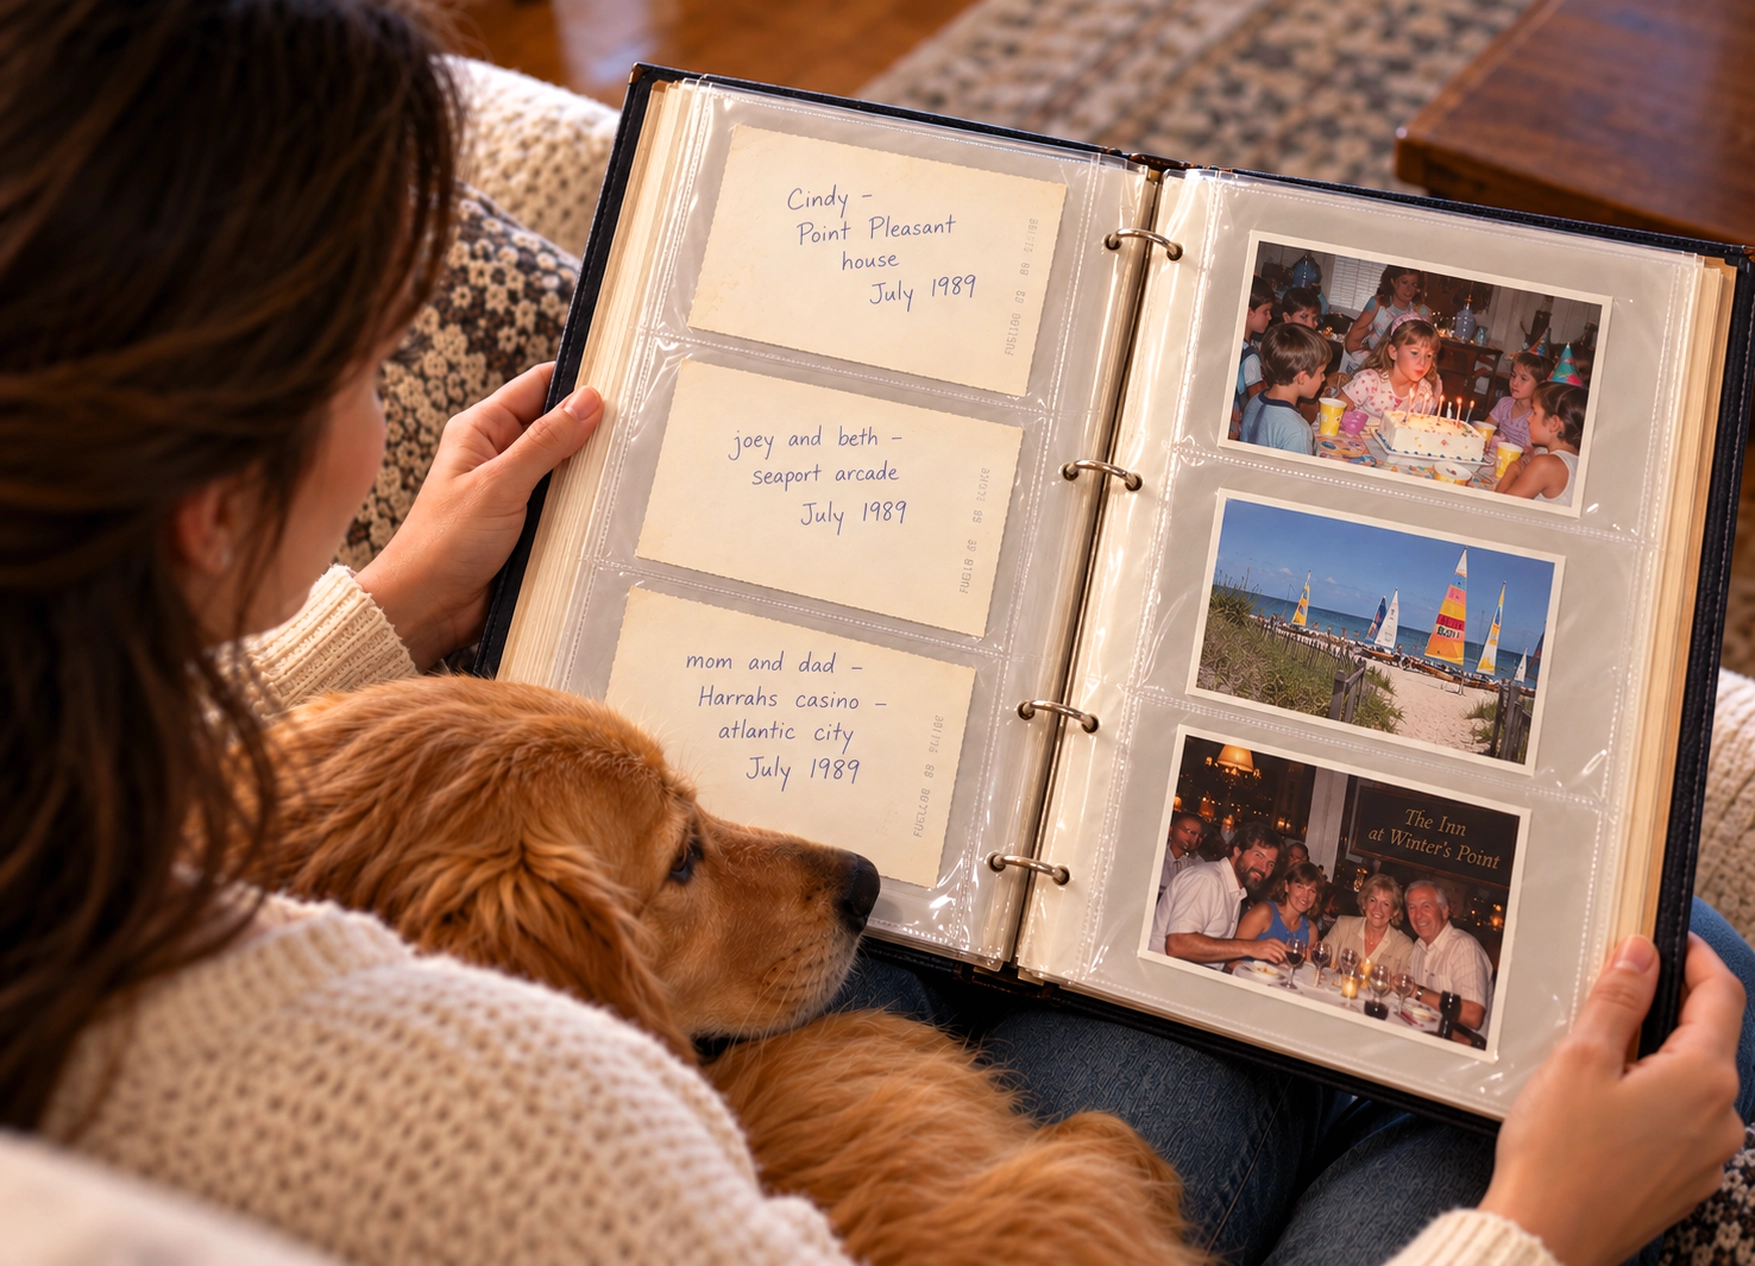
Many photographs have writing on the back, listing names, dates, locations, events and even relationships between individuals in the photograph. Some have even jotted down notes on the matting surrounding the photograph or on little paper slips of paper that were tucked between the photographs in an album. It’s worth deciding whether the information is of particular importance to be included in the image file.
Handwritten comments, names, corrections and historical information not yet discovered are precious. Blank backs can be ignored with note to that effect. Comments written on the album pages or on enclosures for photos should be treated as separate items to be scanned as file pairs and noted separately. These can then be cross referenced in the notes.
The goal is to capture information that would otherwise disappear if the original is damaged or separated from its context. Prioritize backs with unique, irreplaceable content over generic developer stamps or print codes.
Forever Studios · Boca Raton, FL
Photo Scanning Service
High-resolution scanning for prints, albums, and loose photos.
LEARN MORE →2. Capture the Front and Back of One Photo at a Time
Scan the front of the photo first. Place it face-down on the scanner bed, ensuring it lies completely flat within the scanning area. The National Archives states that original materials must be placed flat in the scan area of the flatbed scanner. Also, do not attempt to close the scanner lid if the item is too large for the scanner bed, as this could result in creasing the original.
Once the front side of a photograph has been successfully scanned, the photo can be carefully turned over and the back side scanned with identical settings to review later. Before proceeding to scan the next photo, verify that even the smallest print on the reverse side has been captured at the chosen resolution and is still readable. If any of the reverse text looks questionable and is not reading well, re-scan both sides of the photo with appropriate changes made to the scanner settings first.
Process photos in groups of five to ten or so. Complete scanning a small group (i.e. complete the scanning of the fronts for a small group of photos, then the backs for the same group of photos) before moving on to the next group, in order to avoid getting files mixed up and to assure that you are matching up the front and back of each photo.
3. Give Both Files the Same Photo Identifier
Assign file names in the same order to all pairs of scanned photos. An illustrative example: photo0001_front.jpg and photo0001_back.jpg. The shared base identifier of photo0001 in both file names connects the two images, while the suffix _front or _back indicates which side of the card is shown in the respective file.
Regardless of the size of your project, the above method for naming photos will continue to function correctly. Subsequent photos will be assigned the next number in the sequence, for example photo0002, photo0003, etc. Avoiding the generic names of “IMG_1234” and similar for the front and back sides of a photo and instead using descriptive names for the files and organizing the digital photographs within a folder structure with written descriptions will ensure the proper long-term preservation of your large digital collection of photos, according to the Library of Congress.
Rename automatically generated file names by the scanner software immediately after completing a scan. Delaying this step when dealing with large amounts of photos increases the risk of confusion when trying to match front and back sides of photos. Handwritten notes on photos of individuals can create special problems as these individuals may appear in many different photos.
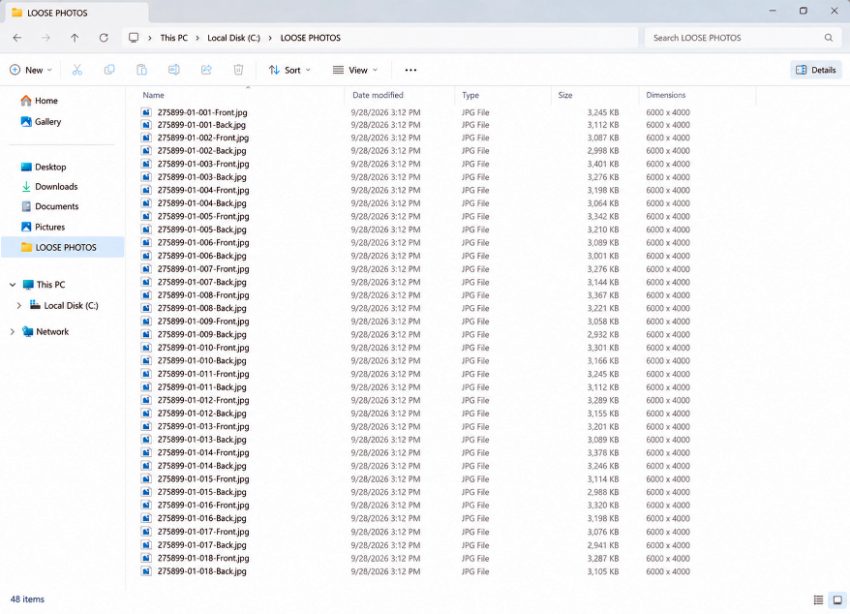
Organizing scanned photos with consistent file names makes it easier to match fronts with their corresponding backs.
4. Transcribe the Writing Without Guessing
Transcription makes handwritten notes searchable and readable on devices where zooming into an image file is inconvenient. Create a separate text file using the same base identifier as the image pair: photo0001_notes.txt. Type exactly what you can read on the back, preserving original spelling, punctuation and phrasing.
Uncertain handwriting should be transcribed with brackets [uncertain]. A word that is completely unknown should be marked up as [illegible] rather than guessed at. This illustrative example would be transcribed ‘Grandma and Aunt Mary, summer 1952, [uncertain: Riverside?] Park’.
Notes to related images: If family members supply additional information or even corrections to handwritten captions, record this information separately in the same notes, clearly labeled, i.e. “Family recollections (not on original):” The original handwritten text will thus remain as evidence and the additional information as useful context. A transcription is a convenience, not a replacement for the back image or proof that a handwritten caption is historically accurate.
Transcription is optional. If you lack time or the handwriting is entirely legible in the scanned image, you can skip this step and rely on the back image alone. The critical task is preserving the back as a separate file paired with the front.
Forever Studios · Boca Raton, FL
Photo Scanning Service
High-resolution scanning for prints, albums, and loose photos.
LEARN MORE →5. Check the Pairs, Share Them Together, and Back Them Up
After completing a batch of thumbnails, review each front and back slide together to verify that they were correctly matched. The handwriting on the back of a photo should describe the scene or people depicted in the corresponding front photo. Any mismatches should be corrected immediately and the corresponding files renamed to avoid propagating the error in subsequent backups or distributions to others.
When sharing digitized photos with family, send both the front and back files together. A front image sent alone loses the context. Cloud storage folders, email attachments and external drives should all include both sides so recipients see the complete record. Organizing photos before scanning with a consistent folder structure makes this sharing process simpler and reduces the chance of separating pairs.
The National Archives recommends that digital copies of materials be maintained in three separate files on two different media. For example, the paired image files you’ve created should be stored on your primary computer, an external drive, and in cloud storage or another physical location. Each of these files should be checked on a regular basis to verify that they are still accessible. This process of verification against file corruption and media deterioration will ensure that your images are never lost and are always able to be recovered.
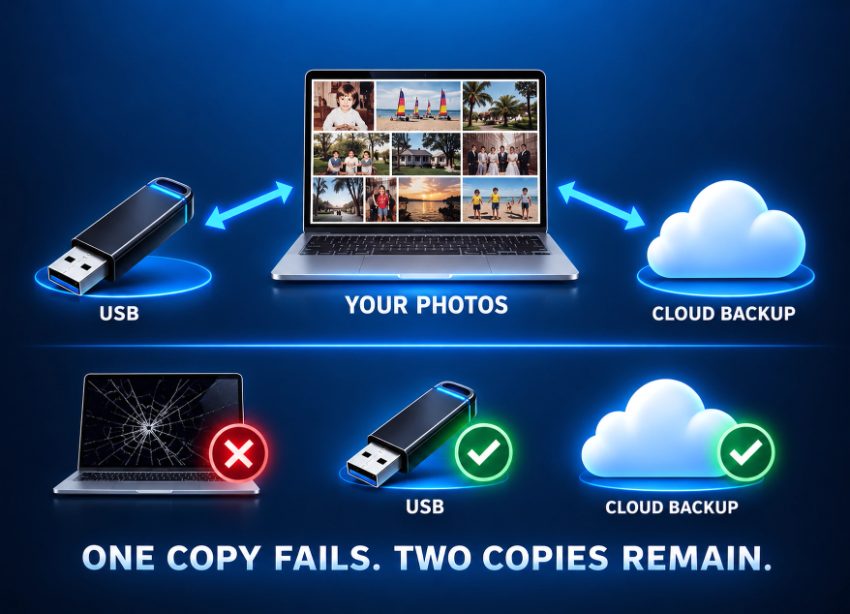
Maintaining both local and cloud backups ensures your digitized photo collection remains protected against hardware failures.
Common Mistakes That Separate a Photo From Its Story
Most people digitize the front side of the photo and then expect to be able to recall the written information on the back or re-create it later. Human memory is weak and handwriting deteriorates. Storing the original or having it damaged means losing the context of the image.
Scanning the reverse side of a photograph and saving the image under a different file name and storing it in a different directory are common mistakes that disrupt connectivity between the two sides of a photograph. Several months later, it can become a matter of guesswork trying to match a front image saved as photo0001_front.jpg with the reverse image that was saved as scan047.jpg in a different part of your computer.
Rushing the transcription process leads to invented names or dates. If handwriting says "Mary" and you recall an aunt named Marie, writing "Marie" in your notes creates a false record. Mark uncertain readings clearly and preserve what the back actually says, even if it contradicts family memory.
Before scanning, backs of photos in poor condition should never be cleaned or altered in any way for fear of erasing handwritten information on the reverse side of a photo or causing further damage to the image. Any necessary conservation work should be conducted by a preservation specialist and not by someone trying to repair or clean photos at home. When you have your photos scanned by a service, make sure they scan both sides of each photo. Create a paired file for the front and back of each photo. Ensure they have a clear naming system to match the front to the back, and that both files are included in the final delivery of your scanned photos.
Ask for Back Scanning When You Use a Photo Scanning Service
Verify with your selected photo scanning service as to whether they can digitize the reverse side of the photos where necessary, and describe their process in more detail. Consider the following further questions: What systems do they use to identify those photos that require back-side scanning? How will the front and reverse sides of the photographs be linked together within the end deliverables? What are the extra costs for scanning photographs that have been written on-verso? Does transcription of handwritten text on photographs form part of the standard price, or is this a separate charge?
Forever Studios is a professional photo and video preservation studio in South Florida. They scan the backs of photos upon request. They charge the same for the back as they do for the front for a given material. So, while you might not want the back of every photo, they are there and will be scanned for the same price as the front side when you do request them. Pricing for and handling of the reverse sides of print photos varies between studios, so it’s best to contact the individual studio before sending your collection.
A professional service will return your originals after digitization, as advised by the National Archives in their guidance on this topic. Check the return policy for the service you choose and ask whether they treat very fragile items, very large items, or items mounted in albums any differently from normal ones. Your precious originals are worth it.
★★★★★
"For the past year, I’ve been tackling the chore of purging, organizing and digitizing photos from our pre-digital life. Forever Studios has made the digitizing part of the easy! I still have the hard part of organizing them on my computer, but at least I don’t have to sit at a scanner for thousands of photos. Forever Studios makes shipping smooth & they keep me updated along the entire process. While I would be even happier with a less costly and less frilly flash drive, it’s nice to have. I recommend Forever Studios whole heartedly."
Holly, verified customer review
Preserve the Full Back Image Before Making Copies
Resist the temptation to crop, rotate or even color balance scan reverse images to read them more easily. Save the original scanned reverse image as your master archive. Create a working copy which you can then edit to your heart’s content and use for casual viewing or sharing with others.
Much detail in handwritten notes is not even noticed when going through the notes the first time. A name that has been crossed out, a comment in the margin, or faint underlines and additional comments in the pencil column all can disappear without a trace when the only version of a photo is being changed. So a complete and unaltered scan of the back of the photo is kept as the reference file. From this separate reading copies are made to do the cropping, to adjust the brightness and to put in additional annotations.
With both sides captured, consistently paired and safely backed up, you have preserved not just the image but the context, the relationships and the voices of the people who mattered enough to write the names down. That combination, the photo and its handwritten story, is the complete family record. Forever Studios' photo scanning service can handle this process for you if you prefer professional digitization with backs captured on request, ensuring your collection's front and back images are preserved together.

Ready to digitize it right the first time?
Bring your tapes, film, and photos to the team that treats every project as irreplaceable. All work is handled in-house in Boca Raton, never outsourced.