Professional vs. DIY Photo Restoration
Understanding the risks of amateur photo restoration and why professional expertise matters
Contents
When people discover damaged family photos, the instinct to fix them is immediate. The photo is cracked, faded, water-stained, or torn, and there it sits on a phone or laptop screen, looking like it needs help. So the natural next step is to open an app, download a program, or search for a tutorial and start working on it.
You probably don't realize it but the moment you decide to restore a damaged photo yourself is when the damage is done.
The tools are not the problem. Many of them are remarkably capable. But photo restoration is not primarily a tools problem. It is a judgment problem. And the gap between what software can do and what a photograph actually needs is where things quietly go wrong.
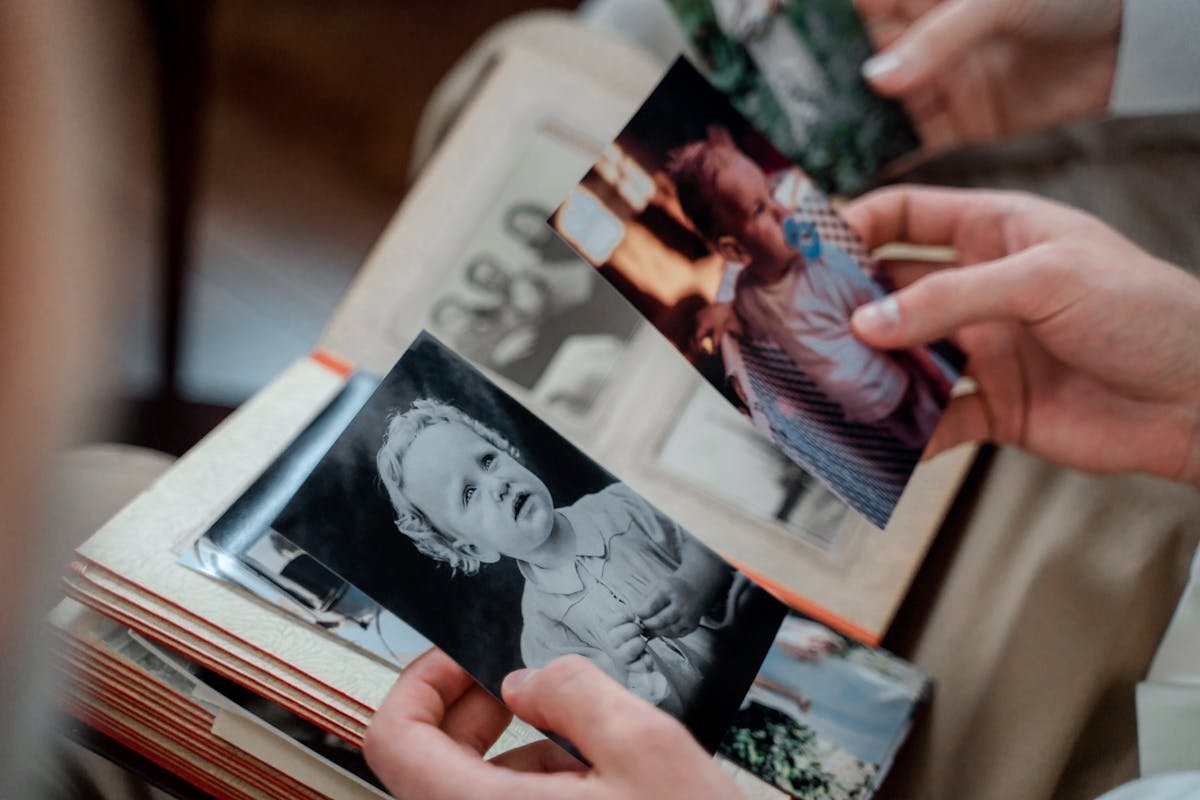
Many treasured family photographs show years of physical damage by the time someone decides to restore them.
The Rise of One-Click Restoration
There has been a surge of new software being developed recently that uses AI to restore old photos. Most of these new packages advertise themselves as easy-to-use solutions that can have your old photos looking brand new within seconds. In reality, some of the newer programs can actually produce incredible results, but we rarely get to see the process behind how the restorations were achieved. Typically, we just see the shiny ads and promotional videos that demonstrate the capabilities of various packages. However, there's more to successful photo restoration than pushing a button and waiting.
What the marketing material does not show is what happens when you zoom in. Or when you compare the output to what the person in the photo actually looked like. Or when the software confidently fills in a missing section of the image with details that never existed.
Existing image restoration algorithms, including those powered by AI, rely on pattern matching and rely on large datasets of training images to guess the best possible reconstruction of damaged data. This approach works reasonably well for general textures, such as a blue sky or a blurry background. But for most people, the real value in a damaged photograph lies in its faces, expressions, individual facial features, and other details that identify who is in the photo and when it was taken, things that make the image uniquely their own.
What Actually Goes Wrong
The failures of DIY photo restoration tend to fall into a few predictable categories, and understanding them helps explain why the problem is harder than it appears.
The Identity Problem
The vast majority of problems with restorative software occur due to something called identity drift. This is where the individual’s face has changed shape in some way – perhaps their nose has become slightly larger or wider, their eyes are closed more than normal, or they have a chiseled jawline that has been modified to better balance out their face.
Remember, the software has never seen a picture of your grandmother before so it will try to pull your picture of her towards the norm of what a face looks like on average. Therefore, you could end up with a very recognizable (and clear) picture of someone else!
One of the trickier restorative errors to catch when you don’t know the subject, and downright disturbing when you do. A professional restoration artist studies the undamaged portions of the face, cross-references with other photos of the same person when available, and reconstructs missing areas based on what is actually there rather than what is statistically most likely.
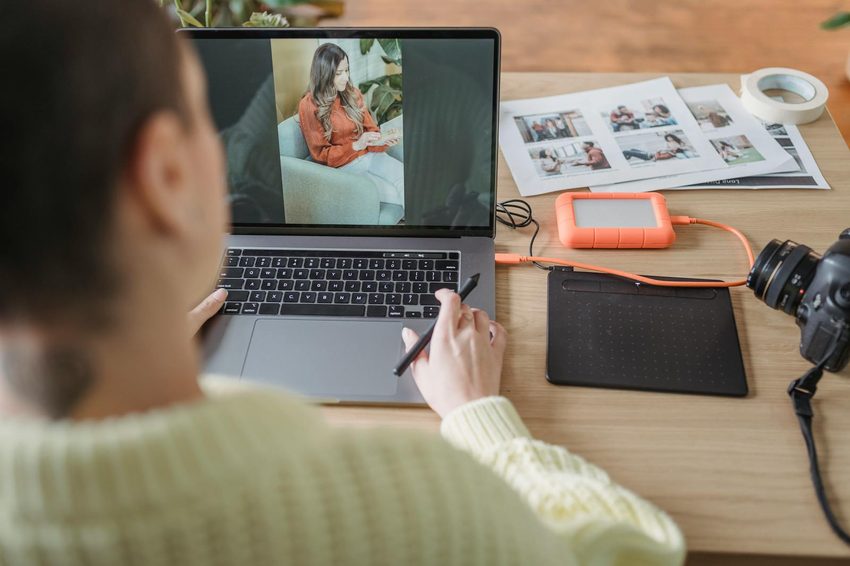
AI tools can produce a clean image, but subtle changes to facial structure often alter the identity of the person in the photograph.
The Damage-vs.-Character Problem
Not everything that looks like damage is damage.
These photographs have been scanned and have a retro tone added to them to give them an old feel. As with all old photographs they will have varied quality but have a warm feel, some grain and odd vignetting from old lenses - mainly some of them have been trimmed from press cuttings.
Most aggressive restoration tools don't care whether a tool can improve the appearance of worn damage or serious damage to a subject. Aggressive restoration tools do not make this distinction. A 1970s Kodachrome print will be corrected from having a warm color cast reminiscent of vintage analog photography to having a color cast reminiscent of modern digital photography. A 1955 photograph will be restored from having a coarse film grain to having a smooth film grain. The end result should be a photograph that looks like it was shot yesterday.
It takes a special person to know the difference between restorative repairs and restorative removal of damaged patina. In this case the water stain in the lower left corner needs to be removed but the warm 40 year old amber print patina should be left as it would be otherwise distinctly missing.
The Overcorrection Trap
A common pattern observed by professional restorers who offer DIY restoration services is that the user starts to fix real problems (such as a crack through the face, a stain or peel over the dress, a torn corner, etc.), and then, after completing that correction, the user will further attempt to fix the photo to address other issues.
These images have been sharpened to the limit and then given more contrast. They have been passed through an enhancer and then upscaling software. Each step of these processing tricks may have enhanced the images, but taken together they make the final product look fantastically processed and utterly artificial. There’s no grain, no real tonal variation, and the result looks oddly “plastic”.
One common pitfall is overcorrection. Many people do not know when to stop making further improvements to an image. A professional would establish the scope of work before beginning, and understand that the goal of the process is not to create the absolute best image possible. The goal is to repair and improve an image to a level greater than its original quality, but not to an over-the-top, unrealistic level. This is at least half the battle, recognizing the point at which to cease further tampering.
Why Photoshop Is Not the Answer Either
Some people bypass the AI apps entirely and go straight to Photoshop, figuring that a professional tool in their own hands will give them professional results. The logic is understandable but flawed.
With so many image editing programs now available it is easy to pick up a free program like Photoshop and start churning out ‘restored’ photographs. But as anyone familiar with the restoration process will tell you, it’s not just the software that takes thousands of hours of practice and study to master well. The thousands of hours studying and learning how to properly restore an image and the knowledge base you gain from the process, are what will really give your photographs a polished, professional look.
Consider a photograph with significant water damage across a woman’s face. In Photoshop, you might use the clone stamp or healing brush to sample from the undamaged side of the face and patch over the damaged area. Technically straightforward. But faces are not symmetrical. Clone the left eye to replace the right eye, and the face suddenly looks wrong in a way that is hard to articulate. The cheekbone sits differently. The shadow falls at a slightly different angle. The result is technically complete but visually off.
Unlike a painting, digital restorations demand a lot more time staring at the work than actually working on it. Looking at a very large crop on the screen allows me to study the facial shading, lens distortions, and skin wrinkling between different features on the face. Restorations are built up in thin layers, so over-restoring is a serious risk. Each decision requires a lot of thought, and there's no next layer to fix a mistake.
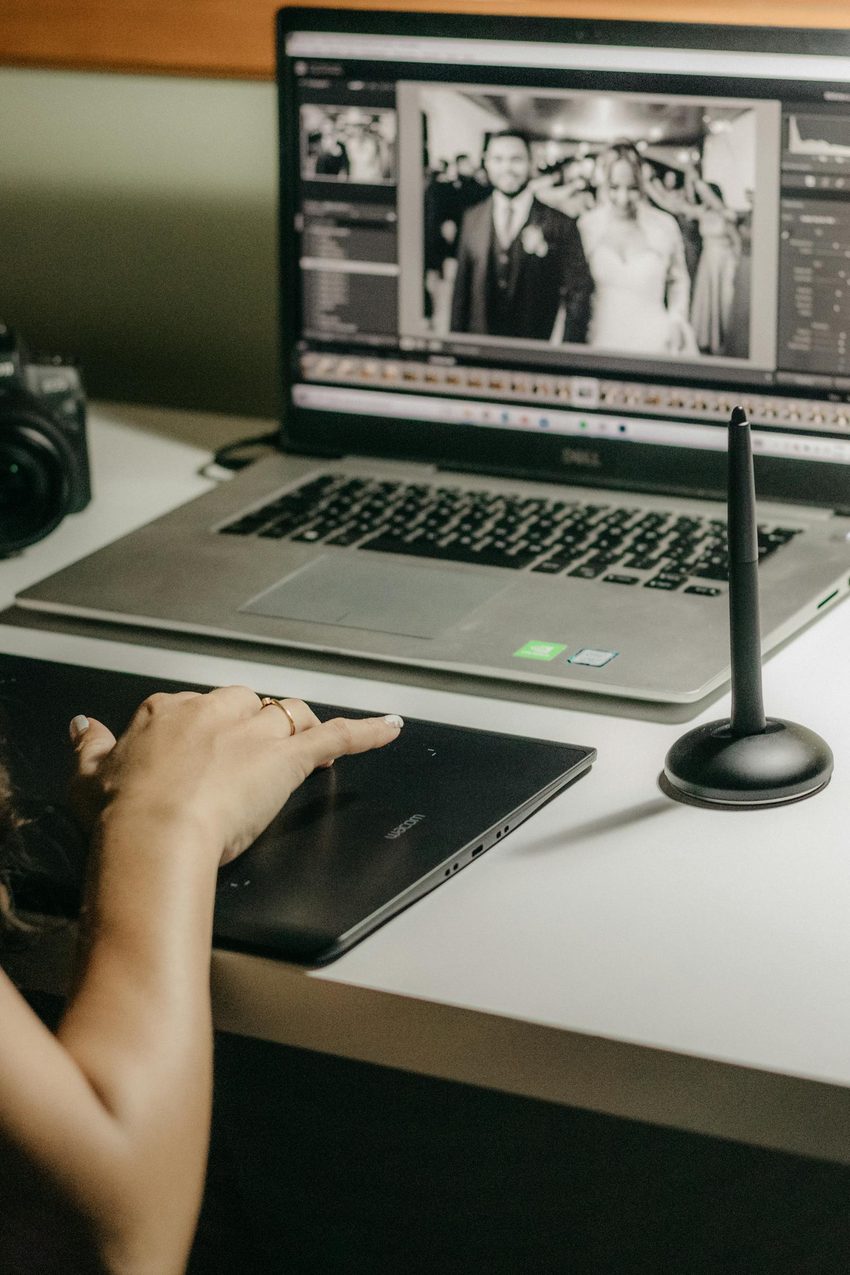
Professional restoration involves studying the original image extensively before making careful, layered repairs.
The Irreversibility Problem
Most scanned photo restorations begin life with the initial scan of the damaged photo, and then deteriorate from there, only being realized over poor restorations of the original photo, as it is worked on and saved over. Often, it is not until later, with better tools and techniques, that the extent of the mistake is realized. The problem is that most restorations are done working directly on the original file, overwrites are common, and once a poorly restored version has overwritten the original, it is generally too late.
This is a simple mistake that almost every body makes at some point. Make changes, Save and exit the software. Disaster! Until you remember that you made backups, and usually these restores are not what you expected. Sometimes new techniques or services are introduced which you believe will be better for your business. Oh, if only you had started with a clean sheet of paper.
We keep the original and work off of copies. All of our professional workflows are designed this way. We refine and work on a given file until we are satisfied with the result. Then we keep the original file safely archived and never touch it again. This is good workflow, and even more importantly, it's common sense. By working this way, we allow ourselves the opportunity to refine what we can do today, and then in the future, work from the same starting point but with even better refinement techniques.
What AI Gets Right and Where It Stops
While the AI restoration might have some strengths in particular respects, it has little to do with a professional restoration job.
Image noise reduction using AI has been a rapidly advancing field in recent years. AI solutions can tackle uniform degradation, such as veiling glare, bright dust pollution, and even film grain effectively. They can also perform image upscaling to zoom-in your images for needs like photo enlargements. AI introduces some new artifacts, but generally acceptable for non-critical, low-stakes image manipulation.
Perfectly adequate isn’t perfect. For unusual degradation, for very badly damaged images, the results can vary greatly between decent to garbage. It won’t allow you to do surgical restoration on an image like a trained person could, because its decisions are based on what typical photographs look like rather than the specific image you are trying to restore.
AI image restoration works well because it’s the equivalent of image autocorrect. Just as autocorrect does a decent job of rapid correction even when it has little context, AI image restoration does a decent job of rapid and fairly accurate restoration even when it has little context about the original image. There are no guarantees of success with any of these options.
The Scanning Problem Nobody Talks About
One thing that is easy to overlook is that the first step to photo restoration is to scan the old picture. Once you have a digital version, then you can start to consider whether you want to do the restoration yourself or have it professionally done.
First and foremost, the quality of the output is dependent on the quality of the scan from which the output is generated. A phone camera shot of a photograph is likely to contain about the same amount of information as a normal snapshot i.e. no more than about 10% of the information in the print. A flatbed consumer scanner will perform considerably better, but introduce its own problems such as muddling the levels in the image due to uneven illumination, color casts introduced by the reflections off the lid of the scanner and so on. But for a high-end studio such as ours, the biggest problem is probably going to be the Newton rings where a glossy print is placed against the surface of the scanner.
Professional photo restoration is achieved by using a high quality scan of your photo. The scan is carried out using a high end scanning system, which is always calibrated and illuminated with controlled lighting. The color accurate profiles are also saved as part of the file which means that you can see exactly how the photo would have looked when it was first taken. A high quality scan of a photo contains a huge amount of information including subtle tonal changes, details that would otherwise be lost and accurate colors. This makes the photo restoration process a great deal easier than normal as you are working from the original information rather than a copy of a copy of a copy.
Remember that restoration (whether software or by hand) is only as good as the original scan.
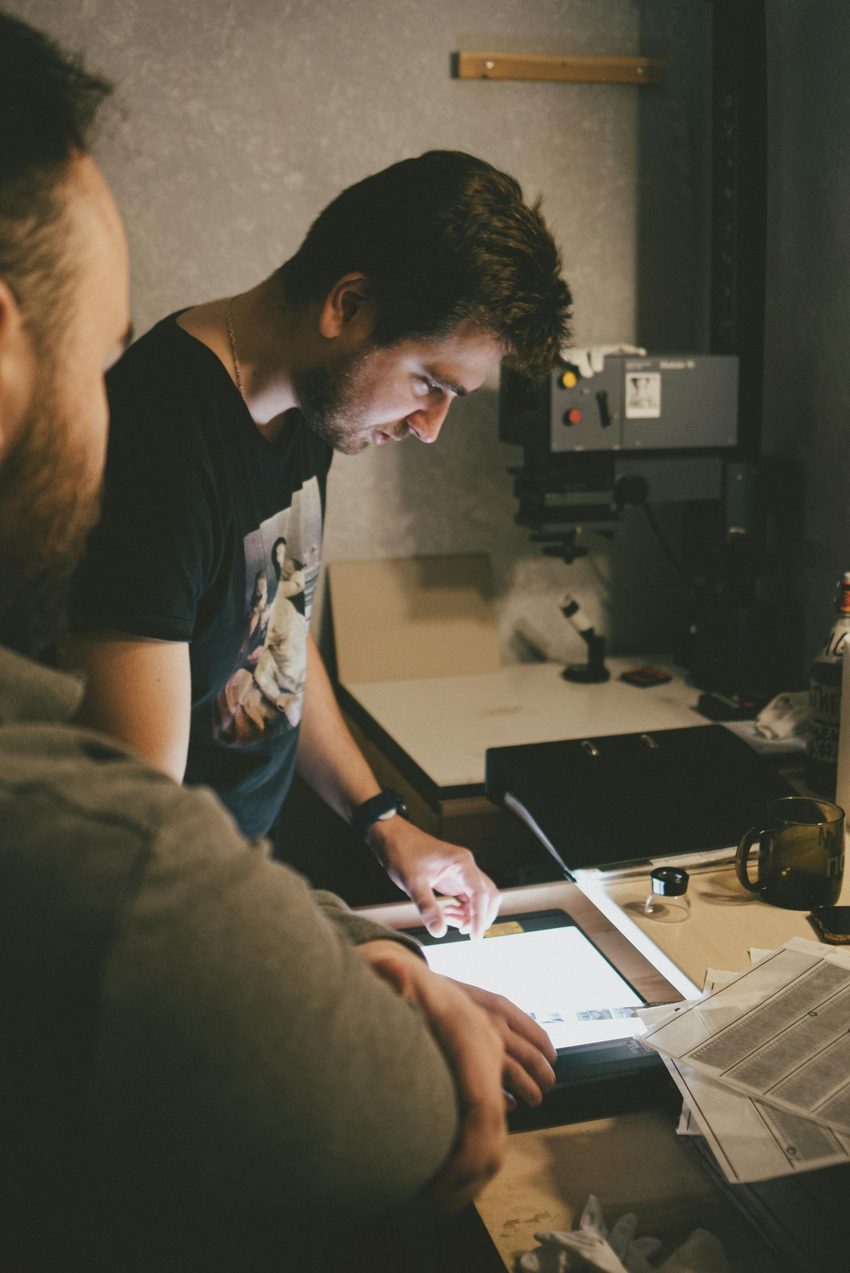
The quality of the initial scan determines the ceiling for every restoration attempt that follows.
When DIY Is Actually Fine
Not every photograph needs professional restoration. Being honest about this is important because understanding the boundary helps people make better decisions.
If the photo has faded then even an AI photo enhancer, or 2 or 3 sliders in Photoshop will bring it up to Facebook or Instagram standards. If a damaged photo requires repair but after cropping, straightening etc. it would look good just a little brighter then repairs can be done by yourself.
But at what point does damage restoration cross the line? When the restoration damages the parts of a photograph that you want to see clearly in the face of it? When the photograph is rare, or there are no other copies of the photograph or negative, and the risk of attempting any repairs could cause greater harm than good? When the subject of the photograph is deceased and the photograph is the last known image of them? These are the type of decisions that require the eye and expertise of an experienced photograph restoration artist.
What Professional Restoration Actually Looks Like
Restoration at a professional studio is very different from restoration in an app. First you would see the original photograph, then the high-resolution digital scan. And for each element in the image, the restorer would identify the type of defect or damage (cracks, tears, water damage, foxing, chemical deterioration, mold, etc.) and consider the best course of action for that type of damage.
Next we’ll reveal the work plan. How much can be repaired? What is the realistic outcome? Sometimes a photo is damaged badly enough that a full restoration is not possible, and an honest assessment of that reality is part of the service.
Restorations were done in stages. First, the basic structure of the image was repaired to remove tears and to repair badly damaged objects. Then, any scratches, stains and discoloration were removed from the restored image. After that, the tonal values were brought as close to original as possible. Finally, the smallest details such as faces, hands and other critical details were repaired and refined. Each step is done in order on separate layers within your document; so if you need to make a correction, you can simply go back to the appropriate layer.
It's not rushed work. Some of the most damaged of photographs can take hours or even more time to restore, but the finished photograph can look amazing and most importantly you'll see the real original photograph, not a reproduction based on someone's best guess as to what they think it looked like.
The Cost Calculation Most People Get Wrong
People often compare the cost of professional restoration to the cost of doing it themselves, which appears to be free. But this calculation ignores several things.
First, time. A proper DIY restoration attempt on a seriously damaged photo can take hours or even days for someone learning the tools as they go. Professional restoration artists are faster because they have done it thousands of times.
Second, risk. If a DIY attempt goes wrong, there is potentially significant damage to the original data: either by overwriting the original scan with a broken restoration, or making changes that introduce artifacts that are hard to clean up later (and in some cases, irreparable). The cost of fixing the mistake is higher than the cost of doing it right the first time.
Third, quality. Quality is the most important of the three criteria since when it comes to photos of the things you treasure “good enough” is never good enough. In addition to sharpness, the question is whether the photo has sufficient character to be pleasant to look at.
You Do Not Have to Figure This Out Alone
Photograph restoration is one of those industries in which you can really see the difference between what software can do and the effort it actually takes to accomplish the result. Even with great software out there and many online tutorials there is a huge difference between the results and the hours of work a restoration artist puts in to get a quality result.
This is Forever Studios. Forever Studios specializes in the restoration of photographs. Whether they need a few touch ups or need to be completely rebuilt from a severely damaged original. All of our restorations are made from high resolution scans of the original image. Each restoration is saved in its own folder with all of the original files. Every layer is built on top of the last allowing for full flexibility and full reversibility at any time. Whether your photograph is slightly faded and needs a touch up or if it's nearly indecipherable and needs to be rebuilt from a severely damaged original Forever Studios will treat your image with the same care and attention to detail.
These are the photos that matter most to you. We can’t process them out as guesses in a flood of images that are sorted by an algorithm. Each image deserves to be looked at, for us to understand what needs to be done to it, and for us to take the necessary time to make the appropriate repairs.
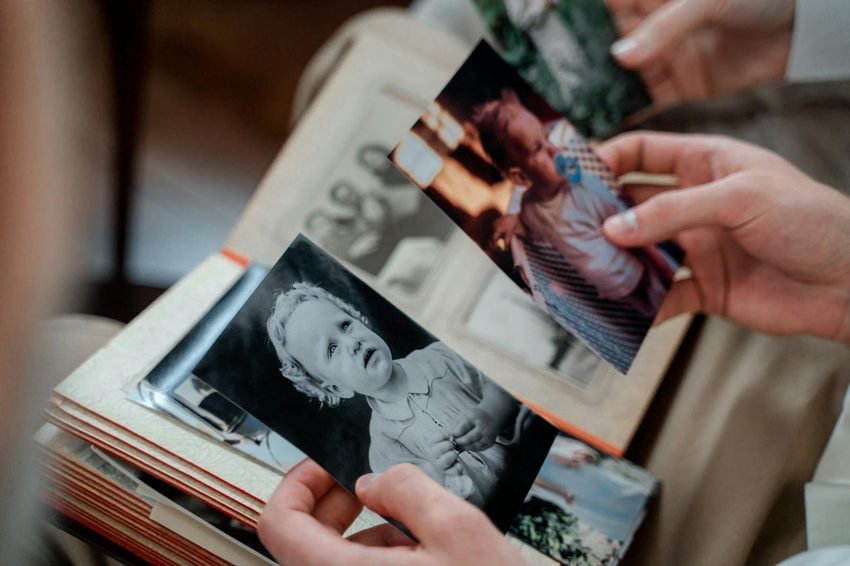
Professional restoration repairs the damage while preserving the authentic character and era of the original photograph.
Ready to digitize it right the first time?
Bring your tapes, film, and photos to the team that treats every project as irreplaceable. All work is handled in-house in Boca Raton, never outsourced.