Photo Scanning at Home vs. Professional Service
The gap between getting a digital file and preserving what actually matters lives in details most people never consider.
Contents
Introduction
Most people who decide to digitize their family photos start the same way. They look at the box, look at their phone or flatbed scanner, and figure it should be straightforward. Until they actually try to do it.
The Honeymoon Phase
At first, there is no trouble at all. You place each print on the glass plate, press a button, and a high quality digital image appears on screen. So easy. You could keep going all day. But then something starts feeling off.
The problem does not show itself until later. Maybe fifty photos in, things start looking off. The colors are washed out. One scan picked up a faint grid pattern from the scanner bed. A curled print created a shadow along one edge that cannot be removed. And the photo of your grandmother, the one that matters most, came out a little fuzzy, a little dim, and definitely not what you had remembered.
, Alan B., Scan Technician, Forever Studios
The answer depends on what you understand about the process. And that understanding is exactly what most guides on this topic leave out.
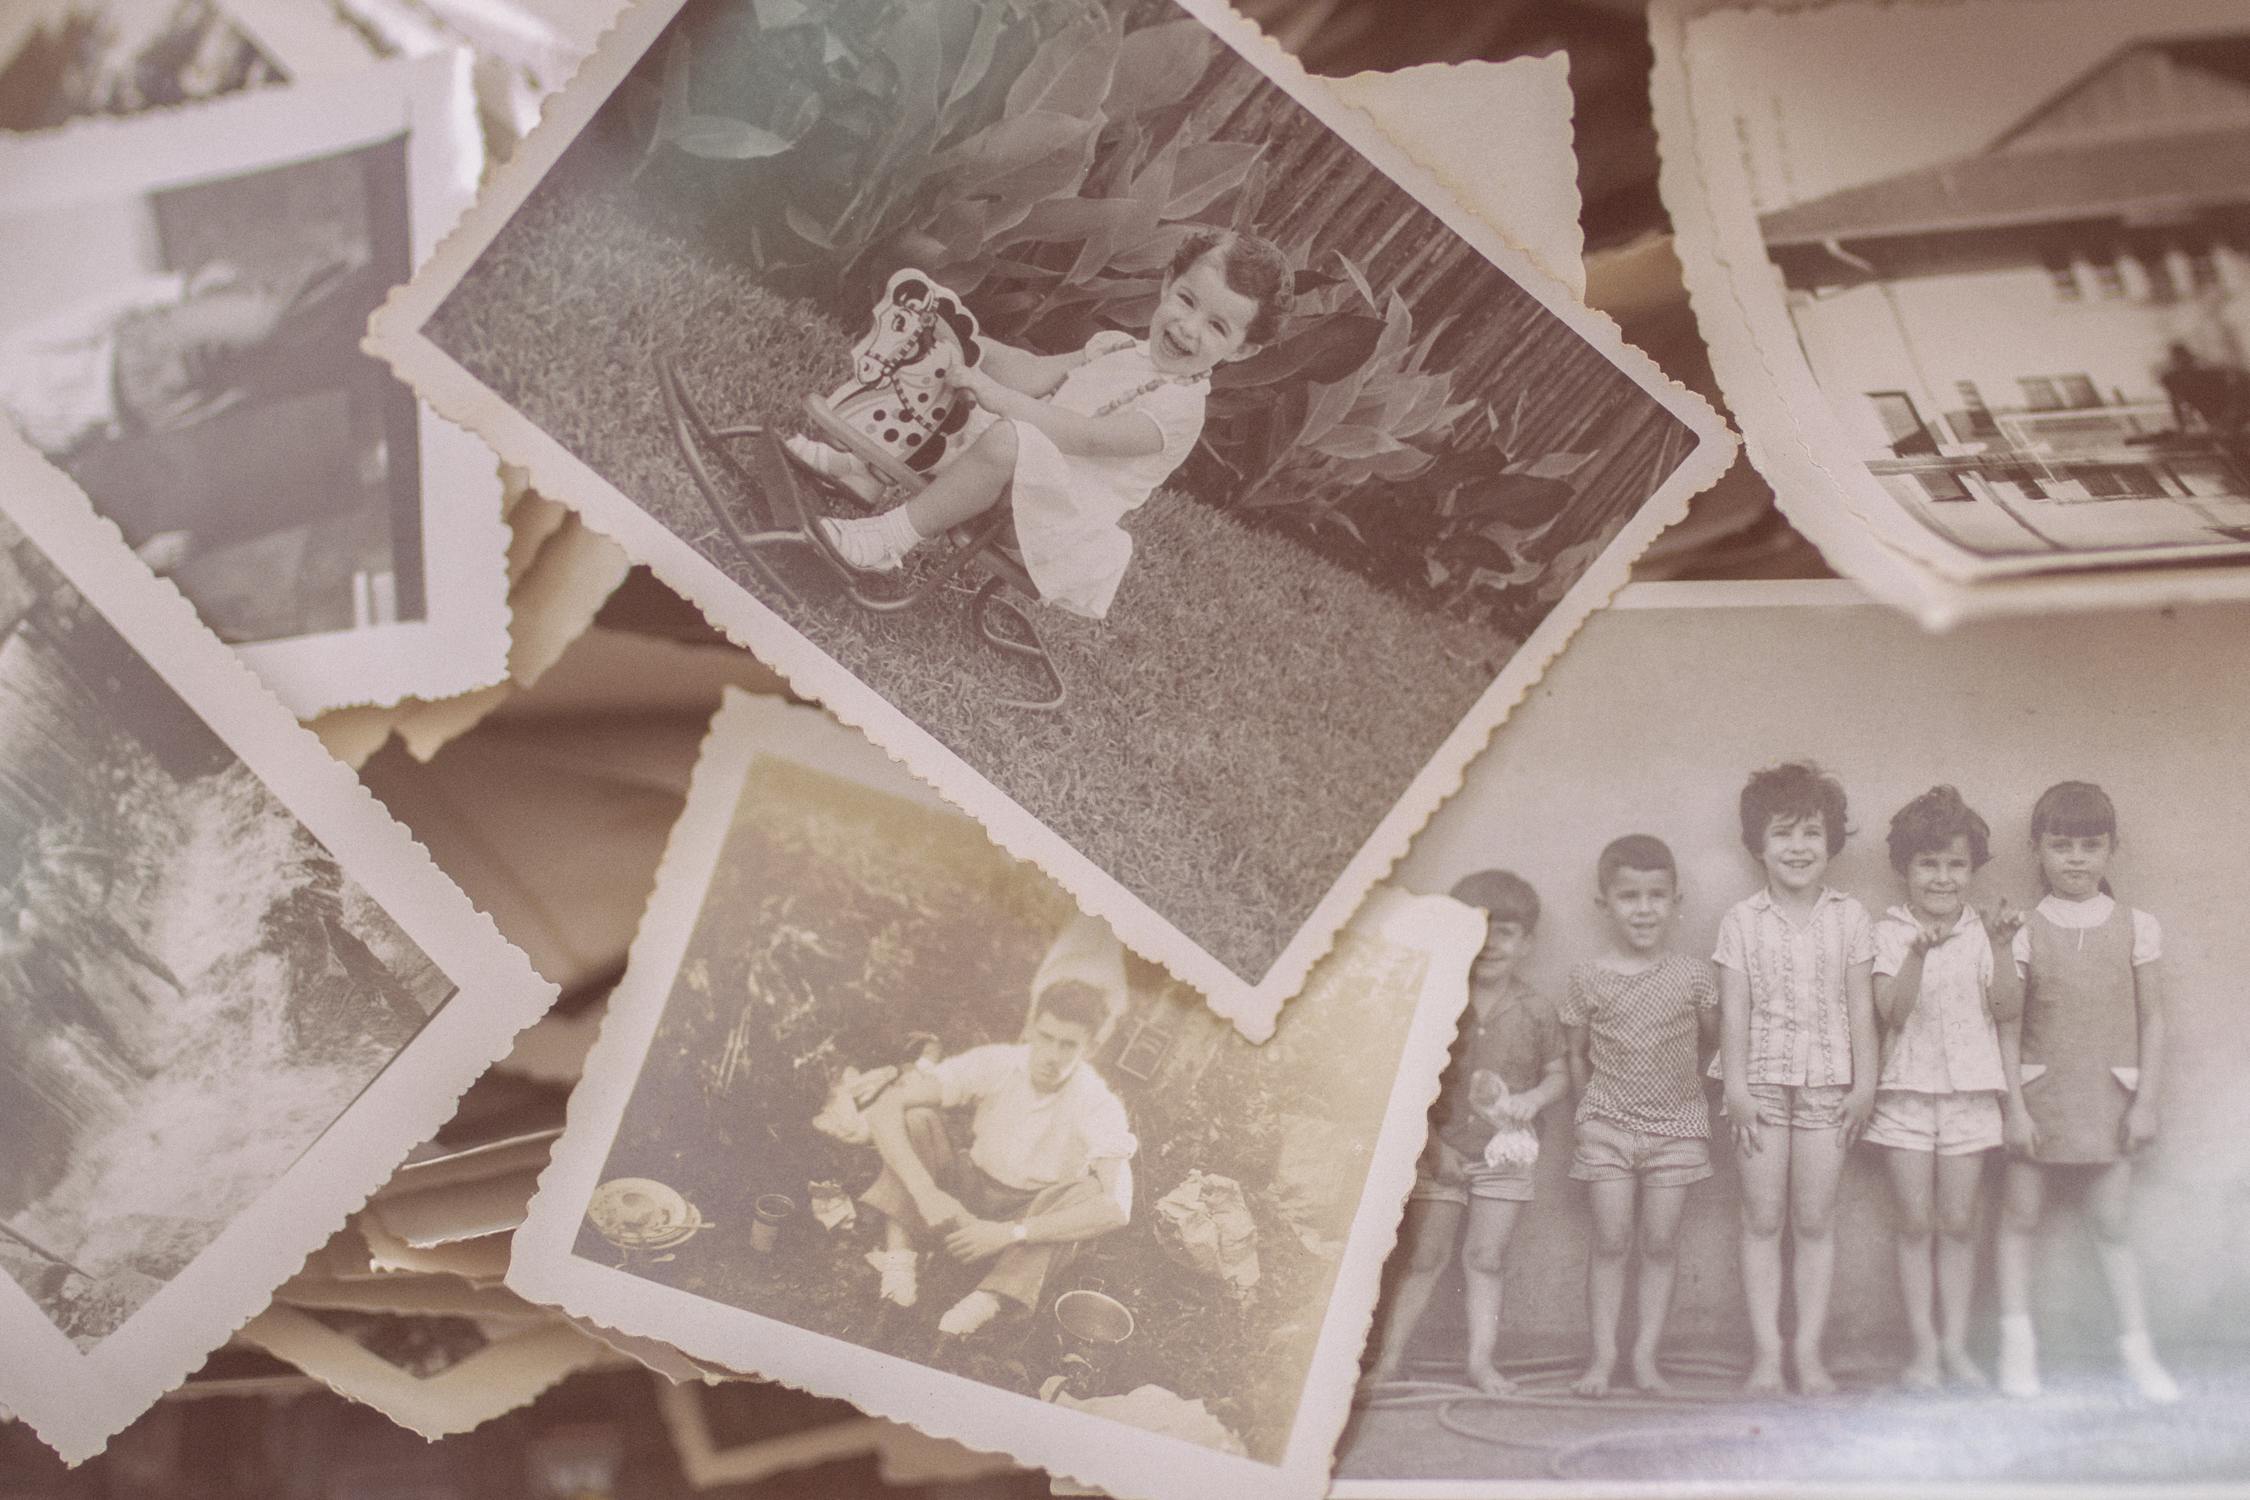
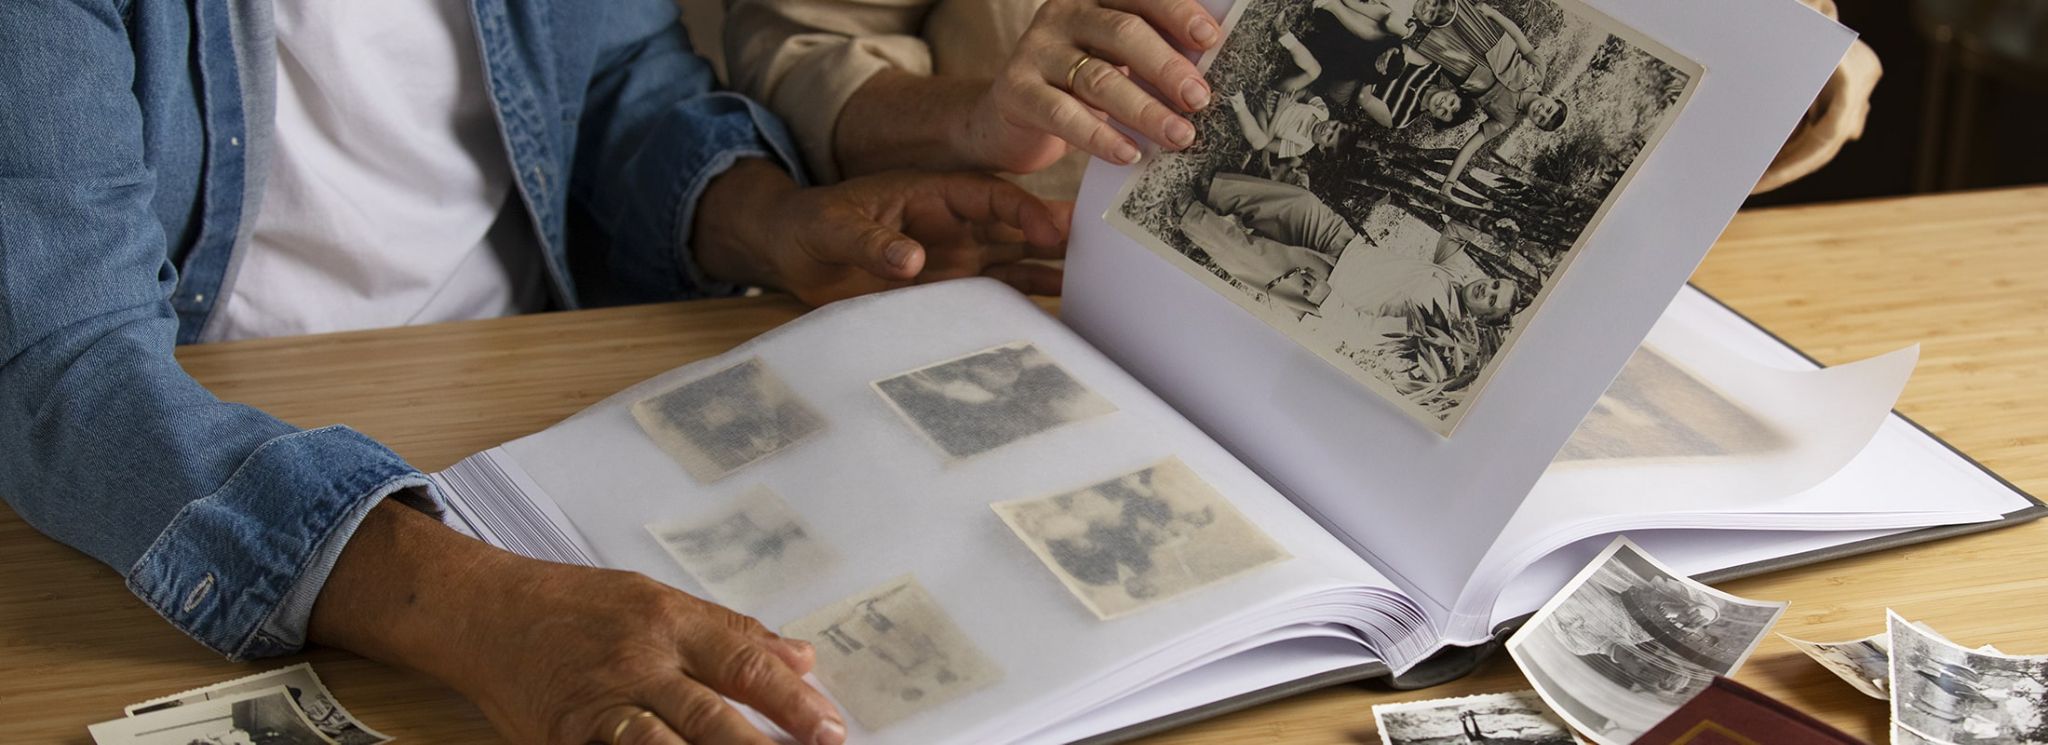
Most scanning projects start the same way, a box of photos and the question of how to preserve them.
Why Scanning Looks Simple But Is Not
Photo scanning is commonly thought of as a simple process. Shine some light on a piece of glass until a sensor detects it and save a file. Most mid-range consumer scanners are capable of performing the basic task, but there is usually far more to the process than first meets the eye.
The Hidden Variables
The basic mechanics do work, but guaranteeing the quality of the resulting photos is another matter entirely. Does the scanner's color profile actually match the characteristics of the print sitting in front of it?
🔍 What Affects Scan Quality Beyond the Basics
• Light source consistency, Single-bar LEDs vs. dual calibrated strips
• Sensor alignment, Even micro-shifts produce softness in fine detail
• Glass plate cleanliness, Dust, smudges, and micro-scratches show in every scan
• Color profile matching, Different print types need different calibration
• Operator fatigue, Handling consistency degrades over long sessions
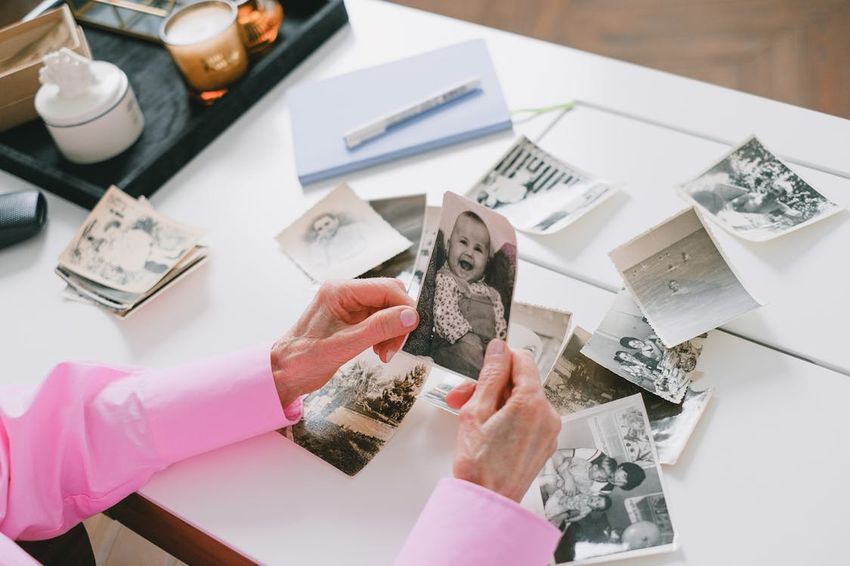
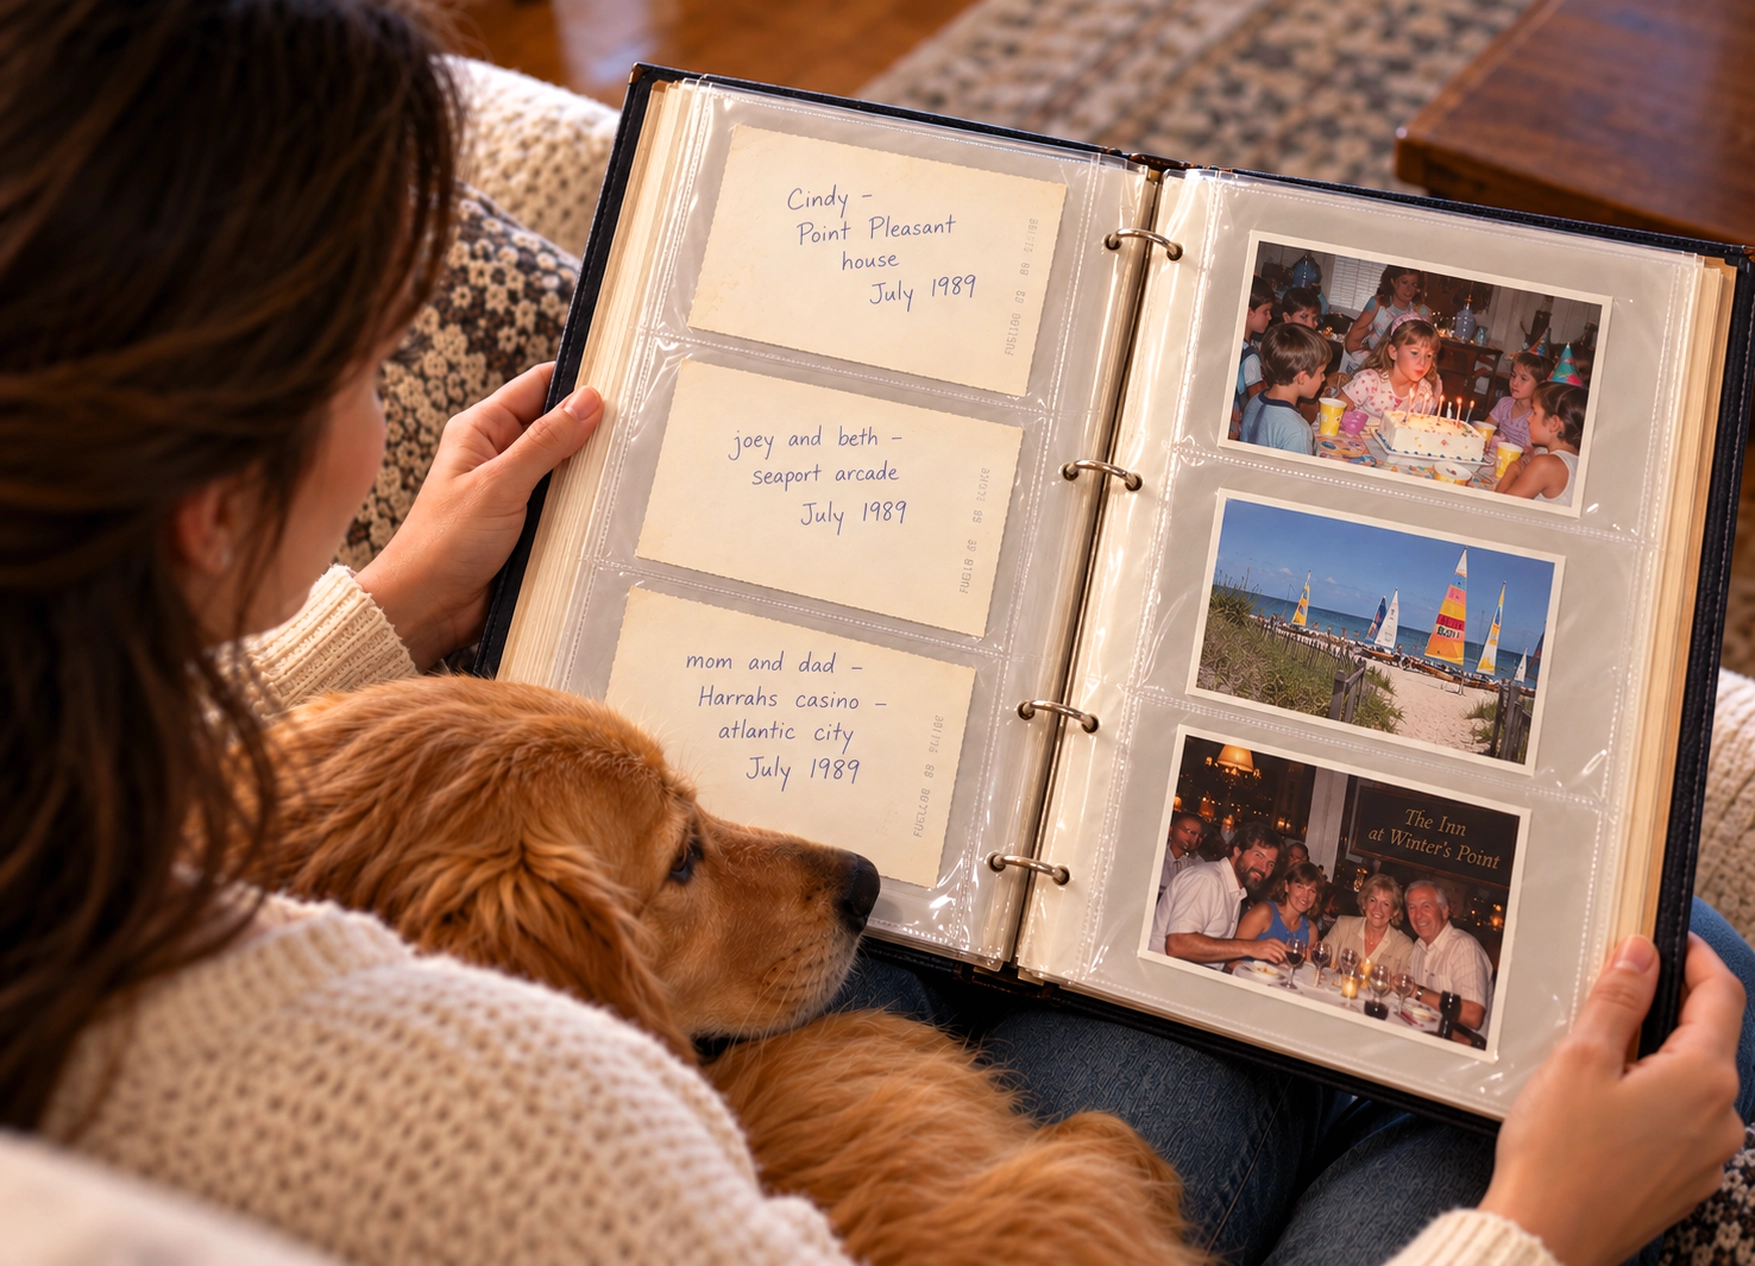
Sorting through a family photo collection reveals how varied the condition and quality of originals can be.
Subtle Differences, Real Consequences
These distinctions may seem subtle, but they have real-world significance. The difference between a good scan and a great one, between an image that can be magnified and one that falls apart into a muddy blob of pixels, lives in exactly these details.
There is an opinion that professional photo scanning is unnecessary, because most people can do the scanning themselves. Sure, but have you ever tried to scan 200 or 300 photos at one time? Most people do not have the space, the time or the ability to manage all of the variables involved in bulk photo scanning.
Resolution: The Number That Gets Misunderstood Most
If you have read even a little about photo scanning you have likely heard the term DPI thrown around. In many cases you may have even read that photos need to be scanned at specific resolutions, such as 300 DPI, 600 DPI, 1200 DPI, 2400 DPI, or even higher. But what does all of this really mean for you and your photo scanning project?
What DPI Actually Measures
A common misconception is that DPI is a measurement of image quality. It isn't, in fact it is a measurement of how much information is required to scan a high resolution image, often referred to as a "photo quality" image.
300 DPI
Standard scan, fine for phone viewing, no room to crop or enlarge
600 DPI
Moderate detail, allows some cropping, decent for reprints up to 8×10
1200+ DPI
Archival quality, captures grain structure, fine tonal detail, facial features
For example, a 300 DPI photo quality "high quality" print of A4 size (8x11.8cm or 215x297mm) will scan out at around 1200 x 1800 pixels or 2.1 Megapixels. This is absolutely fine for viewing on your mobile phone but wont crop or enlarge at all.
Higher DPI ≠ Better Quality (Automatically)
Contrary to popular belief, having a higher DPI scan can increase the file size of your digital pictures. But this is not to say that the high DPI digital picture is better suited for printing a large photo. The increased resolution does give the photographer more flexibility with print sizes in the moderate range, ensuring true archival quality. The high DPI scan also captures a better grain structure, and more accurately reproduces the high and low end tones within an image. This allows for the most natural look. For older family photographs, the eyes, eyebrows, and mouth are vital details to capture the subject's likeness at an older age, often 40 years or more in the photo.
Optical vs. Interpolated Resolution
When shopping for a flatbed scanner aimed at the consumer, be aware that the box will almost certainly tout the high DPI number. What is likely to be hidden is the true optical resolution, as opposed to the interpolated resolution.
⚠️ Optical vs. Interpolated, Know the Difference
• Optical resolution, The true detail the sensor physically captures from the print
• Interpolated resolution, Software-manufactured pixels that make the number look bigger
• A "4800 DPI" consumer flatbed almost certainly does not have optical resolution anywhere near that
• What to look for: True optical resolution, not the headline number on the box
Professional scanning services should be judged not by the resolution in pixels per inch that a file can scan at but by whether the human eye can actually perceive the detail that has been extracted from the original. At high resolutions, modern high quality sensors are capable of extracting detail at every pixel, this varying greatly between file formats and depending on the optical resolution. It is important to understand these limitations rather than be bogged down by the fine print in product specifications.
Alyse
January 2026
Verified Customer
📷 Slide Digitization
"The results were so much better than I hoped. This is the second company I used to digitize my father's slides and the scans are so crisp and color is so much better. Thank you!"
Color Accuracy: What Your Eyes Adjust To
Most people are not aware of this, but our eyes are incredibly good at automatically compensating for slightly warm or slightly flat color when viewing originals. This means that even the best pro scanners will produce results that look perfectly fine at first glance, but once the results are compared to the original, it becomes obvious that the eye has automatically adjusted the result to match the original's color, and that result is now perceived differently than the original print.
The Three Pillars of Color Accuracy
There are three components to color accuracy in a photo scanner:
- 🔦 Light source quality, Consumer scanners use a single bar of fluorescent or LED lights. Professional scanners have two independently calibrated stripes of light.
- 🎨 Color sensor accuracy, The sensor's ability to distinguish and capture subtle tonal differences across the spectrum.
- 📋 ICC color profile, Professional scanners require a separate color profile for each type of print. A Kodak dye print from 1985 behaves differently than a Fuji pigment print from 1992, which behaves differently than an inkjet print from last year.
Why Color Drift is Dangerous for Preservation
In preserving films for future viewing, this phenomenon is especially relevant. Each generation of copy contains progressively less information than the original print, a sort of 'ground truth', until, in the end, the information loss becomes unacceptable.
Eventually, the inaccurate scan will be all that is left to reference for quality.
Handling Fragile and Damaged Originals
So you imagine that families have collections of sturdy 4×6 photos that are in decent enough shape to scan? This is not the reality of most family collections.
What Real Collections Look Like
While some photos may be perfectly preserved, there are others that are curled up, torn, photo taped to pages of a photo album, so delicate that you are afraid to put them on a flatbed scanner for fear of further damaging them. Many of the casual photos from a person's past may include:
- Old Polaroids starting to flake or shed their emulsion
- Photos that have been stickered, taped, or otherwise adorned
- Prints stored in poor conditions, warped, dog-eared, or water damaged
- Album pages where photos are permanently adhered with old adhesives
- Delicate prints from the early 1900s with brittle, crumbling edges
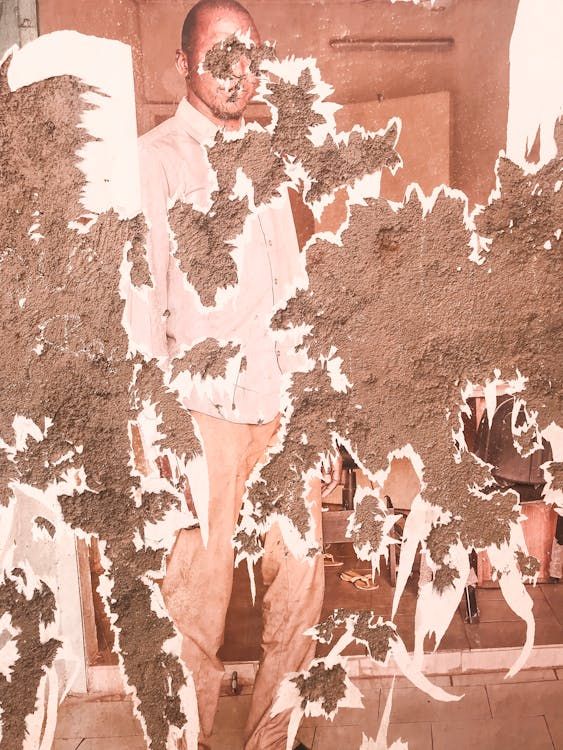
Fragile originals like this one require careful handling that consumer flatbed scanners were never designed to provide.
The Flatbed Limitation
In addition to the general limitations of a do-it-yourself approach using a consumer-grade scanner, one major handicap is the rigid nature of the flatbed scanner's glass plate. Typically, the glass is intended to support flat photos, meaning that the original photo to be scanned must be flat on the glass surface. If the print is curled, it can either be forced flat, risking creases or tears in the print, or it is scanned with less than optimal focus on some parts of the print.
How Professionals Handle Fragile Originals
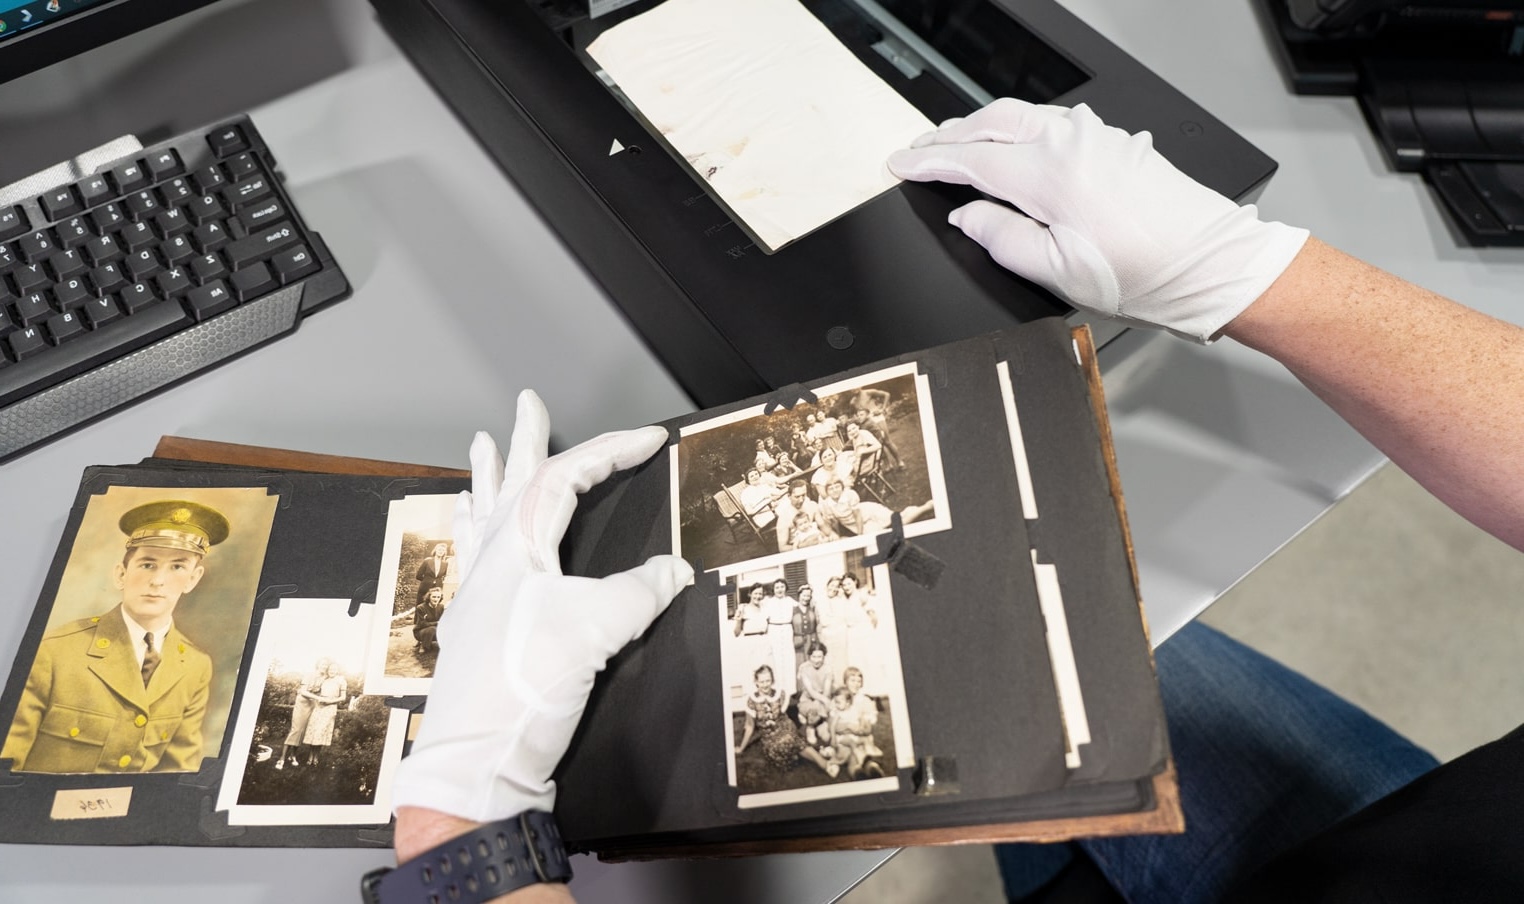
Professional photo scanning solves these problems. Many scanners have standard carriers which hold prints in place without adhesives. Many others scan in multiple passes at different focal positions allowing for optimal reproduction of the print and its surface. Since photos have often been previously attached to an album page (e.g. with tape or photo corners), when restoring photos that have been previously attached to other items, the goal is to make the original photo better off than it was before.
When dealing with old photographs, the images that are arguably most valuable are the oldest. These also tend to be the most delicate. As such, it is not simply a matter of finding the best quality photo scanning method, because you are also trying to ensure the long term preservation of those images. Getting the scanning wrong can literally cost you by losing embedded details within the photo before you even see the results.
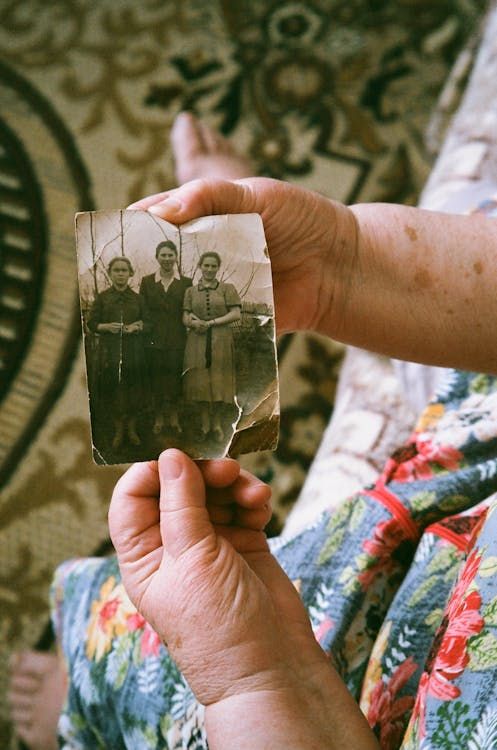
The most valuable photos in a collection are often the oldest, and the most delicate.
The Throughput Problem Nobody Mentions
There is another factor in the DIY vs. professional question that most comparison articles ignore entirely: volume.
The Math Nobody Does Upfront
Each picture takes around 90 seconds from placement to preview to scanning and saving the file, and that is the optimistic number assuming everything goes smoothly.
10
photos → ~15 minutes
Totally manageable
100
photos → ~2.5 hours
A committed afternoon
500
photos → ~12 hours
Multiple weekends
1,000+
photos → 25+ hours
Most people quit
The Burnout Curve
This is not a minor point. Most DIY photo scanning projects follow a familiar trajectory:
- Photos 1–50: Scanned with love and full attention
- Photos 50–200: Scanned with decreasing care as motivation fades
- Photos 200+: Rarely get more than a brief look before the project stalls
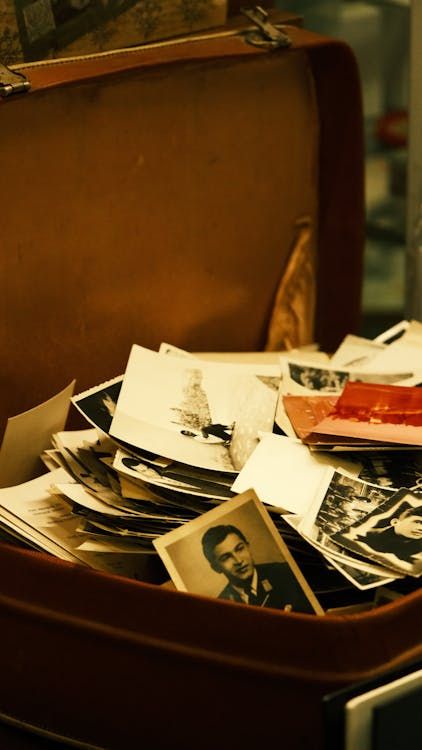
When a collection reaches hundreds or thousands of images, the question shifts from how to scan to whether you will actually finish.
Professional Throughput
Professional photo scanning services solve this with batch processing workflows. A trained technician operating commercial equipment can realistically scan 200 to 400 high-resolution photos per hour, and can sustain that pace day after day without a drop in quality. The settings do not drift because someone got tired. The handling stays consistent because the process is engineered around sustained throughput, not bursts of willpower.
, Zachary G., Founder, Forever Studios
Deryk D.
September 2025
Verified Customer
📷 Photo Scanning & Slide Conversion
"Great experience working with the Forever Studios team! Everyone was very friendly and helpful and they even gave me a quick tour of their facility. My needs required a VHS tape conversion, 35 mm slide conversion, 35 mm negative strip conversion and one photo restoration project. Along the way, all communications from them was very timely and professional. They went above and beyond for me. Love these guys!"
File Formats and Long-Term Preservation
Most people when they scan something at home save the file as a JPEG. Most consumer scanners default to saving files in JPEG format. These files are pretty small, easy to share and usually that's all you need.
The Problem with JPEG for Preservation
What does not get explained is that JPEG is a lossy format. Every time the file is saved, it discards information to reduce file size. The first save is barely noticeable, but over years of opening, editing, and re-saving, that quality erosion accumulates. The highest quality version of a JPEG photo is always the original file that was first scanned and saved. Every subsequent handling makes it slightly worse.
TIFF: The Archival Standard
Professional scanning companies will return your data in a format such as TIFF (tagged image file format). TIFF is an uncompressed format which is ideal for long term archival purposes and the file can be opened, edited and re saved with no loss of quality. The file captures 100% of the data on every scan and is your master copy.
Think of the TIFF as the digital equivalent of the original print. It is the preservation copy. Everything else, the JPEG you text to your sister, the compressed version on cloud storage, is a convenience copy. Without the high-quality master, there is nothing to go back to when better display technology, better printers, or more powerful image editing tools come along in the future.
When DIY Scanning Actually Makes Sense
Not every scanning project is suited for professional scanning services. Many situations lend themselves to DIY scanning.
When Home Scanning Works
For a small number of photographs, say on the order of a few dozen high-quality photo prints, a good quality flatbed scanner designed for the consumer market can do an acceptable job at an acceptable cost. For distribution of a small number of images to a few people, you might be willing to settle for somewhat lower image quality at home than you would pay for when outsourcing the scan. Even if you have the ability to outsource your image scanning, it's still faster to just scan a few images you need right away.
Sharing vs. Preserving, Two Different Goals
The key is being honest about what you are trying to accomplish. Scanning to share is a different project than scanning to preserve. The tools, the workflow, and the acceptable quality level are different for each. Both goals can be valid, but confusing the two is how people end up with a batch of mediocre scans that they mistakenly treat as preservation quality.
What Actually Determines Whether This Gets Handled Correctly
The real decision between scanning at home and using a professional service has nothing to do with whether you are physically capable of operating a scanner. You almost certainly are. The decision is about something else entirely.
The Five Questions That Actually Matter
✅ Ask Yourself Before You Start
1. How much do you have?, Small collections work as a DIY weekend project. Hundreds or thousands almost always benefit from professional batch processing.
2. How fragile are the originals?, Prints in good condition are safe on a consumer flatbed. Curled, torn, or album-adhered photos need specialized handling.
3. What is your quality threshold?, 300 DPI JPEG is fine for texting and social media. Archival formats that last 20+ years require a different approach.
4. Will you actually finish?, A half-finished scanning project creates a false sense of security. You believe the photos are preserved when most are still in the box.
5. How much is your time worth?, Twelve hours of scanning is twelve hours. If the collection matters enough to scan, it probably matters enough to do well.
The Biggest Mistake People Make
The most common mistake in photo scanning is not choosing the wrong method. It is not starting at all. And the second most common mistake is starting with the wrong expectations about what the process actually involves.
The Burnout Trap vs. The Overspend Trap
People who attempt to DIY a large collection with professional-quality ambitions often burn out before they finish. On the other hand, people who send a small collection to a professional service when they could have done it in an afternoon often overspend. The right decision comes from matching the method to the actual size and condition of your project.
What's Really at Stake
The decisions you make about how to digitize them, resolution, color handling, file format, care of the physical originals, determine whether the digital version captures what made those photos worth keeping.
That is the real difference between scanning at home and using a professional service. Not whether you can produce a digital file, but whether the file you produce actually preserves what the photograph is.
Lori
July 2025
Verified Customer
📷 Slide Scanning
"My digitized slides from the 1950's and 1960's turned out great! Forever Studios is easy to work with and the turnaround time was great. This is my 2nd time working with them and will use again if needed and refer to others."
How Forever Studios Approaches Photo Scanning
That gap between getting a file and truly preserving an image is exactly where Forever Studios operates. Our scanning team processes family photo collections at true optical resolutions up to 4000 DPI, using color-calibrated commercial equipment and careful handling protocols designed for fragile originals. Every scan is delivered as an archival TIFF alongside sharing-ready JPEGs, giving you both the preservation master and the files you can immediately use.
Whether your collection is fifty prints or five thousand, the same considerations apply: careful handling, consistent quality, and files that will still be useful decades from now. If you have been putting off a scanning project because you were not sure how to do it right, that is exactly the kind of situation we are set up to handle.

Ready to digitize it right the first time?
Bring your tapes, film, and photos to the team that treats every project as irreplaceable. All work is handled in-house in Boca Raton, never outsourced.