16mm Film to Digital: Why You Need a Pro Service
Learn how 16mm film conversion to digital works, why it matters to preserve your home movies, and how to preserve your film memories for future generations
Contents
Why 16mm Film Conversion to Digital Should Be Handled by Pros
Imagine being able to revive those awesome memories on 16mm film with the clarity and vibrancy they had when first recorded. Converting your treasured 16mm films to digital formats (like the mp4 file) does exactly that, offering a modern means to preserve every last foot of film.
Yet, while the idea seems simple, the process is nuanced and challenging, often requiring a deep understanding of not just the film itself, but also the intricate conversion technology. Unfortunately you can't just plug a USB drive into an old film projector.

If you can find a USB port on this thing, let me know.
The realm of 16mm film transfers is more complex than its 8mm counterpart, with each reel potentially holding a treasure trove, or a cautionary tale, of footage clarity and color accuracy. Knowing if your 16mm films are in good shape for digital transfer, and determining the right approach for conversion, can be a technical labyrinth. Nevertheless, with the proper equipment or professional guidance, your film reels, lonely in their attic or basement abyss, can flourish in digital form for future generations to enjoy.
To navigate this transformation successfully, entrusting this task to a professional digital service like Forever Studios might just be the golden ticket. In this article by Vintage University, part of Forever Studios' media digitizing expertise, we delve into the ins and outs of converting 16mm film to digital.
Whether you're considering a DIY approach or pondering the benefits of professional help, you’ll discover the nuances of the process and why turning to experienced hands might just be the best decision you’ll ever make.
A Brief Explanation of 16mm Film to Digital Conversion
Transferring 16mm film to digital file formats is a vital method to preserve some very important bits of your history. So for the less "up to speed", let's quickly review the basic concept of a film transfer project.
This process involves taking the physical film and using specialized equipment to carefully scan each frame, or capture the playback with digital cameras, converting the images into digital files such as MP4 or MOV. The primary utility of these digital files is pretty obvious: their resilience against the wear and tear that can affect physical film.

This is not your dad’s film projector. The amount of modification necessary to turn this into a film capture machine is extensive.
This transformation not only protects your important memories but also makes them incredibly easy to share with others too. Once digital, your footage can be viewed on modern devices like computers, tablets, and smartphones, simply by opening a file. Moreover, digital files are not only immune to the issues that can befall traditional film reels (such as color fading and becoming brittle), but in many cases the footage can be enhanced and improved as part of the digitizing process.
WHAT MAKES 16MM FILM TO DIGITAL CONVERSION HARDER THAN CONVERTING 8MM FILM?
Transferring 16mm film to digital is a little bit unique when it comes to the challenges someone might face during the conversion/transfer process. Unlike its younger sibling, 8mm film, which can often be digitized at home with surprisingly effective DIY techniques by someone with enough technical acumen and time; 16mm film is just that little bit more finicky.
The larger frame size, larger reels, and greater detail of 16mm films usually require specialized film scanners and professional-grade equipment that isn't readily accessible or affordable, pushing the process into the purview of professional film digitizing services.

This is one of the “better” off the shelf units available for DIY digitizing of 8mm and Super 8 film. But unfortunately, it doesn’t work for 16mm.
With the 8mm film, many hobbyists find readily available off-the-shelf tools and manageable steps to execute the conversion on a cozy Saturday afternoon (or three). However, 16mm just isn't as accessible, and to get it transferred seamlessly to a digital format simply requires more skill as well. The film is generally harder to work with, especially if it's aged and somewhat decayed.
Then there's the management of the footage. Due to its size and historical uses, 16mm film often sits at wayyyy longer runtimes than the easily managed 8mm reel, with many feet of film that require care to avoid issues like bad splices and inadvertent damage during handling or playback.
While the DIY path for 8mm is mapped out with easy-to-follow guides, for 16mm, seeking help from a professional film transfer service such as Forever Studios can save you headaches and ensure a superior outcome.
HOW CAN I TELL IF MY 16MM FILM IS GOING TO TRANSFER TO DIGITAL WELL?
Before diving into the digital conversion process, it's paramount to assess the physical condition of your 16mm film, as it's going to dramatically affect the overall quality of the digitizing process. Old movie films don't really tend to do all that well in storage unfortunately - doubly so if the location has been subject to a lot of heat or moisture, or if the canisters didn't really seal out the elements properly.

This is some seriously unhappy 16mm film. It’s suffering from pretty much every type of aging and damage that could happen. But despite that, there may actually be salvageable film here. Unfortunately, it would require a LOT of manual surgery to get to that workable footage.
When inspecting your film reels, look for signs like fading colors, vinegar syndrome (a smell indicating chemical decomposition), or brittleness, which can affect the transfer quality.
Careful observation is key; hold the film strip up to a bright light and note the frames of film that appear cracked, discolored, or extremely fragile. These conditions might indicate that the film base has weakened over time, impacting the clarity and continuity of your digital files.
If you're unsure about your film's condition and viability for a successful transfer, it's best to consult with our team here at Forever Studios. We're able to give you a pretty thorough evaluation at no additional charge, even via email & phone.
How to Convert my 16mm Film to Digital at Home with DIY Solutions
Okay, so you've grabbed those 16mm film reels from the attic/basement/garage, and you're committed to converting them to digital files. And you're also feeling adventurous enough to check out the DIY solutions first. Cool!
While DIY solutions can be rewarding, they do require a bit of patience and the right approach. But if you're bringing in some old-school knowledge of how to work with film, and how to operate a projector, this is doable.
There are several methods to convert your family memories from 16mm film to a digital format like MP4 or MOV files. Let's explore a few of these do-it-yourself techniques that can help you unlock the beauty of your old movie films.
16MM FILM TO DIGITAL CONVERSION EQUIPMENT
Turning your movie film reels into digital masterpieces at home requires a few essential tools. The good news is that there's a range of equipment available, from budget-friendly options to more sophisticated devices. The bad news is that the better options are generally cost-prohibitive. Depending on your chosen method, the right gear will ensure your film treasures are preserved with care and accuracy.
Film scanners are at the heart of many conversion setups. These devices are particularly designed to handle the delicate nature of 16mm film reels, scanning each frame of film individually to create high-quality digital files. The problem is that these devices are typically geared toward pro uses, which means they regularly run into the thousands of dollars.
When choosing a scanner, consider the resolution it offers and whether it includes features like color correction to enhance your irreplaceable memories. While higher-end models are typically more costly, they often deliver richer results and produce better digital formats like MP4 files.

Here’s your average pro film scanning unit. While the results are great, the process is SUPER time consuming, and these things are EXPENSIVE. Which means they’re not an option for most people.
If you're opting for the projection and recording method (otherwise known as the telecine method), you'll need a reliable 16mm film projector and a good-quality digital camera. Ensure the projector's lamp is bright enough to provide clear image projection without flickers that could disturb the video transfer process.
Pair this with a camera that can record at high resolutions for best results. Don't forget a tripod to keep your camera steady during the recording. While this setup might seem simplistic, it can be an effective way to make digital copies of your family memories with a bit of clever improvisation. The results may vary, and they’re not going to be as good a professional service, but this is doable for most people.
Then there’s the “telecine box”. For those bold enough to experiment with building a telecine box, the essential items include mirrors, frosted glass, a camera, and of course, a touch of creativity. These components work together to steady and transfer the film image onto a recording device. However, the success of this setup largely hinges on your ability to assemble and calibrate the equipment. So this is generally reserved for someone who has a lot of technical skill.
Whichever DIY method you choose, Google is going to be your friend, along with a heavy dose of internet forum trolling.
How to Convert 16mm to Digital with a Conversion Service Like Forever Studios
Okay, so maybe converting those 16mm film reels into digital files isn't your calling. Don't worry, it isn't for most people! At Forever Studios, we’re experts at digitizing everything from old movie film reels to VHS tapes, providing seamless transitions from the analog classics to modern MP4 or MOV files.
Let's walk you through the process of a 16mm film to digital conversion project, shedding light on each step and showing you how easy it is to get started.
Step 1: Initial Consultation & Ordering
Start by reaching out to Forever Studios through our website or by contacting our Customer Care team. During this initial contact, you'll discuss the specifics of your film collection. This is when you'll share important details about your film, such as the number of reels, condition, and any specific aspects that may require special attention, such as color correction or repair.

This is not a staged photo. We host plenty of walk-in customers at our national HQ in Boca Raton, FL. For our national eCommerce customers, we try to provide an experience as close to this as possible.
We'll help you determine what kind of products/services you need, as well as what your expectations should be. If you're one of those "tech savvy" folks, or you don't like talking to people, it's pretty easy to do the whole thing online using our configurator too.
Step 2: Ship Your Reels with Our Door to Door Kit, Or Drop In!
For most of you national customers, you're going to be utilizing our door to door ship kit to get your 16mm film reels to Forever Studios in sunny Boca Raton, FL. And for those of you lucky enough to live nearby, first off, great decision. And secondly, you have the luxury of popping right on in to our national HQ (don't forget to get a tour!).

The Forever Studios kit is a tried and true way of getting digitizing projects done quickly and safely. We provide everything necessary to make this happen.
The kit comes with everything you need to properly pack and ship. It's really that easy. And once your kit hits the mail, you'll receive updates at literally every point during the rest of the process to let you know the EXACT status of your project.
Step 3: Intake, Film Inspection & Preparation
Once your films arrive, the technicians at Forever inspect each reel for any damage or splicing issues that may need attention before scanning during our initial intake step. This is also when your project is properly inventoried and engineer assignments are made in our Project Management system.

The labeling and inventory work is pretty extensive at FS, as we want to make sure every last item is accounted for at all times.
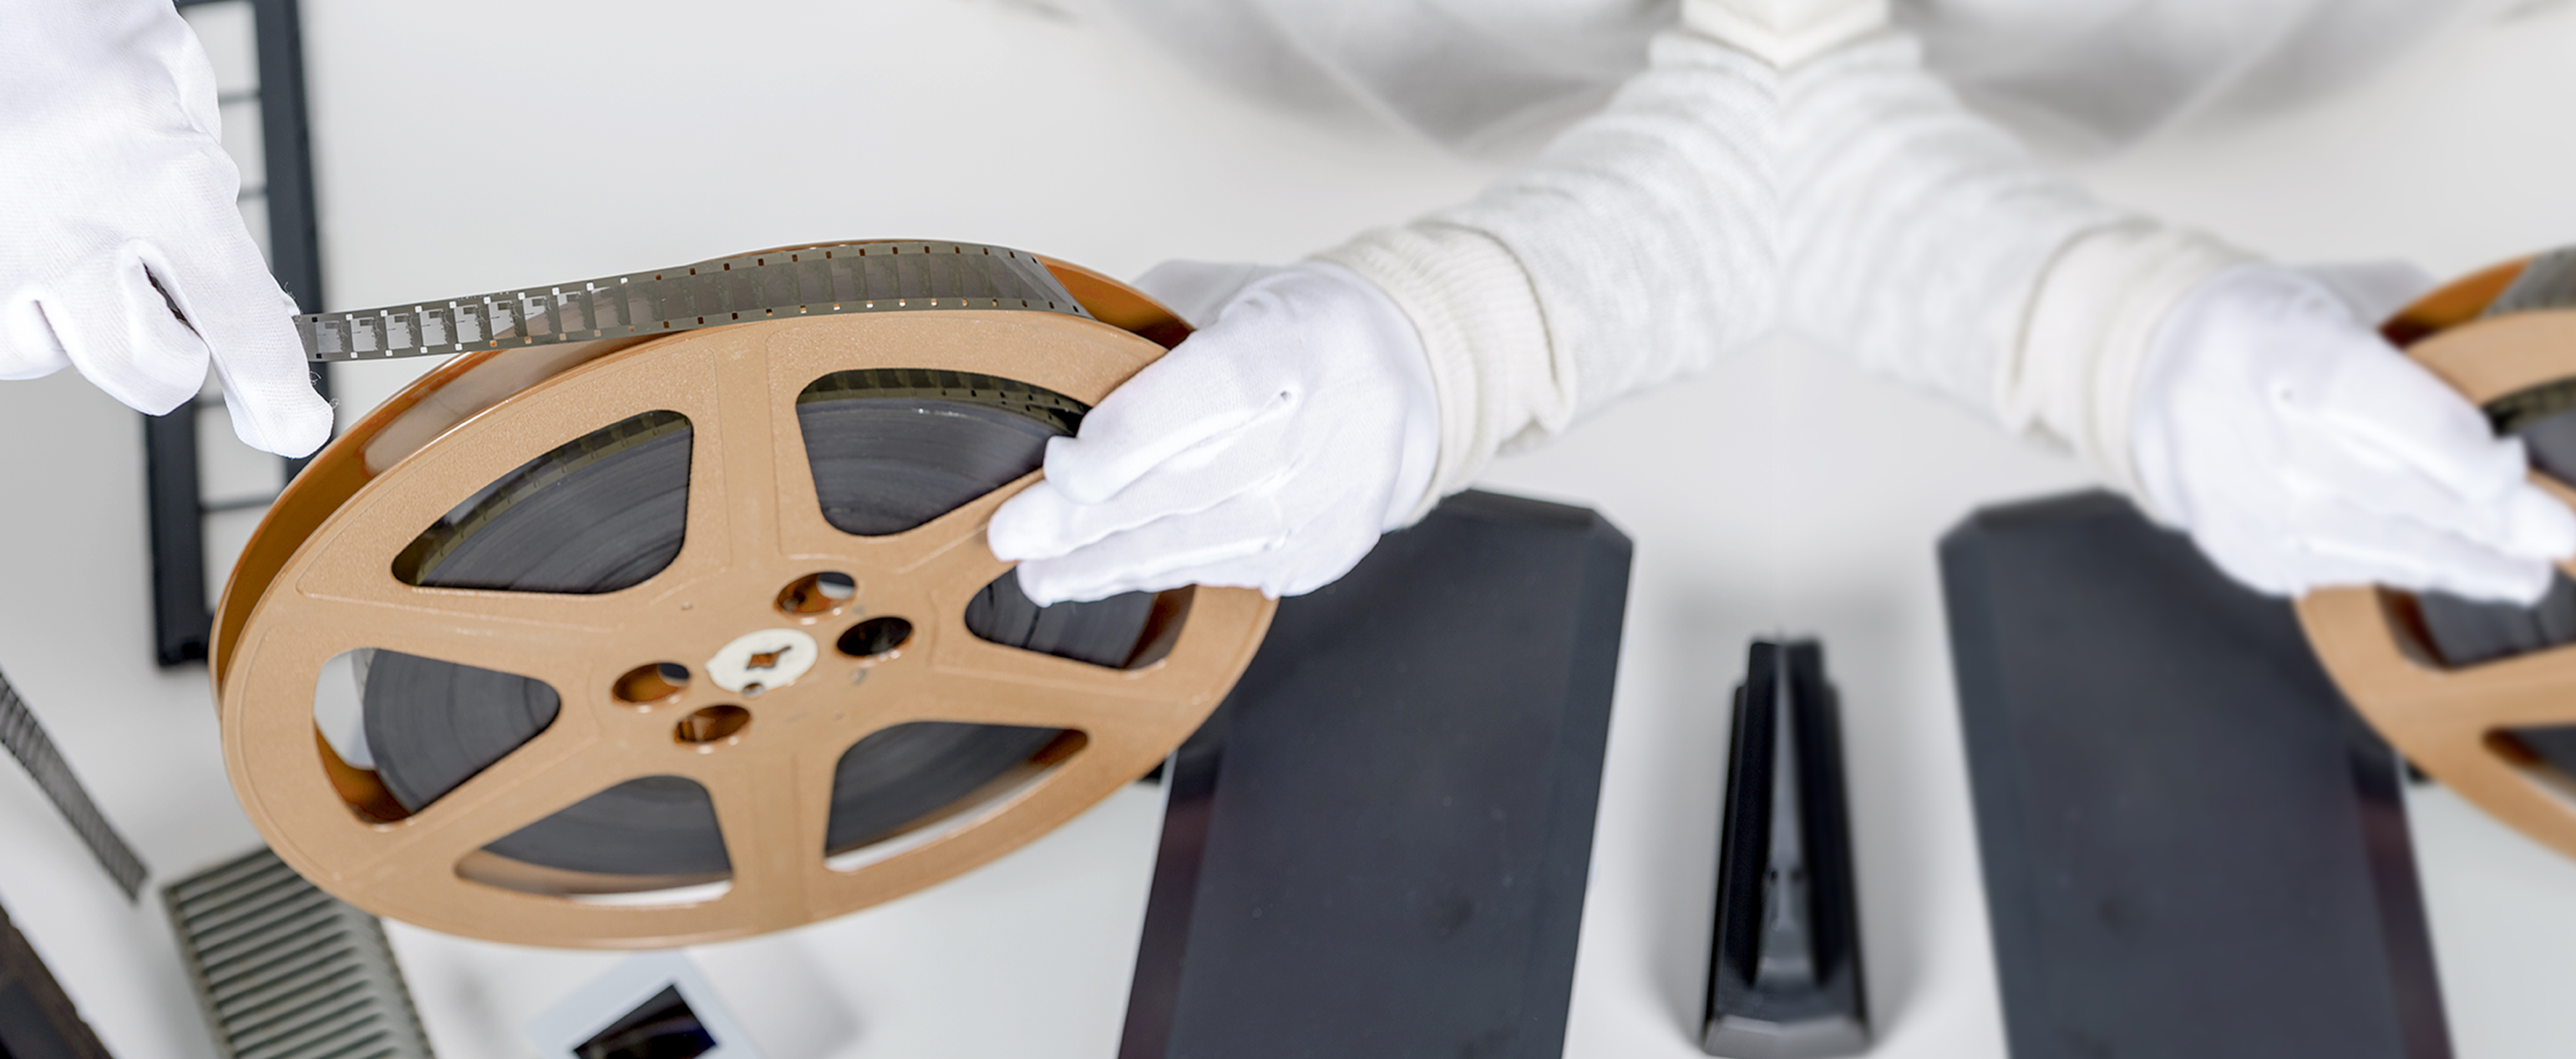
Prior to any capture work being done, your assigned film engineer will fix any damage and clean the film to ensure optimal transfer quality.
Step 4: Pro Film Digitization
Once the film is prepped, it's time to get it on our custom capture equipment. These rigs were created with one purpose in mind, and that is to achieve a great, professional quality transfer at a price that keeps it all accessible.

If you’re wondering, yes, this is an actual Forever Studios film engineer. His name is Jacobi, and he’s really fantastic when it comes to getting high level film digitizing results. If you have a film project with us, it’s very likely that Jacobi himself will work on it.
So that entails mating a high-end 16mm projector with bespoke parts that allow it to cast directly into the sensor of a high def camera. And thanks to it being a true analogue format, that means there is no limitation on resolution.
Throw our Forever Gold suite of enhancements into the mix, and you have something really special going. This includes color correction, extra high bitrates, and other digital processes that can help the 16mm film make the jump to your HDTV.
Step 5: Prepping End-Products & Quality Assurance
After the digitization process, the digital files are reviewed to ensure they meet Forever Studios' quality standards, before they're loaded onto your choice of deliverable, whether that's a simple USB drive or our powerful Forever Cloud. Nothing leaves Forever Studios without multiple quality checks.

This is Stan, and he’s our Project Manager at FS. His team is responsible for making sure projects get the proper attention they deserve throughout the entire process here.
Step 6: Your Films Come Home (or Don't)
99 times out of 100, our customers want their original reels back. And if you ordered our door to door service, then EVERYTHING is coming back your way once it makes it through QC.
But in the event you don't want your originals back, (and TBH, what exactly are you going to do with them?) we offer a recycling service for no additional charge.
HOW MUCH DOES 16MM FILM CONVERSION COST WITH A PROFESSIONAL SERVICE?
Okay, so let's break this down real quick. It's actually not going to take too long, because we try to keep the pricing pretty consistent and easy to understand. 16mm to digital conversions are priced per reel at FS, with the size of the reel determining the cost. This is in lieu of pricing per foot, or some other weird model that takes a ton of legwork or time.

16mm reels can get pretty huge, but we’re equipped to handle some VERY large 16mm reels.
Reels are broken down into Small, Large & XL by diameter. Reels 4" and under are considered Small, 7" and under are considered Large, and over 7" are XL. The cost per reel is as follows (at the time of writing):
Small Reels - $12
Large Reels - $29
XL Reels - $95
If you want Forever Gold processing on the reels, budget an extra $5 per reel.
If you're wondering why the price escalates somewhat "rapidly" as the reels get bigger, it's actually because the amount of film increases dramatically the larger the reel gets. Each time the film wraps around the reel, it's a longer trip around.
Why a Pro 16mm to Digital Conversion Service is Probably The Best Way to Enjoy Your Home Movies Again
When it comes to converting those cherished 16mm film reels into digital files, a professional service like Forever Studios is often the best route. Why? Let's take one last look.

Another look at our film department here at FS. During the day there’s a constant clacking of projectors running film projects. The noise is oddly calming to be honest.
THE COMPLEXITY OF THE 16MM CONVERSION PROCESS
Converting 16mm film to digital is a meticulous process that involves more than just transferring images from one medium to another. It requires a thorough understanding of both film and digital technologies. Professionals use specialized equipment, like high-resolution film scanners and telecine machines, which are often cost-prohibitive for amateur use.
QUALITY PRESERVATION OF YOUR 16MM FILM
Professionals ensure the highest quality conversion by meticulously handling film reels with care and precision. They can execute tasks such as color correction, reducing graininess, and repairing minor damage that might not be apparent to the untrained eye. When done by amateurs, there’s a higher risk of compromising the film through improper handling or subpar transfer equipment.
THE ROLE OF PROFESSIONAL EQUIPMENT & SOFTWARE
Additionally, professional-grade software is used for editing and restoration, enabling the correction of timing errors and synchronization of visuals and audio. Such precision is difficult to replicate with homemade setups or consumer-grade equipment, ensuring professionals deliver superior results.
WHEN RESULTS MATTER, EXPERIENCE MATTERS
Perhaps one of the greatest advantages professional film transfer services offer is experience. Technicians working with film conversion services have likely converted hundreds, if not thousands, of reels. Their familiarity with the common challenges and nuances of 16mm film ensures that potential issues are identified and managed effectively. This experience is invaluable in delivering a final product that both meets expectations and stands the test of time.

Ready to digitize it right the first time?
Bring your tapes, film, and photos to the team that treats every project as irreplaceable. All work is handled in-house in Boca Raton, never outsourced.