Photo Scanning Is Only the First Step
Scanning your photos is where preservation begins, not where it ends. Learn what actually determines whether your digital files will last and be usable for decades.
Contents
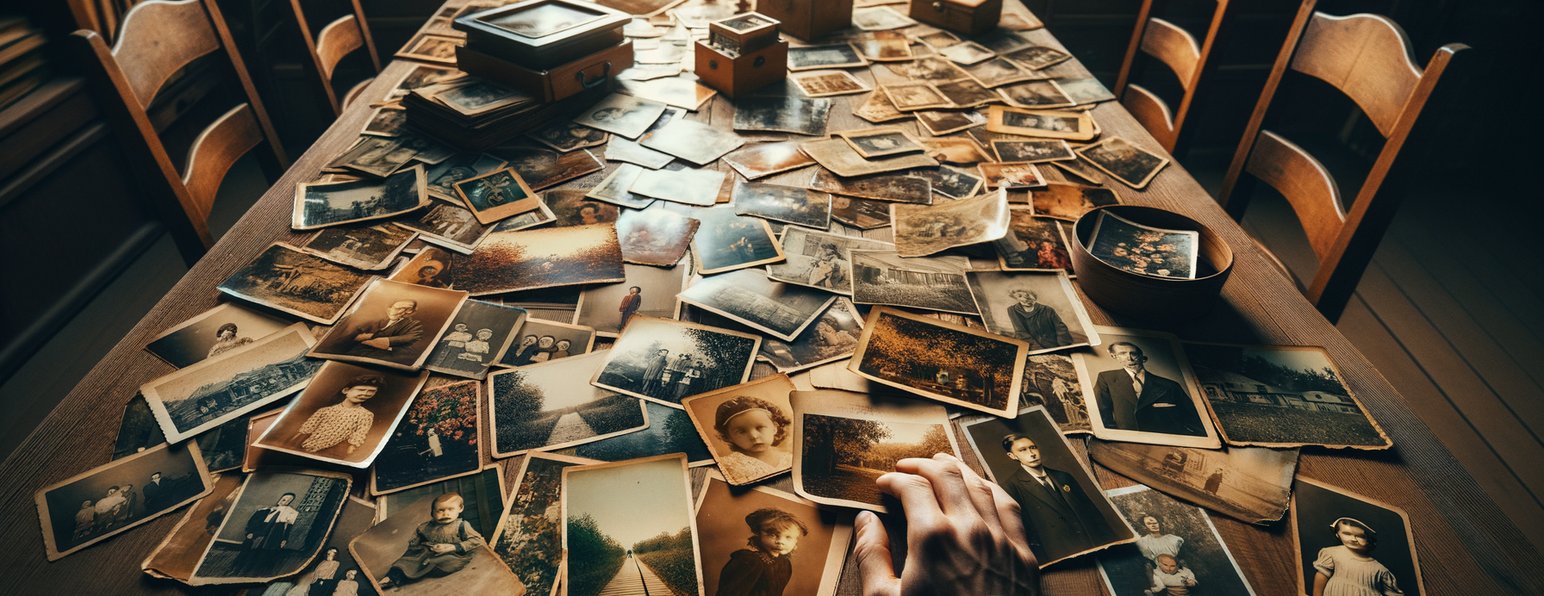
Most people find the box the same way. It's in the back of a closet, or stacked in a garage, and when they open it they find photos that have been quietly deteriorating for years: stuck together, faded, corners soft and yellowing. The instinct is to get them scanned. Get them safe.
That instinct is right. But scanned and safe are not the same thing, and what happens between those two words is where most of the outcome gets decided.
A scan takes seconds per image. What surrounds that scan: the resolution settings chosen for each photo type, how albums are handled, whether damaged originals are flagged before they're touched, how files are organized afterward, where they ultimately live. That takes judgment, process, and experience. None of it shows up in a price-per-photo quote.
Scanning is the beginning. Everything else is what preservation actually looks like.
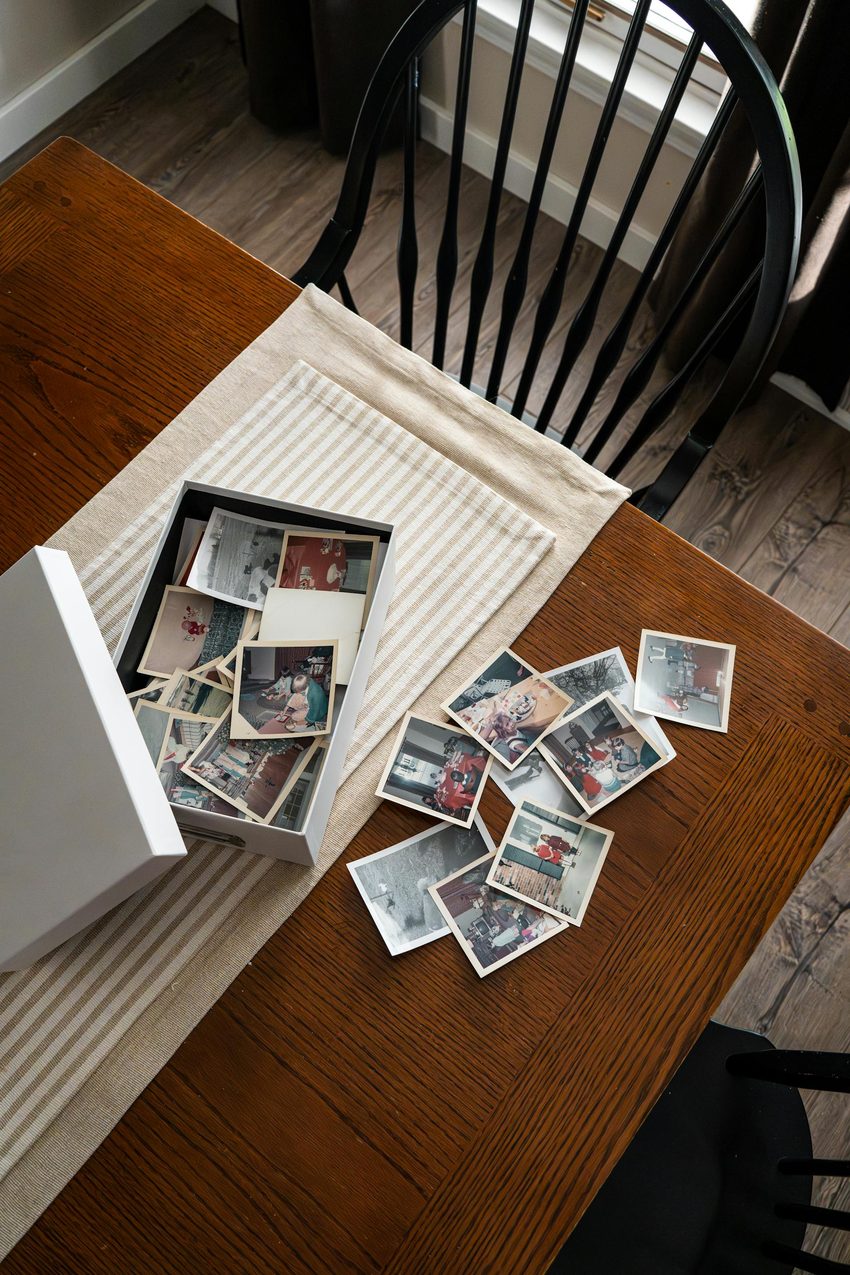
A box of old family photographs is where most preservation projects begin. What happens next determines whether they actually last.
What a Scan Produces, and What It Doesn’t
Here's what you actually get when a photo goes through a scanner: a digital file. A translation of physical light into data. That's the transaction.
A digital file is not the same as a preserved memory. The file can be blurry. It can be the wrong resolution for any practical future use. It will capture every scratch, crease, and fade in the original with complete accuracy, fixing none of them. And once those files land in a folder alongside eight hundred others with no naming logic, you've got a digital archive that's essentially as hard to use as the box in the closet.
This isn't a hypothetical. It's what commodity scanning produces.
Real preservation requires something more deliberate: the right resolution matched to the photo type, quality checks to catch problems before they become permanent, file organization that maps to how people actually search for photos, and a clear process for what to do when an original is damaged and not just old.
The distinction matters because once the originals are packed up and returned, the window is closed. There's no going back for a higher-resolution re-scan. No recovering the detail a better scan would have captured. You get one shot.
The Resolution Question Nobody Explains Well
Ask a scanning service what DPI they scan at. Most will give you a number. Few will explain why.
DPI (dots per inch) measures how much information the scanner captures per unit of area. For a standard 4x6 print intended for digital sharing and moderate reprints, 600 DPI is an adequate baseline. For photos that will be enlarged, printed large, or used in restoration work, 1200 DPI gives artists substantially more to work with. For 35mm slides and small-format originals like wallet prints or 110 film, 2400 DPI or higher is typically required. Small originals have limited detail to give, and you need to capture all of it.
A service that scans everything at a single fixed DPI is applying one tool to a problem that requires judgment. They'll be right for most photos. They'll be wrong for the ones that matter most.
Format is the other half of this. A JPEG compresses the captured data, which is fine for sharing, but discards some of what the scanner detected. A TIFF preserves every bit. When an image goes to restoration or large-format printing, that distinction becomes a hard limit on what's possible. Which format you get back should be a choice you make, not a default applied to everyone.
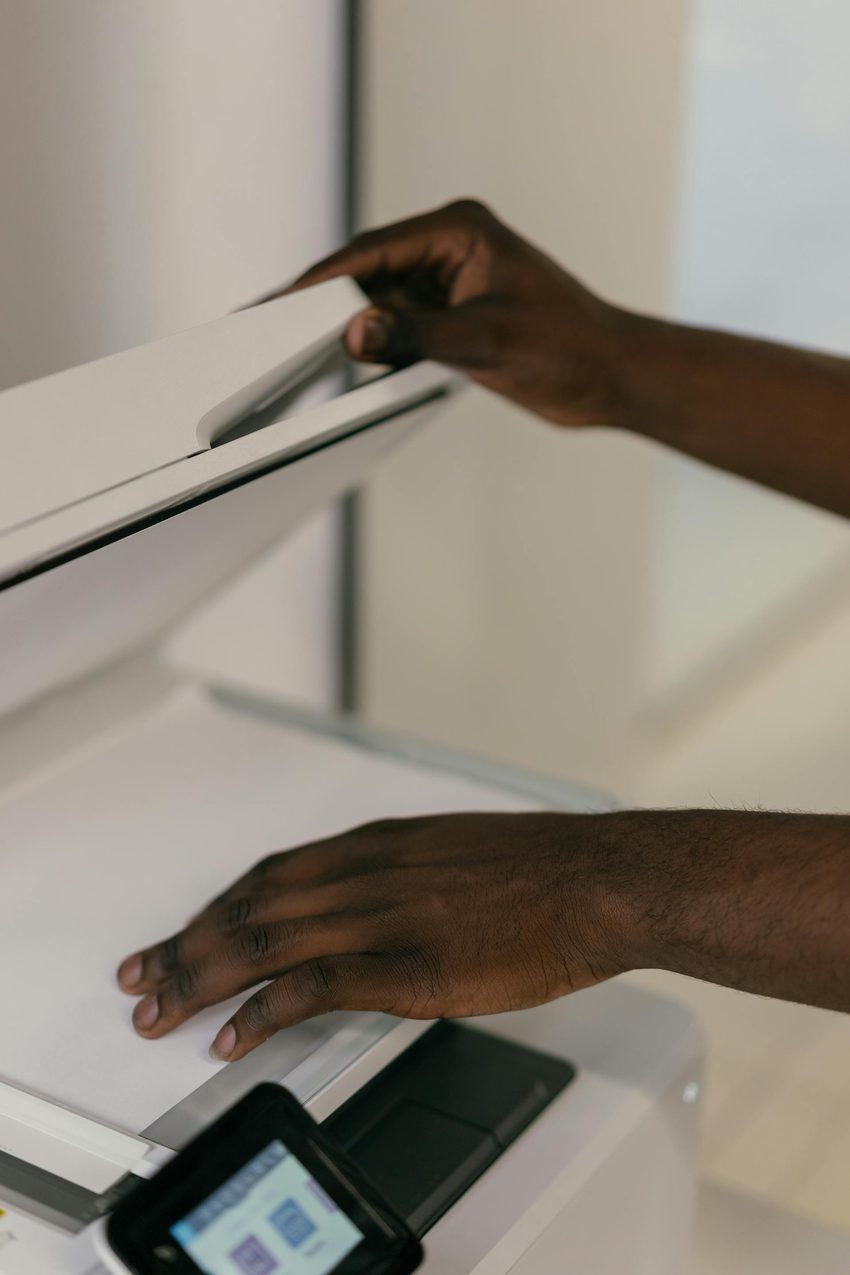
Resolution and format decisions are made at the scanner. Once an original is returned, there is no opportunity to re-scan at a higher setting.
Handling: The Variable That Gets No Attention
Resolution and format are technical settings. Handling is physical. And it's where irreversible damage can happen before the first scan is made.
Loose photos are relatively manageable. Albums are not. Older albums use adhesive mounting systems that can be nearly impossible to reverse safely. Removing a well-glued photo the wrong way strips the emulsion, creases the surface, or leaves residue that compounds the existing damage. Some older adhesive pages carry static that pulls fragile photos apart unpredictably. Spiral and ring-bound albums have hazards at the spine.
Photos repaired with tape are worse. The tape yellows and contracts over years, pulling on whatever it's attached to. Handle those carelessly during scanning and you can turn a minor historical repair into new damage.
A professional workflow has protocols for all of this built in. Not because these problems come up constantly (they don’t), but because when they do appear, the right response is already part of the process. Photos are assessed before they're touched. Problem items are flagged. Handling decisions are made per-item.
This doesn't add much time. It adds an enormous amount to the reliability of the outcome.
When the Scan Isn't Enough: The Restoration Connection
A lot of people expect that a high-quality scan of an old faded photo will produce a crisp, clear digital image. It won't. It produces a high-quality digital file of a faded photo.
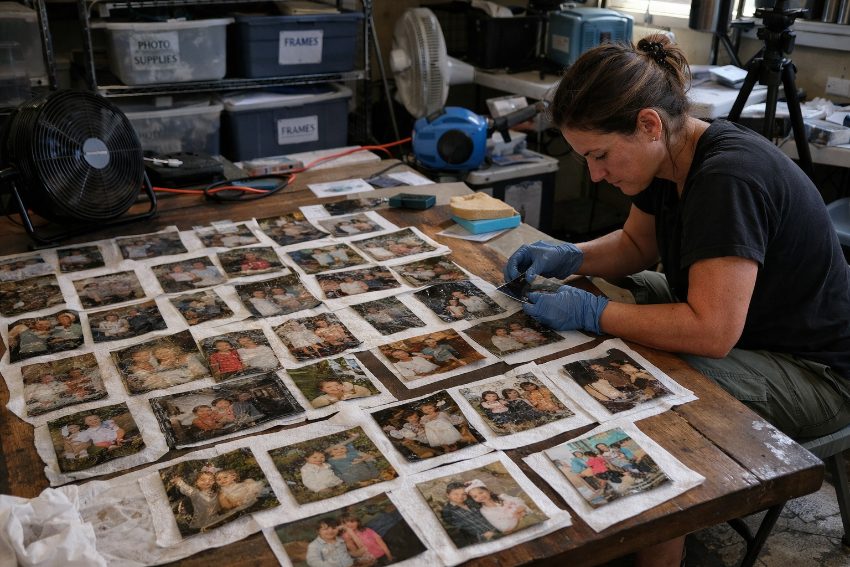
Scanning captures what's there. It doesn't correct what's missing. A photo that has lost half its detail to sun exposure over decades, one that was torn and flattened back together, one with water damage that has softened faces and blurred backgrounds. Scanning those faithfully is the right first step. But if the actual goal is recovering the image, the scan is just where photo restoration starts.
The two are more connected than most people realize. Scan a photo at 1200 DPI versus 600 DPI, and the difference feels subtle in the moment. But for a restoration artist, those are two completely different starting points. One gives them detail to work with. The other gives them limits. A decision made in a few seconds during scanning can determine what's possible months later in restoration.
Scanning and restoration aren't separate menu items. They're consecutive steps in a process that either works well together or doesn't.
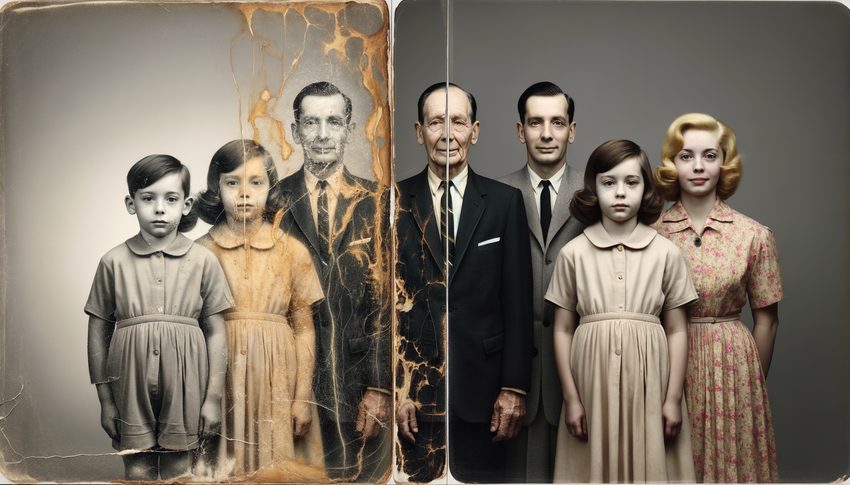
A high-resolution scan provides the foundation for restoration. The decisions made at the scanning stage directly determine what the restoration artist has to work with.
File Organization: The Part That Gets Ignored Until It Becomes a Problem
Digitizing photos creates a volume problem. A modest box of loose photos can generate 300 files. A few albums can generate a thousand. If those files come back unnamed, unsorted, and dumped into a single folder, you haven't simplified anything. You’ve moved an inaccessible physical archive into an inaccessible digital one.
Good organization doesn't require an elaborate system. It requires intent. Clear folder structures. Filenames that include a date or descriptor. Some logic for keeping photos from different sources and time periods together. If photos are arriving from multiple albums or batches, each batch should carry its context into the output.
This matters because one of the real goals of digitization, beyond the preservation itself, is access. The ability to find a specific photo. To share it with a sibling, or a grown child, or someone who never met the person in the picture. To locate a photo from a particular decade without scrolling through hundreds of others.
A service that treats file organization as outside its scope is delivering half a preservation outcome and calling it complete.

Organized digital files are what make a photo archive actually usable. The goal isn't just preservation. It’s about access.
Where Your Photos Live After the Scan
Most people think about storage last. It's usually the thing they regret most.
A single copy of your digital photos on a USB drive is not preservation. USB drives fail. Hard drives fail. Computers get stolen. A flood or fire that destroys your original photos will take the USB with them if they're stored in the same room.
Actual preservation means multiple copies in multiple locations, with at least one off-site or cloud-based. In practice, that's cloud storage plus at least one local backup on a drive that lives somewhere other than the same shelf as the originals.
The Forever Cloud is built for this. Secure server storage, accessible from any device at any time, that doesn't depend on any single physical object surviving intact. Paired with a local backup, that's the redundancy that actual long-term preservation requires.
What Separates a Photo Scanning Service from a Preservation Partner
The photo scanning market covers a wide range. On one end, large mail-in services that process thousands of photos a day. On the other, smaller preservation studios that work more carefully through each collection. Neither is inherently better. They’re different, and right for different purposes.
If you have a large volume of modern, undamaged prints and you mostly want them digital so family can see them, a commodity service can accomplish that at a reasonable per-photo price.
If your collection includes older prints, fragile or damaged originals, mixed eras and formats, photos that will be enlarged or restored, or originals that are the only existing copies of something irreplaceable. That's a different problem. It needs a different kind of service.
Ask concrete questions. What DPI do you scan at, and does it vary by photo type and intended use? How do you handle bound albums and adhesive pages? What happens when a photo is damaged? What format do files come back in, and how are they organized? Is photo restoration available, and how is that assessment made?
A service that answers those clearly and specifically has built a process. Vague answers usually mean the process hasn't been built yet.
What the Beginning Actually Means
The scan is the moment of capture. The window opens. What gets recorded is decided. It's worth doing carefully, with the right equipment and settings, handled by people who understand what they're working with.
But the full outcome is built across the whole process: files you can actually use, organized so you can find them, backed up so you can’t lose them, connected to restoration when the originals need it. It starts with choosing a service that has actually built that process, rather than one that built a high-throughput scanning operation and named it preservation.
That's why Forever Studios exists. Our photo scanning service is a complete preservation workflow, not just a way to move photos through a machine. We assess each collection before anything is touched. We apply resolution settings appropriate to each photo type and its likely use. We handle fragile and damaged originals with care protocols developed through years of working with exactly these materials. We connect scanning directly to restoration when images require it. And our Forever Cloud storage ensures the digital archive has the redundancy real preservation demands.
If you have photos that matter, how they get digitized matters. Get started with our photo scanning service, or if you’d like to understand what the full process looks like first, learn how our process works.

The real goal of photo preservation is being able to share memories across generations. That requires more than a scan. It requires the full process.
FAQ
What resolution should photos be scanned at?
For most standard prints, 600 DPI is adequate for digital sharing and reprints. Photos that will be enlarged, restored, or are especially important should be scanned at 1200 DPI. Small-format originals like slides and wallet prints typically need 2400 DPI or higher.
Is JPEG or TIFF better for scanned photos?
TIFF preserves all captured data without compression, making it ideal for archival use, large-format printing, and restoration. JPEG is fine for sharing and takes much less storage. Ideally you get TIFF masters with JPEG copies for everyday use.
Do I need photo restoration if I'm just scanning?
Not always. But if photos are faded, damaged, or compromised, scanning preserves the damage rather than correcting it. Photo restoration works best from a high-resolution scan. Many people discover they want restoration after seeing their digital scans clearly for the first time.
How should I store my digital photos after scanning?
Multiple copies in multiple places. At minimum: cloud storage plus at least one local copy on a drive kept separately. A single USB or hard drive is not adequate preservation.
What happens to my originals after scanning?
They're returned intact. A professional service doesn't cut, modify, or damage originals to scan them. Album photos should be handled non-destructively whenever possible.
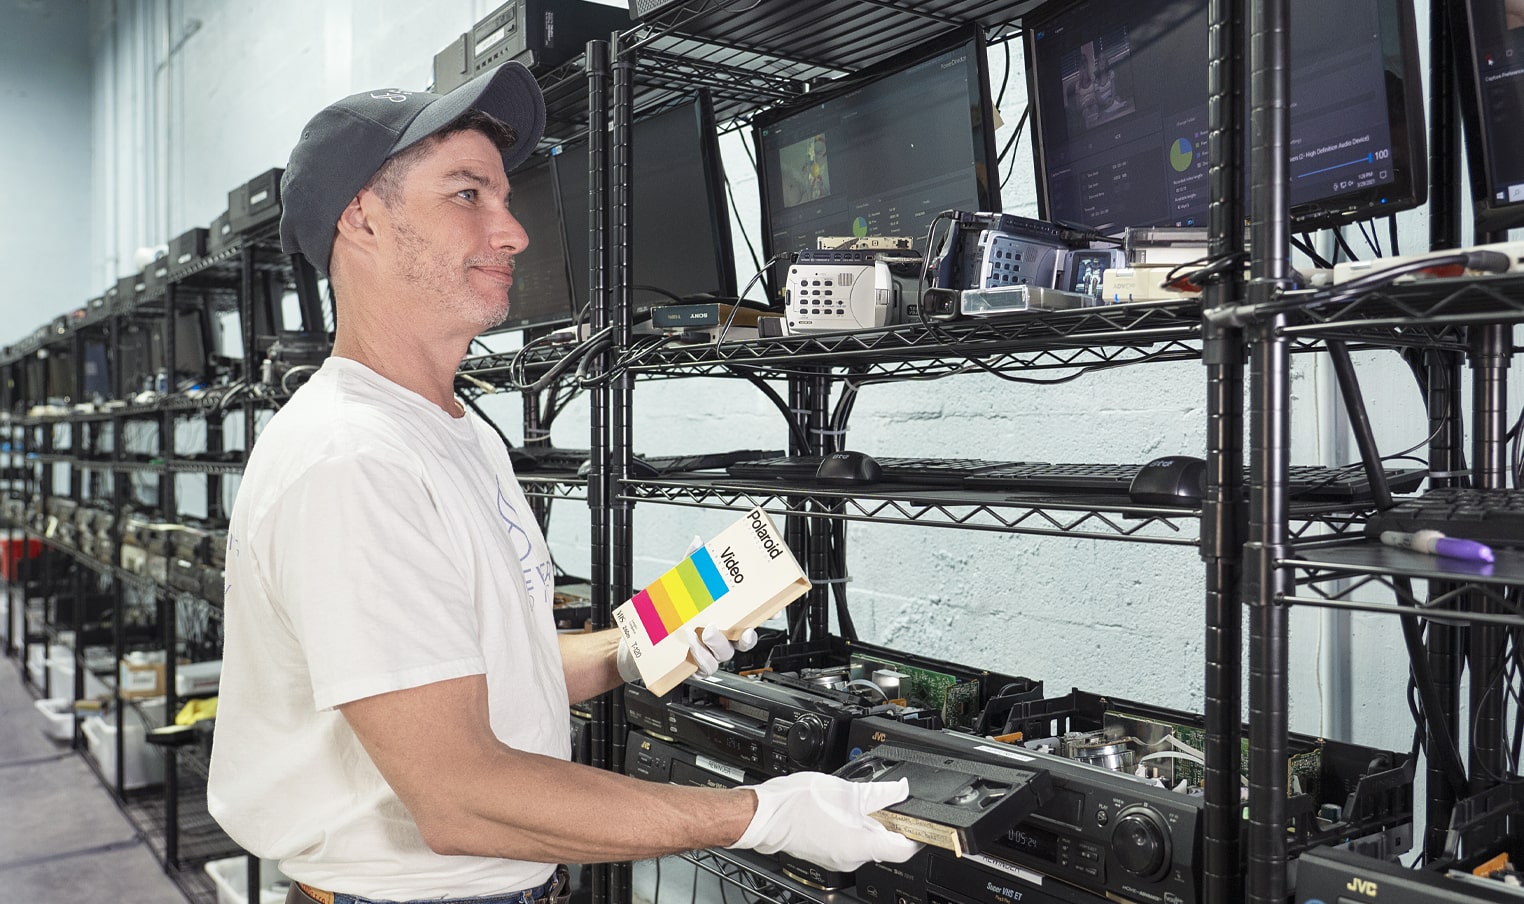
Ready to digitize it right the first time?
Bring your tapes, film, and photos to the team that treats every project as irreplaceable. All work is handled in-house in Boca Raton, never outsourced.