Hurricane Season Photo Rescue Checklist: What To Do in the 72 Hours After Flooding, Humidity, or Power Loss
Professional checklist for saving flood-damaged photos in the critical 72 hours after a hurricane hits Florida.
Contents
- Get photographs out of floodwater within 6 hours. Lift photos by the edges only to prevent the image layer from tearing.
- Within 24 hours, rinse items exposed to contaminated floodwater with clean running water. Sewage and chemical residue will continue damaging photos if not rinsed away.
- Photos that are lightly wet can air-dry when placed face-up on absorbent material with fan circulation. Freeze saturated photos immediately to stop mold.
- Mold spores start growing on wet photo emulsion within 48-72 hours when temperatures reach 70°F and humidity exceeds 70%. Freezing stops all deterioration for as long as photos remain frozen.
- Professional restoration recovers 80-95% of original appearance if photos were rinsed, dried flat, and kept mold-free in the first 72 hours.
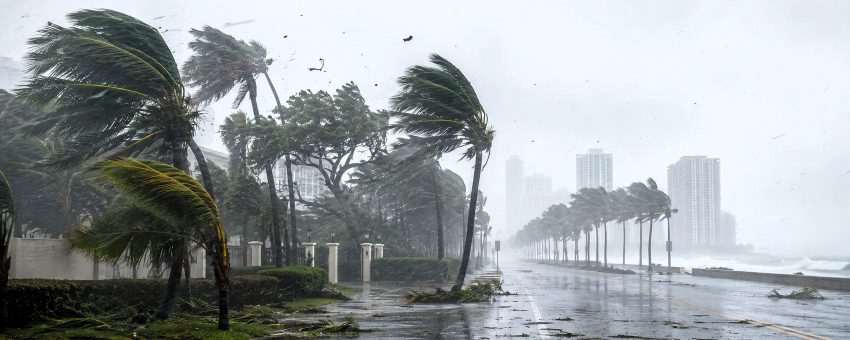
Severe weather events require immediate action to protect irreplaceable photographs and digital storage devices from water damage.
Step 1: How Quickly Must I Remove Photos from Floodwater?
Photographs submerged in floodwater absorb contaminants and begin structural breakdown within hours. Modern color prints delaminate, older gelatin silver prints soften, and Polaroids separate into layers. Retrieval method matters: Lift photos by the edges or corners only, never from the center where the image layer is weakest. When photos are stuck together in albums or boxes, remove the entire block without attempting to separate individual prints. Trying to peel apart wet photographs causes immediate emulsion tears that no restoration process can fully repair.
Hurricane floodwater carries sewage, industrial chemicals, soil bacteria, and organic matter that continue damaging photographs after water recedes. According to FEMA disaster recovery guidelines, contaminated materials require rinsing with clean water within 24 hours. For photographs: gentle rinse under slow-running tap water to remove visible debris. Not a spray, use controlled flow. The water will look dirty; that's correct. Skip this step only if your water supply is compromised. Some damage from contamination is immediate; some develops over weeks as residual chemicals react with the photographic emulsion.
Step 2: How Do I Sort Flood-Damaged Photos by Material Type?
Different photographs require different drying methods, and in a mixed photograph collection, prints can chemically transfer to other materials during drying. Modern color prints (drugstore prints, instant home printer prints) can air-dry. Older black-and-white prints need lower humidity. Instant films such as Polaroid must be frozen immediately as the film slowly dries and deteriorates as it sits. Negatives are generally sturdier than prints but there are exceptions. Some negatives may curl up very quickly while others may not dry flat.
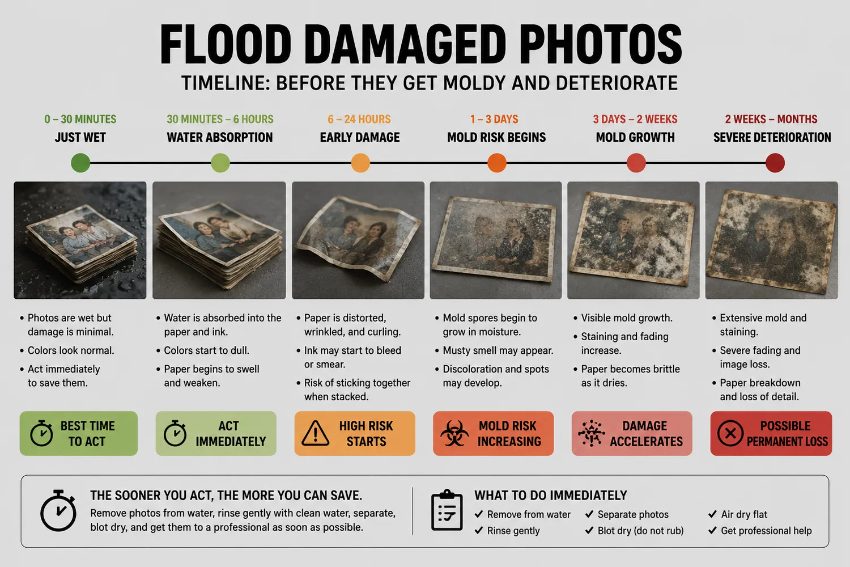
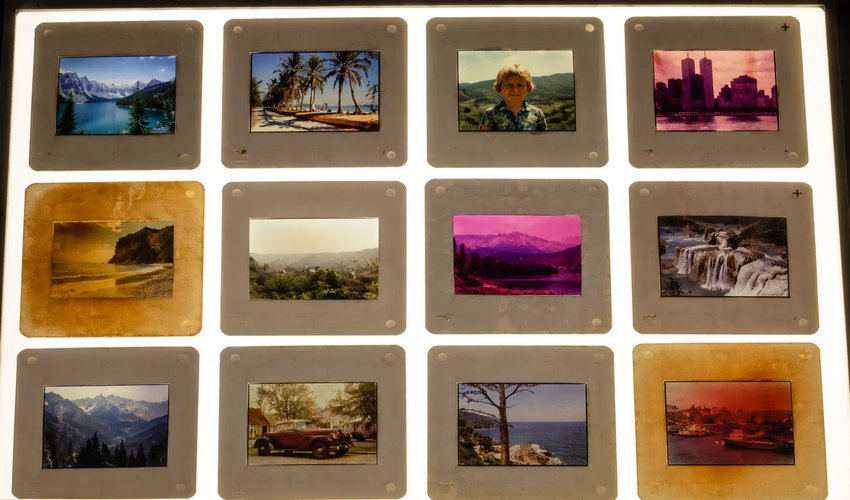
Understanding the stages of water damage helps prioritize which photographs need immediate professional attention.
Create three groups: • Prints that remain rigid (lightly wet) • Prints that are completely limp (saturated) • Anything showing visible mold spots or strong mildew smell Rigid prints can air-dry. Saturated prints need controlled drying or freezing. Anything with active mold gets isolated immediately. Mold spores spread through air contact and will colonize every wet photograph in the room within 24-48 hours under Florida's post-storm humidity conditions.
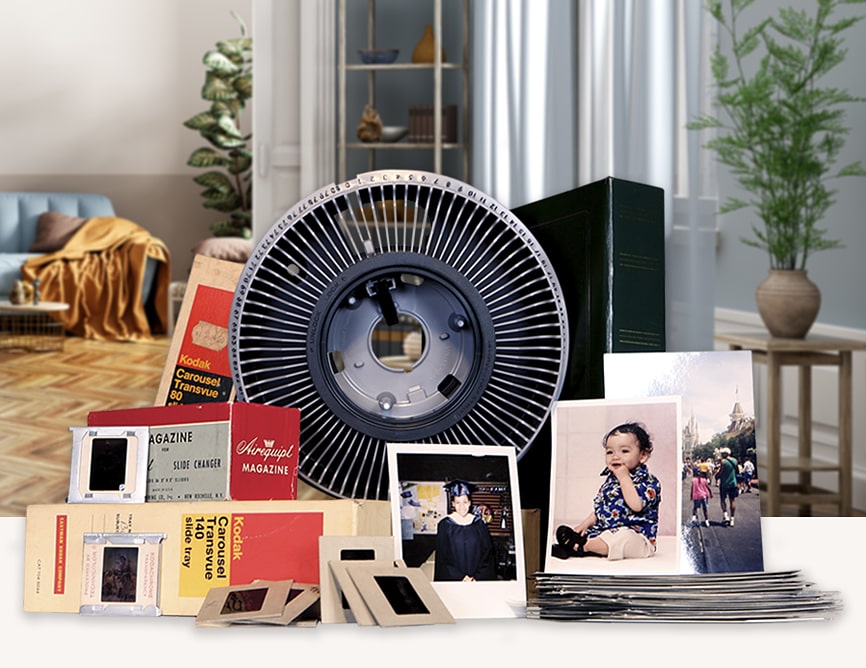
Forever Studios · Boca Raton, FL
Photo Scanning Service
High-resolution scanning for prints, albums, and loose photos.
LEARN MORE →Step 3: What Is the Correct Method to Air-Dry Wet Photographs?
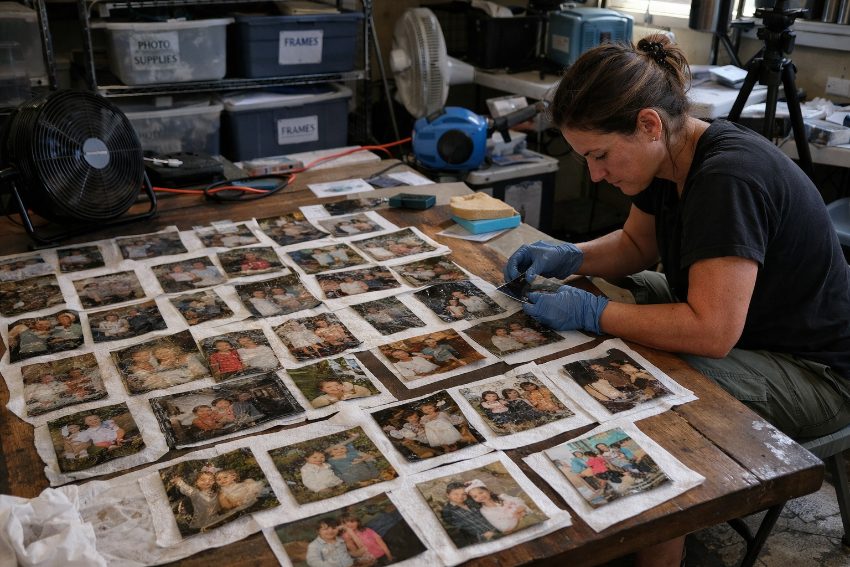
Photographs that spent minimal time underwater and show no buckling can air-dry successfully within 24-48 hours if you move fast. Lay prints face-up on absorbent material: paper towels, cotton sheets, or unprinted newsprint. Never lay them face-down; the emulsion will stick. Do not use printed newspaper; the ink transfers to wet emulsions. It is also important to allow space between the photographs and try to avoid stacking the photographs, even if you place something between each print.
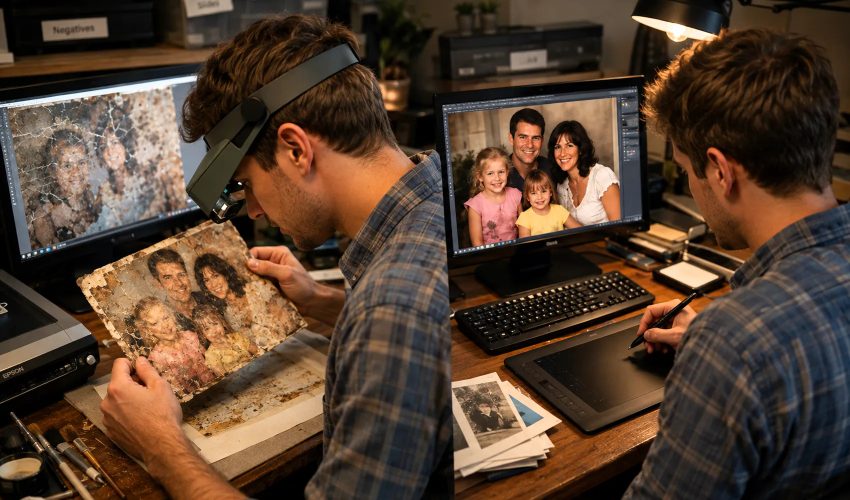
Professional restoration can recover images from photographs damaged by flooding or extended moisture exposure.
Point fans near the drying area, not directly at the photographs. Direct airflow causes uneven drying that produces permanent waves and curls. When there is no electricity available then it is best to set up your drying area so that there is cross-ventilation by opening up opposite windows on the walls. Prints that have only been slightly affected by water will typically dry in 1 to 2 days. Prints that have been very wet, could take 3 to 4 days to fully dry, and in these cases it may be best to have them dried professionally.
Step 4: When Should I Freeze Saturated Photos Instead of Drying Them?
Freezing stops all deterioration processes and buys time for proper treatment later. The American Institute for Conservation of Art and Historic Materials states that damp stored photographs are stable when kept frozen for as long as necessary and can be treated at your leisure when circumstances allow.
Place wet photographs in plastic freezer bags without pressing out air (leave space for expansion). Label bags with basic content descriptions using permanent marker. Frost-free freezers work best; manual-defrost models create ice crystal formation that causes minor texture damage. Do not freeze photographs that are merely damp. Freezing is for items that are saturated and at immediate risk of mold, typically anything that was underwater for more than a few hours.
"We regularly receive frozen photographs from customers who acted correctly during the emergency and brought materials to us months later when insurance settled and life stabilized. Freezing bought them time. In many cases we recovered images that would have been total losses if they'd attempted air-drying in a garage with no power and 90 percent humidity. " Zachary G., Lead Restoration Technician, Forever Studios, Forever Studios
Step 5: How Do I Prevent Mold in the Critical 48-72 Hour Window?
Mold is the primary failure mode for hurricane-damaged photographs in South Florida. Spores spread through floodwater and germinate on any organic material (like photographic emulsion) given adequate moisture and warmth. Research from the Image Permanence Institute shows that mold colonies establish within 48-72 hours at temperatures above 70°F and humidity above 70 percent.
You cannot prevent mold by wiping photographs with bleach or alcohol, both cause immediate emulsion damage. Prevention means fast drying or freezing. When photographs must remain in less-than-ideal conditions (common when entire neighborhoods lose power), isolate them from other wet materials, maximize air movement, and check daily for white fuzzy growth or musty smell. Surface mold on prints that dried within 48 hours generally brushes off with minimal staining. Surface mold allowed to sit for less than 24 hours can sometimes be brushed off outdoors after drying, but established colonies penetrate the emulsion and leave permanent staining.
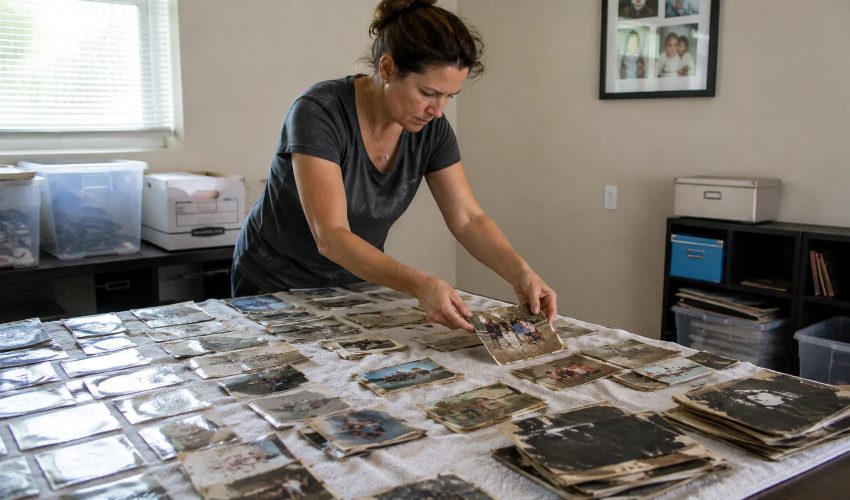
Careful handling and proper spacing of wet photographs helps prevent mold growth in the hours following water exposure.
Step 6: What Do I Do with Photos Stuck Together in Wet Albums?
Photographs stuck together in wet albums or boxes present the hardest decision point. Attempting separation while wet causes guaranteed emulsion loss; the image layer peels from the paper base and adheres to adjacent photos. Trying to peel apart wet photographs causes immediate emulsion tears that no restoration process can fully repair. But leaving them stuck risks mold growth through the entire block. Correct approach depends on timing: • Within 24 hours with immediate freezing available: freeze the entire block without separation. Intact • At 48 hours with poor drying conditions: freeze it • With good drying conditions and a relatively thin block (under 20 photos): you can attempt soaking and gentle separation, but this requires specific technique that most people don't have
Submerge the block completely in cool clean water and allow it to soak for 15 to 30 minutes. This should dislodge photographs which have adhered to the surface of the block and enable them to be carefully removed. Allow the photographs to dry completely before handling them. Be prepared to spend hours to days to release the pictures from books of considerable size. Only about 60-70% of the pictures can be released by experienced rescuers. Most people will damage more pictures than they can save. Polaroids, slides and negatives that have been stored in a block of prints with them must be removed and sent to a trained and experienced conservator for individual restoration as these materials react differently when wet and require different treatment in order to avoid further damage. The different formats can in fact cause more damage if treated incorrectly.
Step 7: What Level of Restoration Is Possible After Hurricane Water Damage?
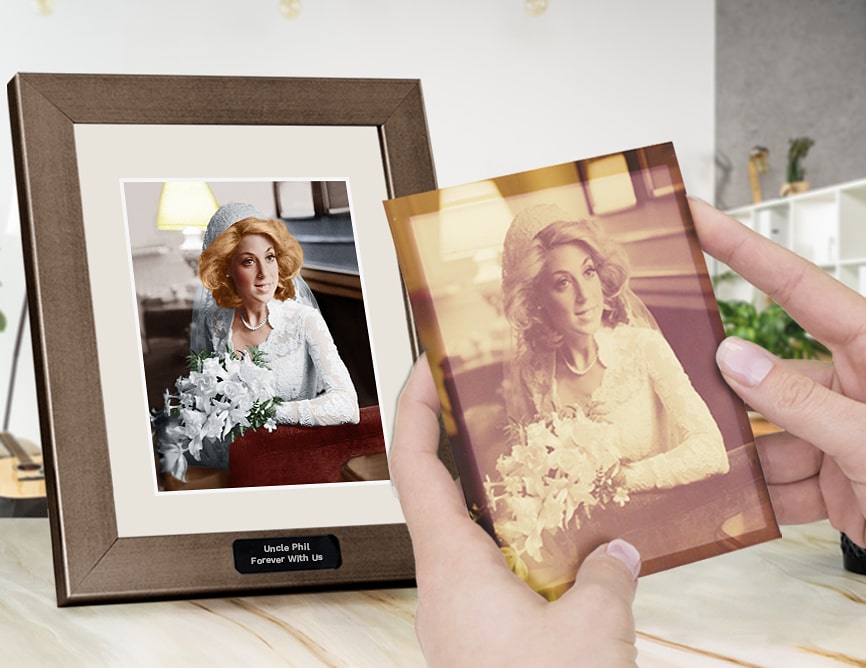
Professional restoration can recover substantial image content from hurricane-damaged photographs, but success depends entirely on what you did in the first 72 hours. Photos that were rinsed, dried flat, and kept mold-free typically restore to 80-95 percent of original appearance. Photos with mold staining restore to roughly 60-70 percent; stain reduction is possible but fungal damage penetrates emulsion layers and cannot be fully reversed.Photos where emulsion delaminated or stuck to other surfaces often cannot be restored because the image layer is physically gone. We don't restore photographs, we restore what you preserved during the emergency window.
Forever Studios is a professional photo and video preservation studio in South Florida, founded in 2007. Restoration work begins after emergency stabilization is complete. Immediate priority is stopping deterioration; cosmetic repair happens later when you have time to select which photographs matter most and what restoration level makes sense. Restoration cannot fix: photos that sat wet in garages for two weeks and developed heavy mold, or photos customers tried to separate while saturated and tore the emulsion. Those decisions happen in the 72-hour window, and they determine what's possible months later when you reach a professional service.
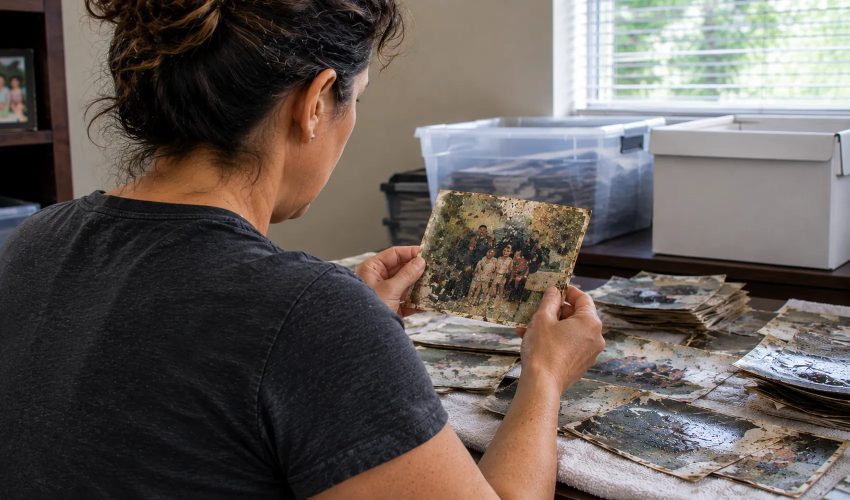
Professional assessment helps determine which photographs can be successfully restored after water exposure.
Forever Studios · Boca Raton, FL
Professional Photo Restoration
Damaged, faded, or torn photos restored by hand by our artists.
GET STARTED →Can I scan water-damaged photos immediately or should I wait until they are restored?+
Wait until your photos are dry and flat before you start scanning them. If your photos are wet or buckled when you start scanning them, the resulting files will be of poor quality. Severely damaged photos are best restored professionally before they are scanned. After restoration, colors shifts, stains, etc. can be corrected and resulting tears can be repaired to result in a better archival quality digital file than would be the case if the severely damaged original photo were to be scanned.
How do I know if mold on photos is permanent or can be cleaned?+
Surface mold can usually be brushed off of dried prints (within 48 hours) without leaving any stains. However, surface mold that has been allowed to sit for days penetrates into the emulsion and will cause irreversible staining in the form of brown or purple spots. Even in restoration, the visibility of mold staining can be reduced by 40-60% by digital retouching. However, the damage caused by fungi to the emulsion cannot be completely reversed as it causes physical changes to the chemical make-up of the emulsion.
Should I use a hair dryer or oven to dry wet photos faster after a hurricane?+
No. As soon as you apply heat to a photograph it suffers instant and permanent damage. The paper base of a photograph curves, the colors change in tone. Black and white prints become brittle and develop surface cracks. Polaroid prints develop between the individual layers of print. You must allow photographic materials to dry using room-temperature air circulation. The National Archives’ emergency response for dealing with photographic materials states that these materials must dry at room temperature using moving air but no heat.
★★★★★
"I didn't think it was possible to have a photo, that was badly damaged, come back to life. My grandfather worked around greasy machinery and the photo came from his dirty wallet. It was bumpy and had scratches that I couldn't fix in Photoshop. My jaw dropped when I saw this photo come back looking like it did when it was brand new. Forever thankful!"
Debbie, verified customer review
★★★★★
"The professionalism and quality restoration provided by Forever Studios is unmatched. I am thrilled they were able to restore the photo of my Mom that was damaged in her storage building. Awesome experience!!"
Cheryl, verified customer review
Step 8: How Do I Protect Photographs from Future Hurricane Flooding?
Store your photos in closets on upper floors of your home or in waterproof containers above the flood level. Scan all of your irreplaceable family photos before the hurricane season. Store your negatives in a separate location from your printed photos. Move your photos to higher ground even if there is no water in your home yet. By the time the storm surge predictions change within hours, it will be too late to move your photos and they will get damaged before you can even try to save them.
Ready to digitize it right the first time?
Bring your tapes, film, and photos to the team that treats every project as irreplaceable. All work is handled in-house in Boca Raton, never outsourced.