Forever Studios Pro Recreates NASA Art for Kennedy Space Center
Kennedy Space Center asked Forever Studios Pro to scan, restore, recolor, and print historic NASA artwork. See what it took to bring them back to life.
Contents
Trying to recreate art pieces by capturing old photographic materials and working from that source can be an extremely specialized and time consuming process. What you’re looking at here will all make sense shortly.
The Kennedy Space Center has a huge back-catalogue of amazing NASA-themed artwork from over the years. But in trying to outfit their Admin Building, they had a very specific collection of artwork they wanted to use. The only problem was that the original art pieces were (you guessed it), not available for us to capture at the studio.
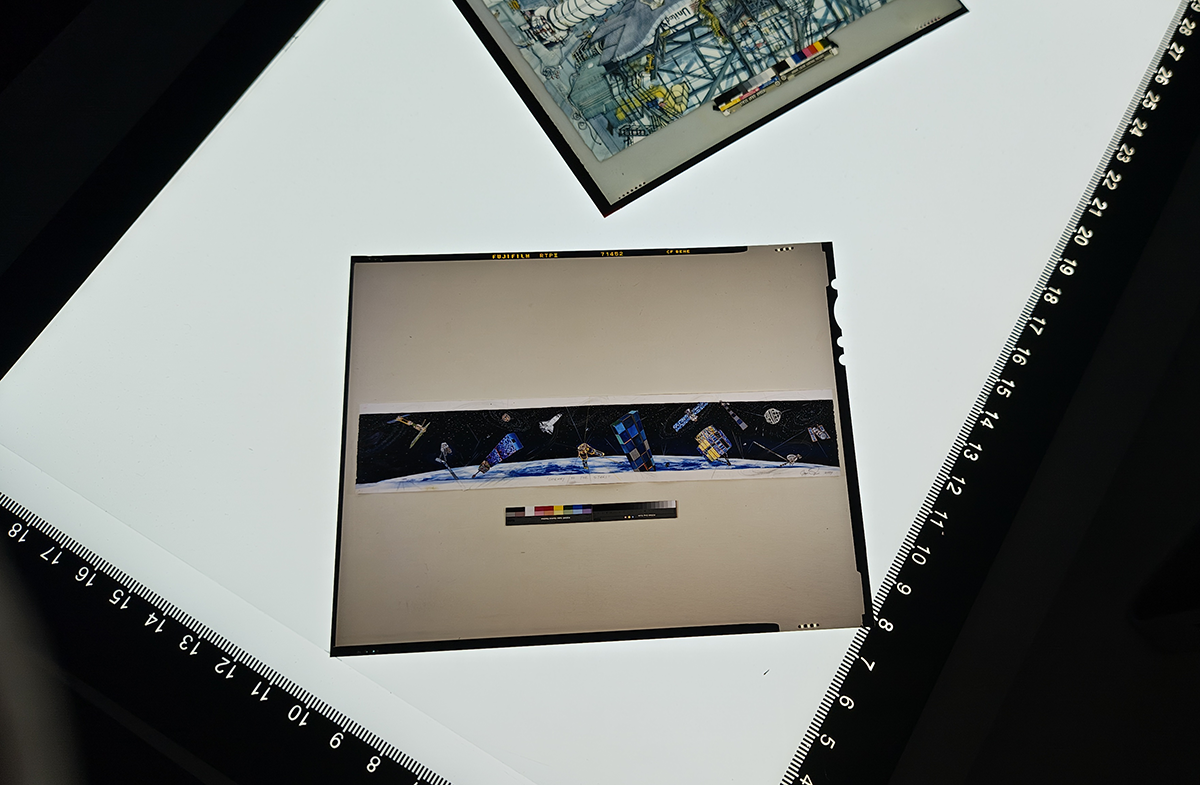
Instead, what we were presented with, was a collection of 19 photo film transparencies that were all decades old, at best. These transparencies being period captured images of the original artworks.
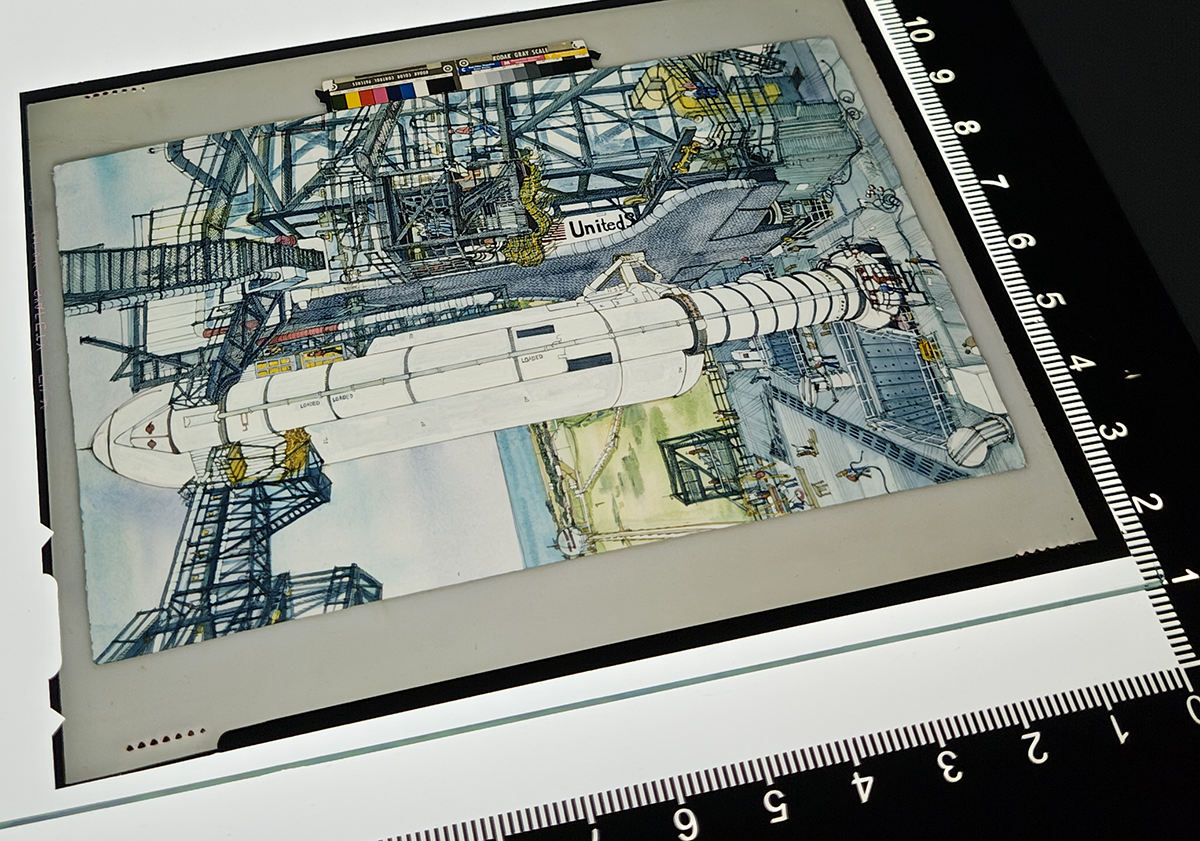
There are many cases where we have to work with old transparencies that are in far worse condition than this. Thankfully our friends at the Space Center did a fantastic job of preserving these images, specifically for a day like today.
Many cases involve transparencies in far worse condition than this. Thankfully our friends at the Space Center did a fantastic job of preserving these images, specifically for a day like today.
We were provided with very high quality photographs of the artwork prior to framing, which made it a straightforward task to select images to include in the catalogue. They were all old though, and therefore suffered from fading of color, and yellowing – all of which required some form of restoration.
"Working with aged transparencies means tackling two problems at once: capturing every tiny detail locked in the film while undoing years of color fading and yellowing. The darkroom setup, macro photography equipment, and RAW file workflow pull out details invisible to the naked eye in these old transparencies, then restore them to match what the artist originally created. Forever Studios PRO has refined this process across hundreds of projects, delivering archival-quality reproductions built to last for institutional clients."
Greg E., Preservation Specialist, Forever Studios
So let’s briefly talk about how the capture process works for old transparencies like this (especially when the end goal is to recreate them at the original artwork sizes, which may be 60” tall or more). The process we use at Forever Studios PRO is pretty unique, and specifically designed to produce the best possible results under this set of circumstances.
We start with a darkroom style environment where lighting conditions can be controlled with a significant degree of specificity. When capturing portraits or other artwork, this usually involves setting up those pieces of artwork at very specific angles, with specially selected LED-based lighting kits positioned just right to cast even light over the artwork while it is being captured by a high-resolution cameragh definition DSLR camera system.
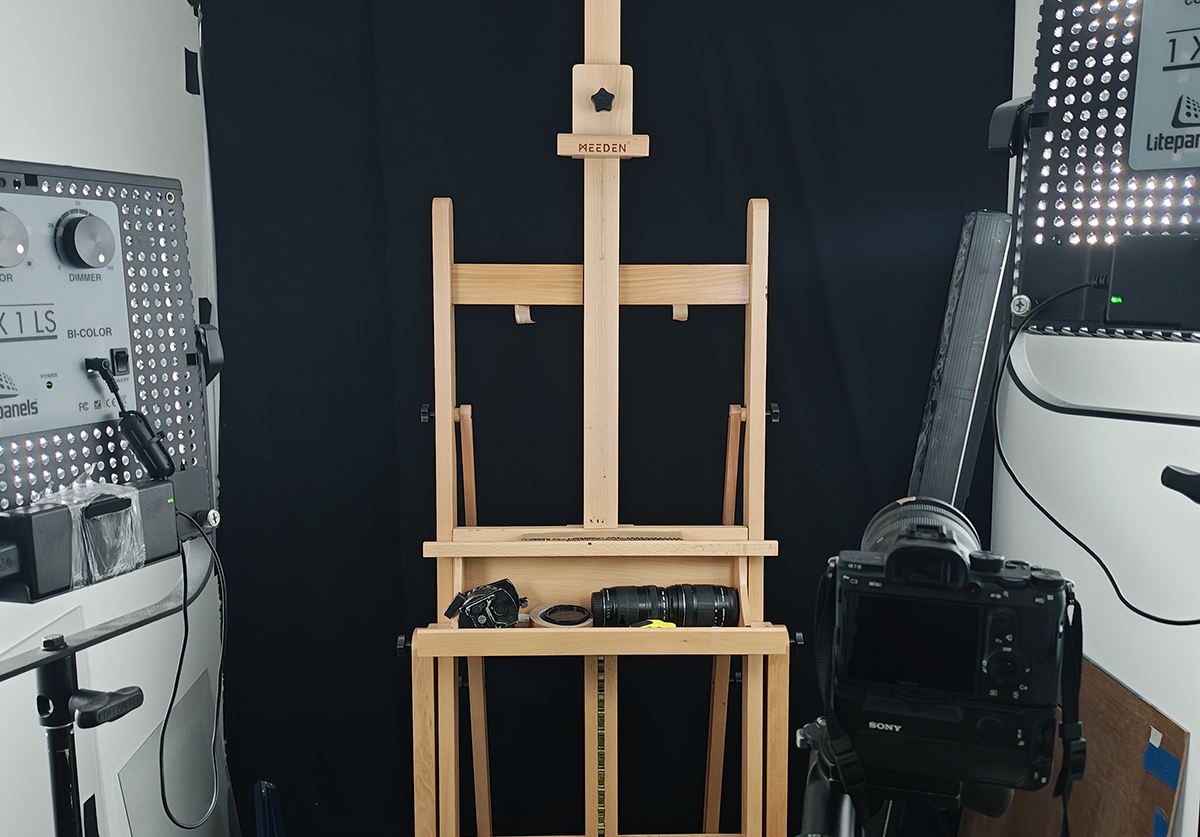
Typically when we’re working on the high def capture of large imagery or artwork that is meant to be reproduced, we perform what we call a “DSLR Capture”. But obviously a small transparency cannot be captured using an easel and lighting like this.
But when it comes to small image transparencies like the ones we received from Kennedy, this approach can’t be used, as the transparencies are both too small, and well, transparent. So the process shifts to make sure that there is no room for error in either the uniformity of lighting, or what’s behind the image (that could affect the capture).
The process begins in a darkroom environment. But instead of mounting the physical piece on an easel or the like, we lay it on an LED lightboard which can provide completely white, completely even lighting directly through the transparency. There’s no better way to make the transparency look more like the original moment that it captured.
Professional DSLR camera systems paired with macro lenses resolve maximum micro-detail in each transparency. The camera is then firmly mounted directly above the transparency on the lightboard in order to establish a solid visual chain of light, transparency and sensing through the film to the lens and the camera sensor.
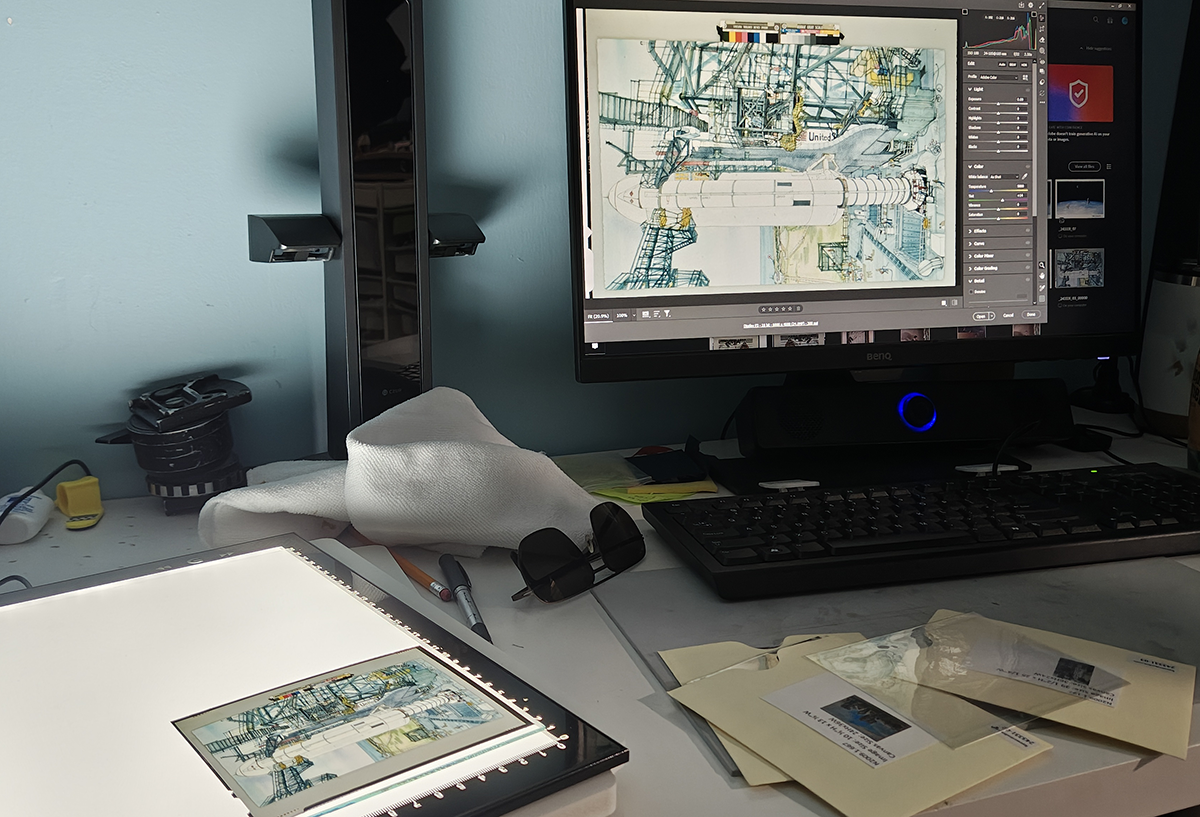
Here’s our DSLR Capture workflow in action. As you can see, the image in the transparency was just finished being captured, and now the basic characteristics such as exposure and white balance are being adjusted prior to saving the output.
Here is a demo of the new DSLR Capture workflow. The workflow first captures a transparency. Then you can set the exposure and white balance. Finally the capture is saved.
The setup extends beyond camera and lens. The darkroom is also equipped with a high specification PC. This PC displays what the DSLR camera is capturing. The PC displays the high quality image in real time. Therefore when we take the shot that is to become the capture we can be confident that it is a good shot to proceed with.
How Do You Color-Correct Aged Photographic Materials?
Capture of initial images for all 19 of the Space Center provided photo transparencies went relatively smoothly. Most of the images have been well preserved and now can use color correction to address the deterioration that has occurred with the images over time.
Forever Studios specializes in photo scanning, restoration, and film digitization—services that demand both technical precision and artistic judgment across thousands of preservation projects.
Captures shot using our DSLR process are captured in RAW format allowing for even the smallest detail in the shot to be manipulated.
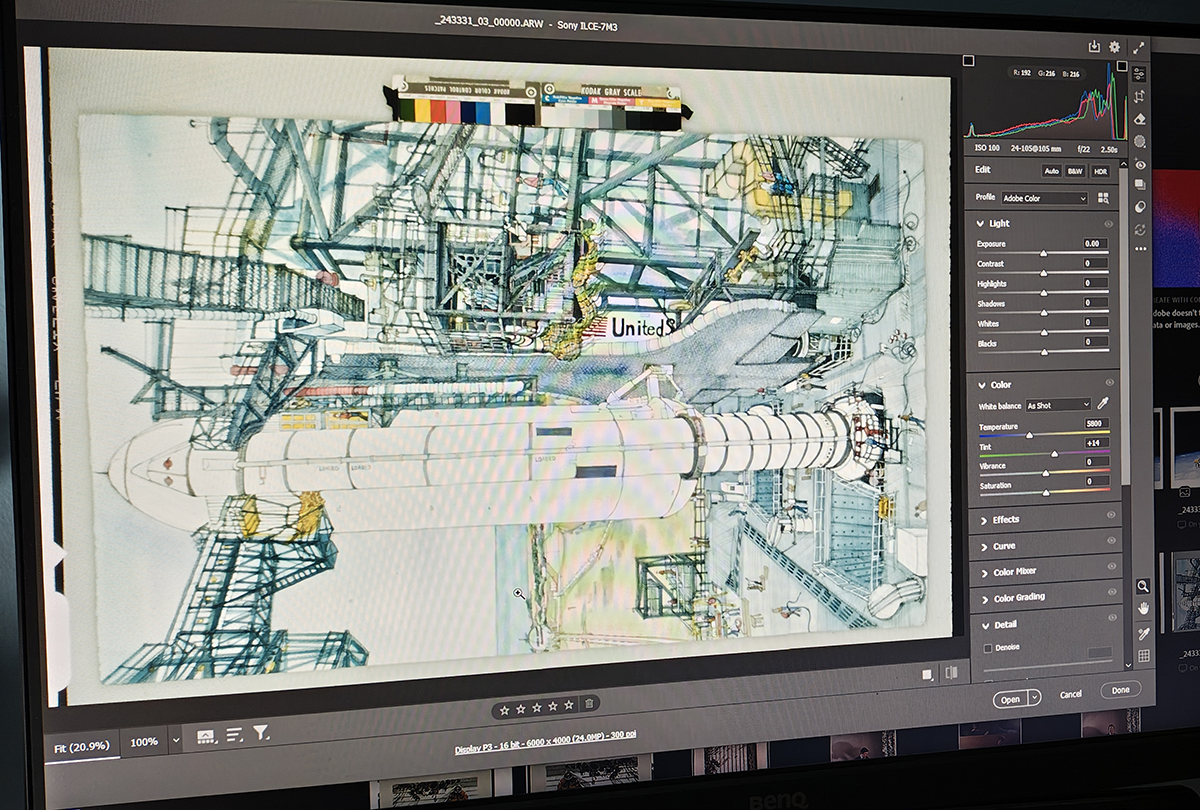
The process of tweaking the RAW captures is extremely meticulous, and depending on how accurate to real life the finished product needs to be, this can actually be the most time-consuming step of the entire project.
The initial round of color correction and print preparation was done by FS PRO Director Greg Evangelista. He spent countless hours reviewing and preparing each of the images taken for artist approval, ensuring not only that the colors corrected were accurate to how the artwork would look had it been viewed in person decades earlier, but also that each image was prepared for the very large canvas print they would be transformed into.
The process is part artist intuition and part color science, as certain “tweaks” are based on color and white balance divergence from a known baseline that is consistent across all images. But that’s hardly the only factor at play.
Forever Studios · Boca Raton, FL
Photo Scanning Service
High-resolution scanning for prints, albums, and loose photos.
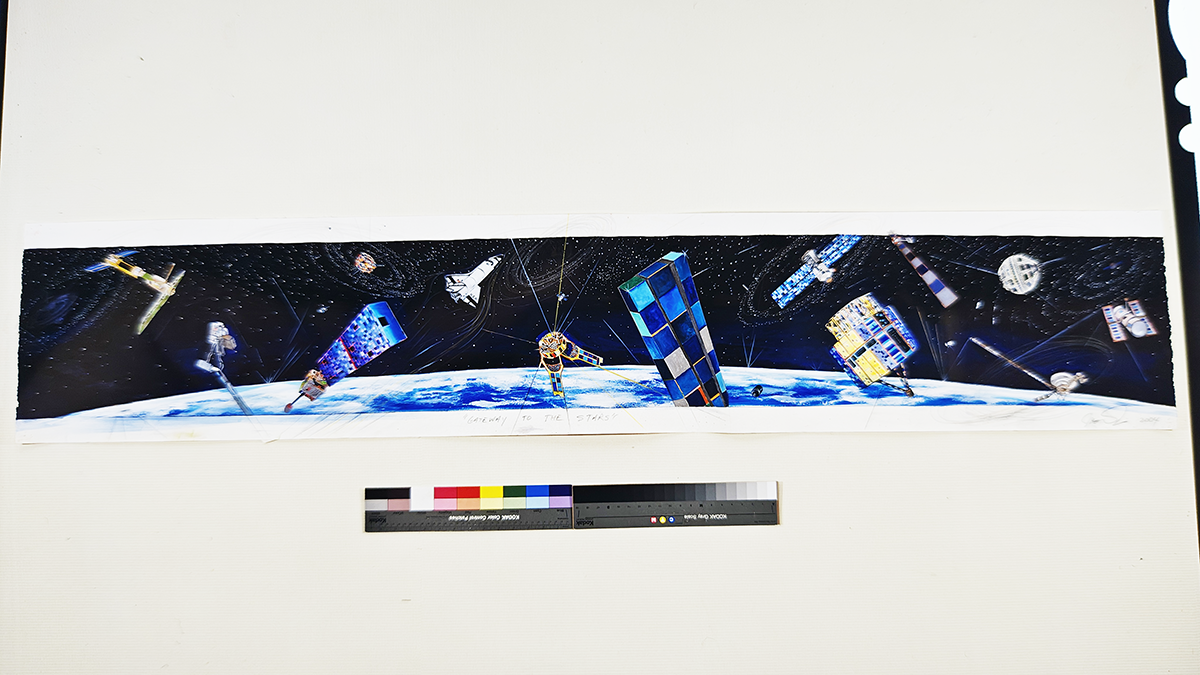
LEARN MORE →The image you’re looking at here is in reality only about 3-4 inches wide. But the finished reproduction was requested to be 90 inches wide. To preserve all of the micro details when going from our source to the finished piece requires a ton of skill at every stage of the process.
Considering that there were color deviations that may have been introduced when the artwork was initially photographed, as well as introduced over time with age, that meant that a good amount of the correction had to be based on subjective art knowledge, and interpretation of what the piece likely looked like in-person.
But after a day of working over the captures, and agonizing over the digital files, we had 19 images that were far closer to being ready for their new life as canvas reproductions.
What Pre-Flight Checks Are Required Before Large-Format Printing?
Before anything ever hits a printer, it’s vital to have it all reviewed and plan out exactly how each print is going to go. And that starts by reviewing each capture as a team, determining the exact crops of the image that will be printed, and sending any images that require touch-ups or restoration over to the Restoration Studio @ Forever Studios.
Greg worked with Creative Director, Kateryna Solohub and Founder/President, Zachary Goldberg reviewing each of the images for use and outlining a plan for their digital assets.
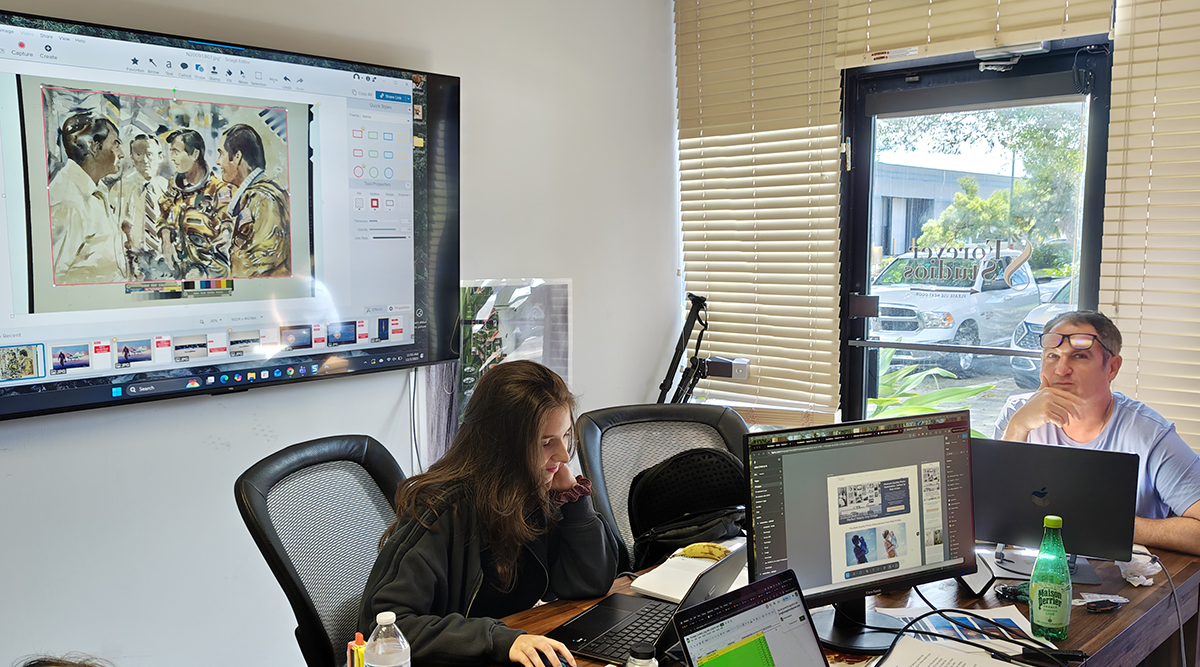
Zachary looks like he is about to interject with one of his patented “founder style” insights, as he, Greg & Kateryna continue the process of prepping the final print ready imagery for client approval as a team. Having a group of professional eyes on the process at this point is critical.
During this process, most of the final crops were determined and provided to the client for review, with a few images sent back for further color work, and a few sent to the Restoration Studio for mild cleanup.
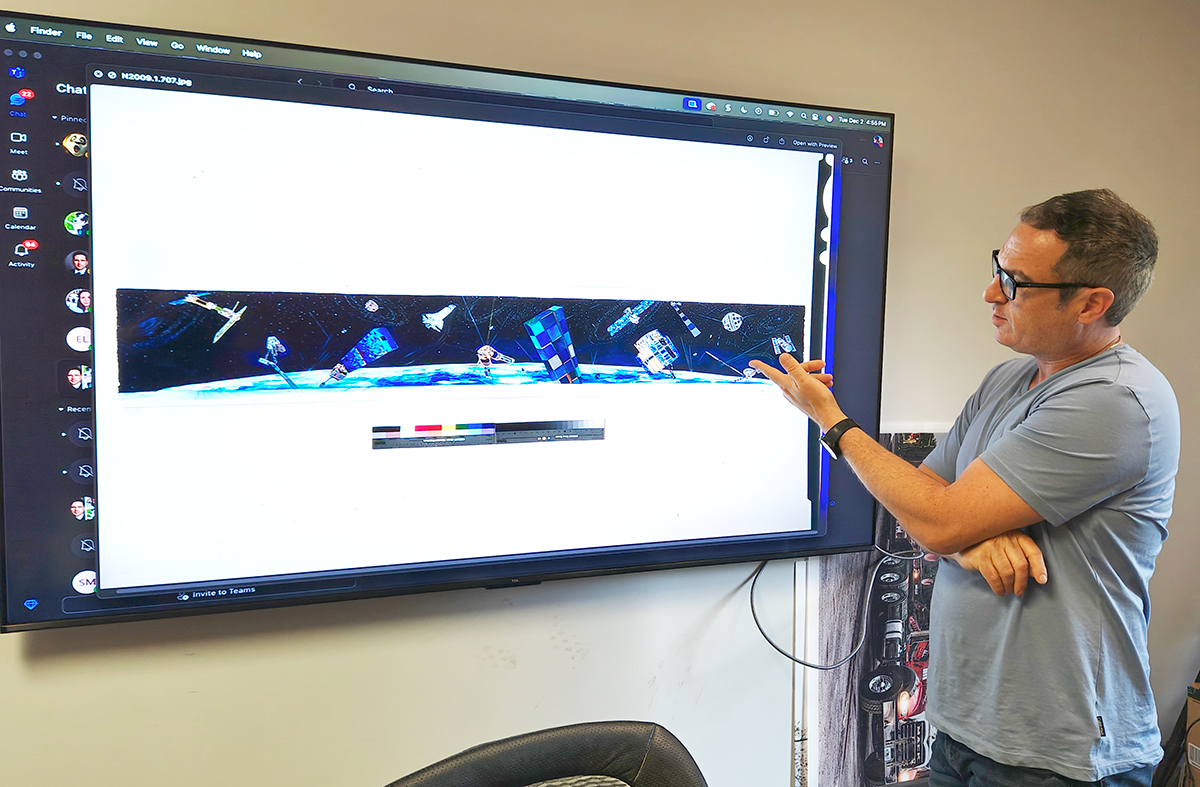
And here is Zachary providing his input on one of the more complex images of the bunch. In this case, the original image was a pencil and marker drawing, and significant amounts of manual work were necessary to ensure that all of the details and pencil strokes were preserved in the final piece.
Generally speaking, though, enough of the project had been worked out to go ahead and procure the materials for the final build. And so that’s exactly what we did. As it turned out, the Space Center had a relatively tight deadline they were hoping we could hit, and we had every intention of making that happen, without cutting a single corner along the way.
How Do You Ensure Consistent Quality Across Multiple Large Canvas Prints?
Step one of hitting our deadlines was to get materials in-house ASAP. Our Creative Studio staff, led by our Engineer Emilio Lopez opted for our favorite go-to canvas for projects like these (Elements FireOpal Bright White), and thick pine stretcher bars for mounting the canvas.
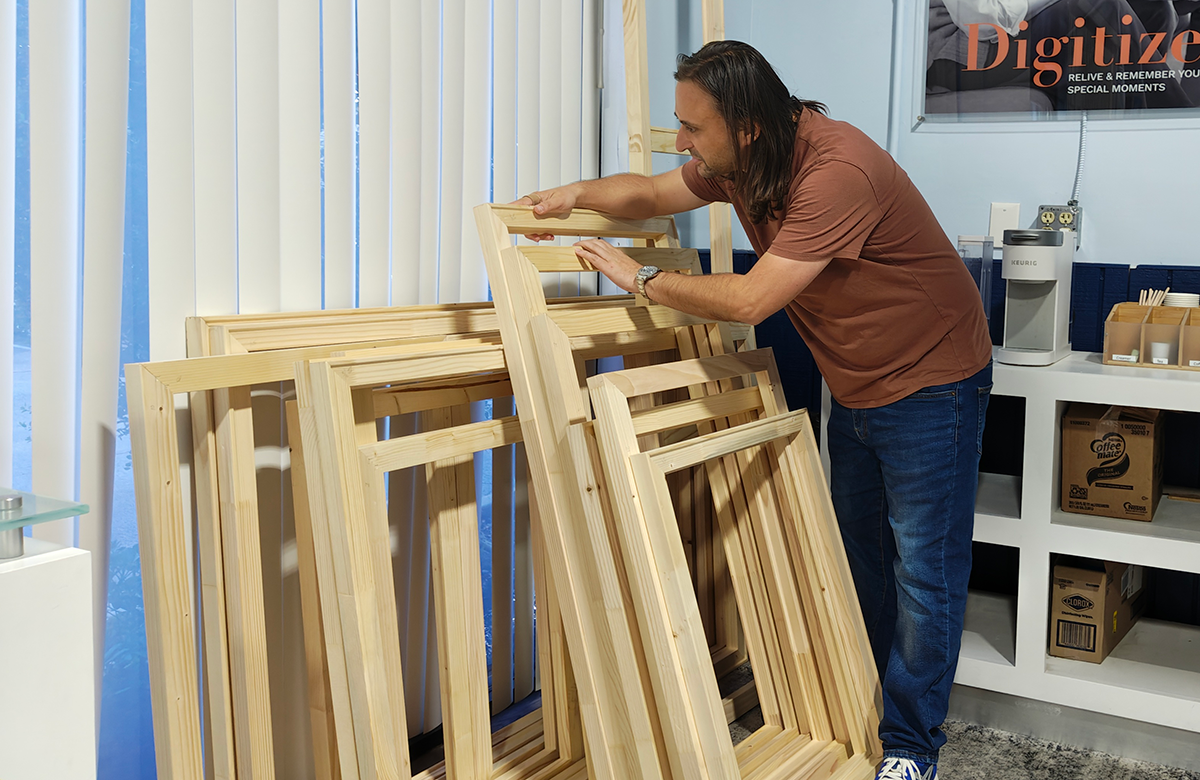
Pictured here is Pro Services Director Greg Evangelista inspecting the delivery of pine stretcher bars upon delivery. Because the canvas material must be wrapped with a pretty significant amount of tension, we won’t use a set if they show any sort of defect whatsoever.
We managed to have our supplies in hand just a couple days after getting “launch clearance” from the client, and then it was time for one of the most important parts of the entire process.
Diving right into a large format print and calling it a “premium print” isn’t going to cut it. The printing process is a variable that can rapidly get out of hand. Until you work through the process via extensive test printing to find all the possible variables that could cause problems and work through them one by one before applying them to your final print, you’re not likely to create a print that truly wows.
However, with 19 different items in the collection, all varying in technique and color, setting one set of parameters and sticking to them throughout the collection was a challenge in itself.
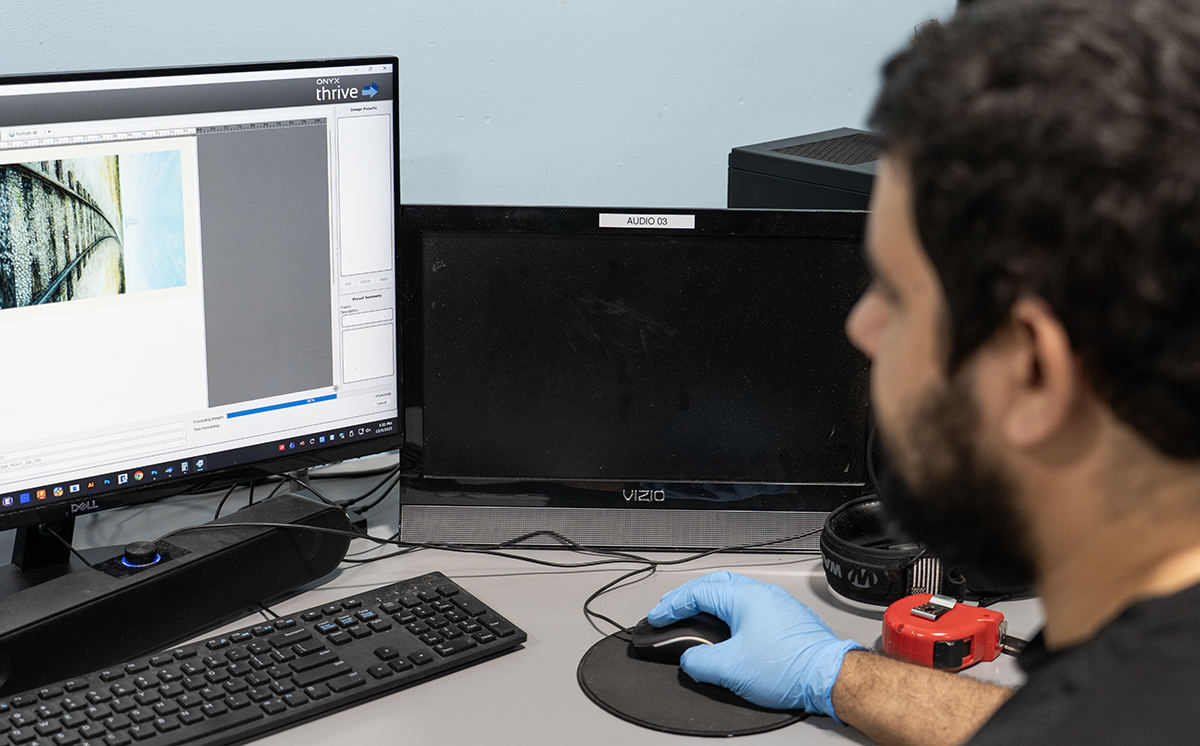
Pictured here is Head FS PRO Engineer Emilio Lopez working in the Onyx print calibration platform prior to firing up his first set of test prints. There’s a bit of a dance to partake in when it comes to alterations that must be made to the source image itself, versus calibrations made to the printer.
And our choice of printer for the job; while it made for some of the best looking final prints we’re able to make, is one of the more finicky printers in the entire shop. Why is that? Because it doesn’t actually use a water based ink. Instead it uses a latex ink that must be heated to a specific temperature to flow and saturate, before almost immediately being cooled by built-in fans so it will set.
The dance of a latex printer can be so beautiful and yet so complex to fully understand. The various parameters such as the heating temperature of the individual ink channels of a printer that influence the quality of the printed reproduction of an original very much require the intervention of an Engineer.
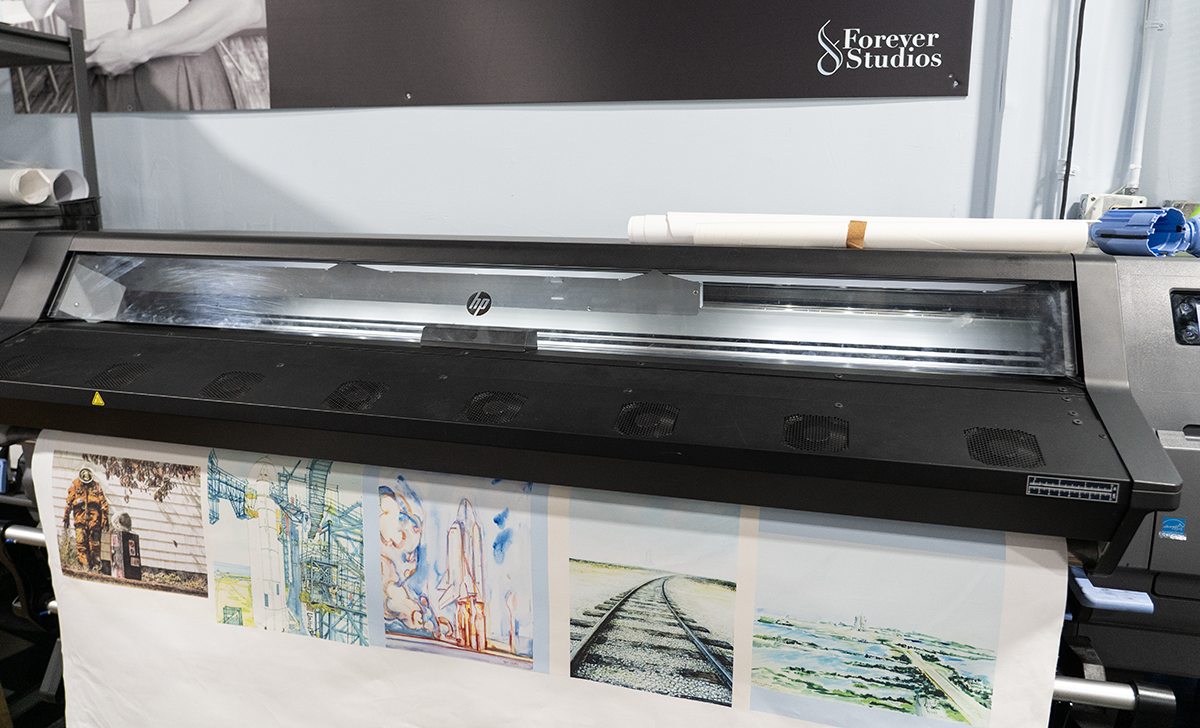
Working with this particular HP latex printer can be a real pain, if we’re being completely honest. But the results that are possible on canvas when it has really been dialed in well… They’re absolutely fantastic, and it makes it all worth it.
Our engineer, Emilio Lopez and Print Specialist, Swamy Matute began to work up a few sample prints and test out many of the fine details and print parameters to create a base for a consistent print with consistent results.
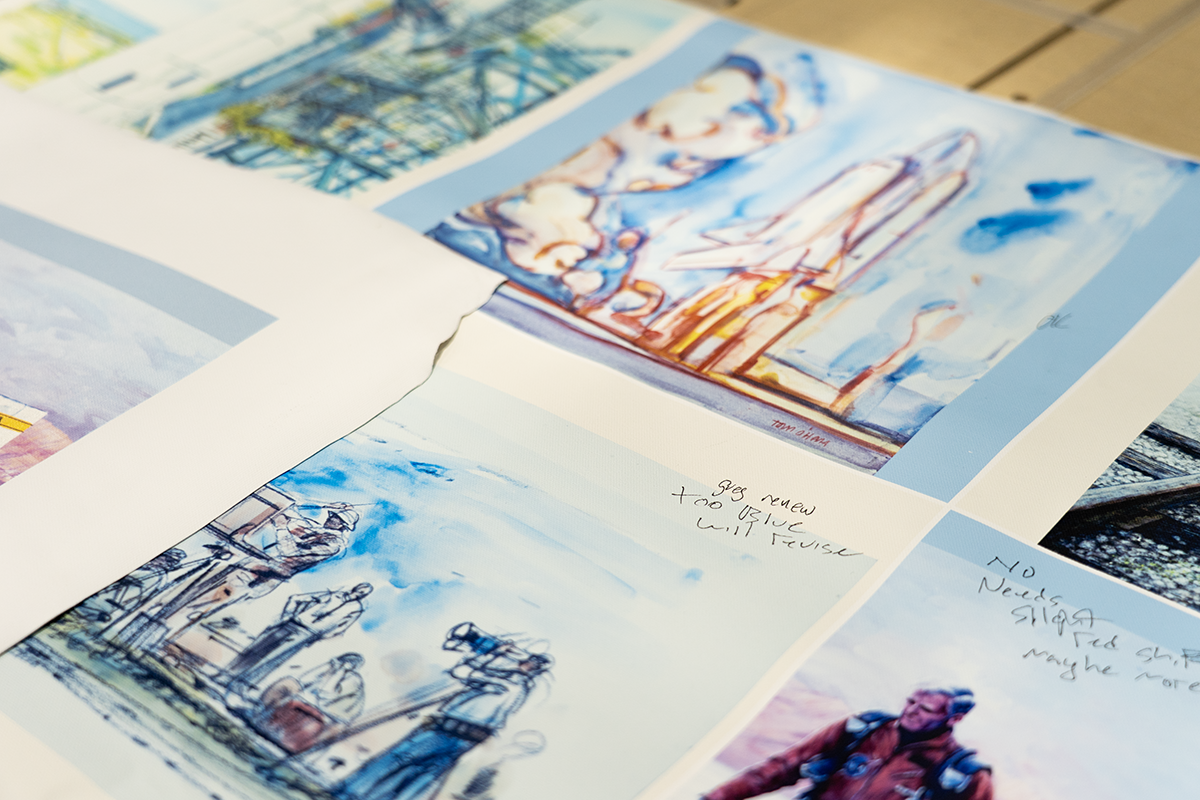
Here we have our first round of test prints which came off the HP Latex printer. We were extremely excited to see that all but a few of the prints were within the parameters we had scoped out as satisfactory, and as such, only those few images had to be lightly retooled.
After every round of test prints, Pro Services Director Greg Evangelista was brought in to evaluate how close the test prints had come to being a proper execution of the digital captures he had worked on earlier, with Greg providing either approvals or revision notes and suggestions for images that did not pass QC.
How Do You Mount and Stretch Large Canvas Prints Professionally?
The test printing went well also. It only took us 3 rounds of test printing to dial in all of the final print specifications for all 19 individual pieces that we had to replicate.
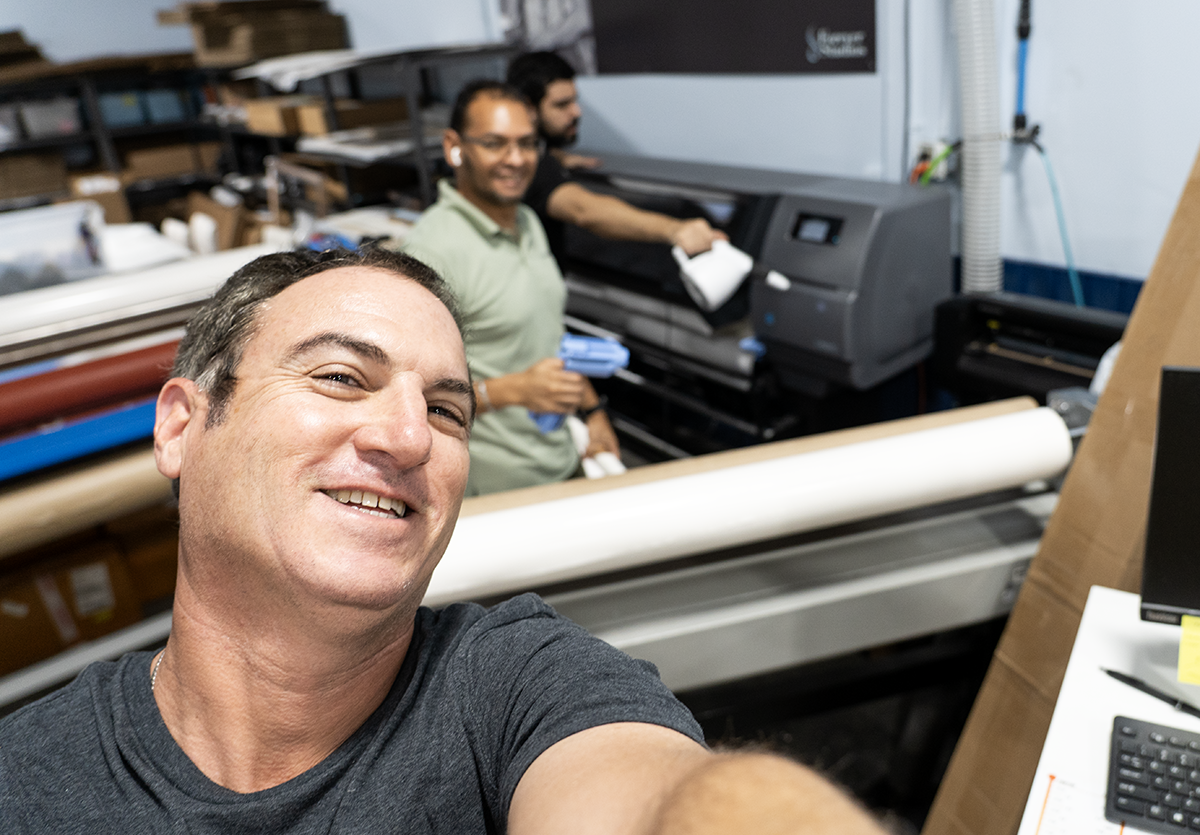
Zachary found himself so happy with the progress that Swamy and Emilio had made during the test print process that he couldn’t help but photobomb them while they were working. We tend to try to earn our moments goofing off at Forever Studios.
Although Kennedy Space Center personnel before had informed us that not all articles had to arrive at the same time and that they would be pleased to receive even a few articles, we continued to work on schedule to deliver all required articles on time. Everything was going to make it on time.
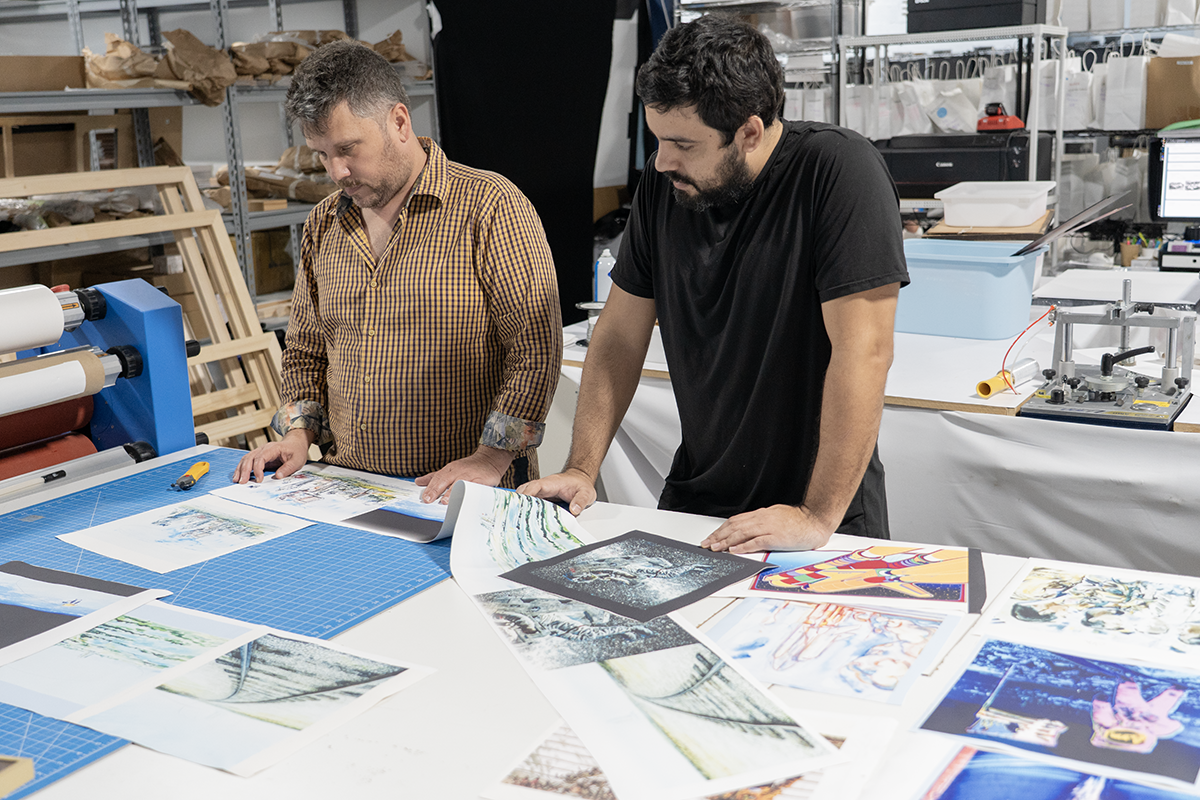
Craig O’Neil, despite not being assigned to this particular client, does happen to be Forever Studios’ resident fine art expert. And as such, Emilio Lopez felt it was necessary to consult with him one more time on the final set of test prints before going to large scale production.
“Off to the races” wasn’t quite the right mindset for this project. It was more “The Final Countdown” for us as we had 19 pieces to complete within a 3 day time frame. We had completed similarly challenging work in the past but this one required an A+ effort from everyone involved.
When everything goes according to plan, some people like to chalk that up to good fortune. We like to chalk it up to skill. By making sure every last variable was accounted for before we ever got to final print, every single one of the 19 finished pieces came through the printing process without fault. Not a single one of the finished pieces had to be reprinted.
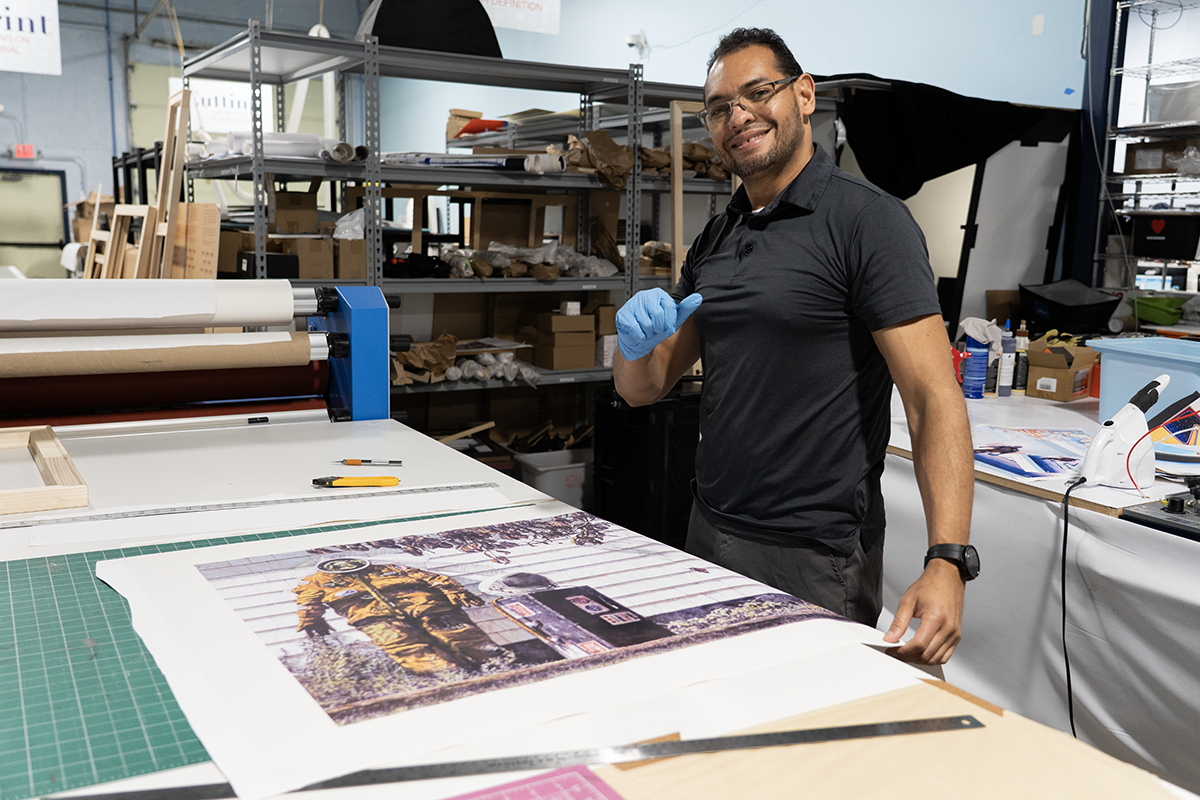
Print Specialist Swamy Matute is looking satisfied after yet another excellent print rolls off the HP Latex printer.
FS PRO Sales Director Craig O’Neil stepped up during the final print process to confirm that every piece was to client specifications, and Craig’s fine arts background made him the harshest critic we could have put these pieces in front of.
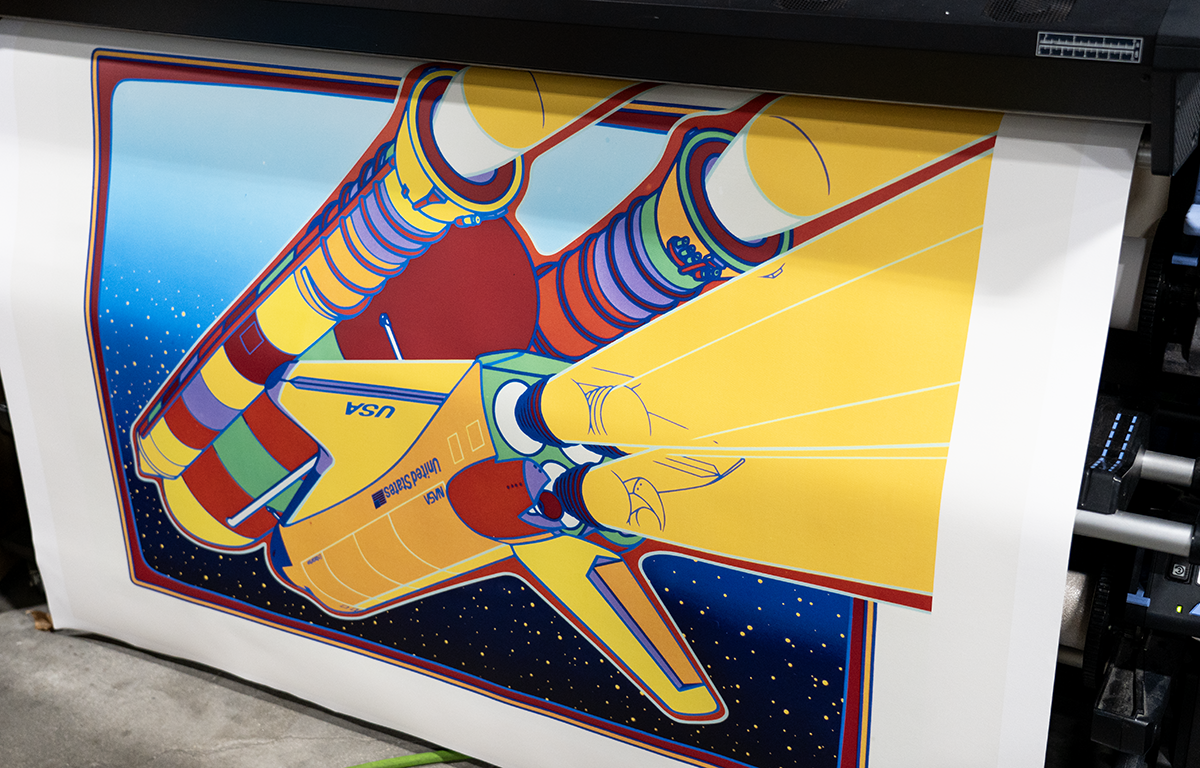
We found ourselves extremely satisfied with every print that was rolling off of our printers. This particular image was one we had concerns over, with the extreme color palette and crisp lines, but once we began to see it at full size, it was clear that the final product would be extraordinary.
We found ourselves extremely satisfied with every print that was rolling off of our printers. One particular image raised concerns, with the extreme color palette and crisp lines, but once we began to see it at full size, it was clear that the final product would be extraordinary.
But of course, a successful run of prints is hardly the end of the job when it comes to crafting canvas artwork. There’s still one more important step that can make or break the entire process; and that’s successfully stretching and mounting the art to the stretcher bars.
What Skills Are Required for Professional Canvas Fabrication?
With deadline day just 48 hours out, and all the finished prints ready, it was going to be a race to get everything mounted and properly finished. And in the interests of making sure there was no possible way we could miss our deadline, we reached out to a friend to help.
Shawn Escott, the resident art fabrication expert at Forever Studios PRO, left recently to return to his home state of Ohio, to be with his kids, his family, and continue his practice as a fine artist. We will miss him.
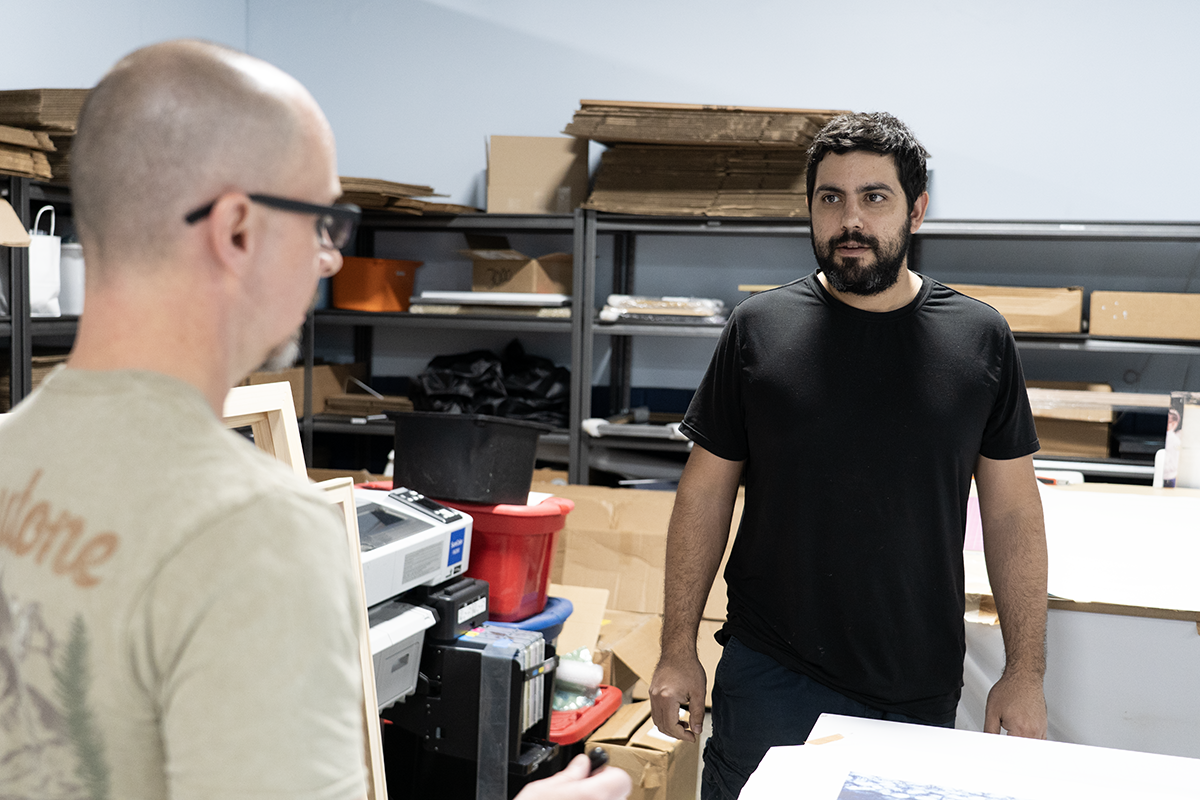
FS PRO veteran Art Production Specialist Shawn Escott rejoins the fray to help our team finish the job.
But as it turns out, he had a few more days in town before departing back home, and he was willing to come back to jump into the trenches with us one more time. With our friend Shawn back in the building and cruising through the mountain of canvas mounting work alongside Emilio & Swamy, we were able to knock out the entirety of the work just in time to ensure that the Kennedy Space Center would have every last one of their pieces on deadline day.
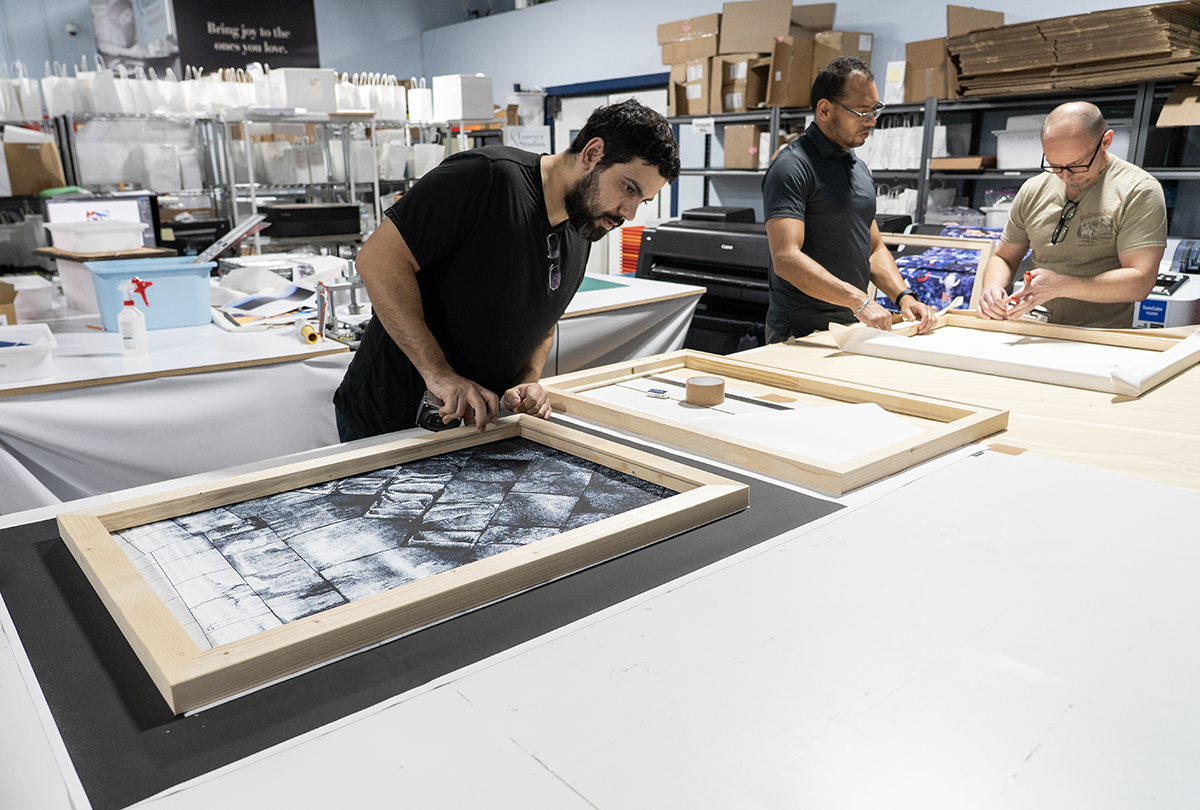
Emilio, Swamy & Shawn put in a totally heroic 24 hours of effort to ensure every piece would be ready in time for delivery to the Kennedy Space Center.
What Does Professional Art Delivery Entail?
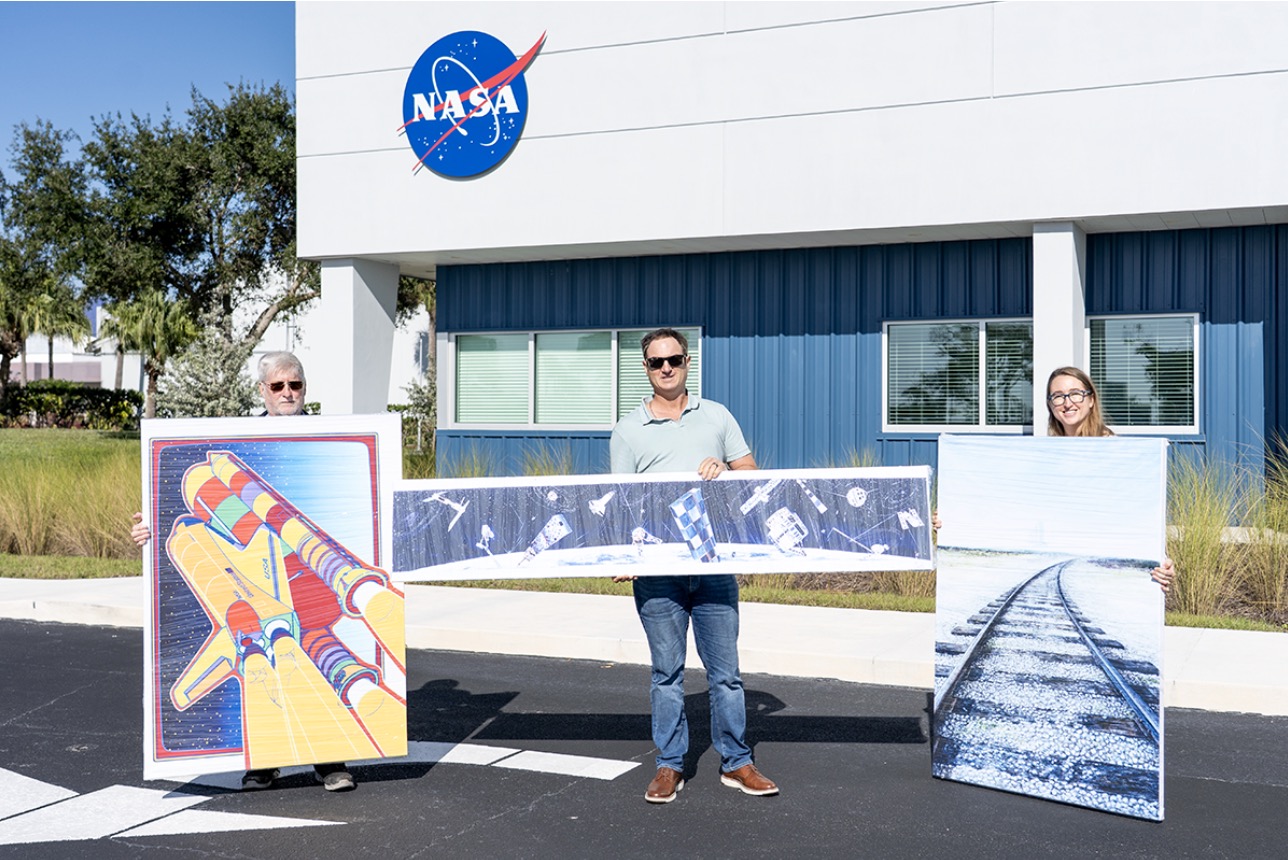
When delivery day arrived, Founder Zachary Goldberg decided that he wanted to take the trip up to the Space Center himself and personally deliver all the items by hand. And the Account Representative for the project, Gaby Farley, insisted on going along as well.
Carefully staged around the outside of the Forever Studios HQ, each piece was meticulously loaded into the rented SUV for the long trip from Boca Raton down to Melbourne, Florida on the Space Coast.
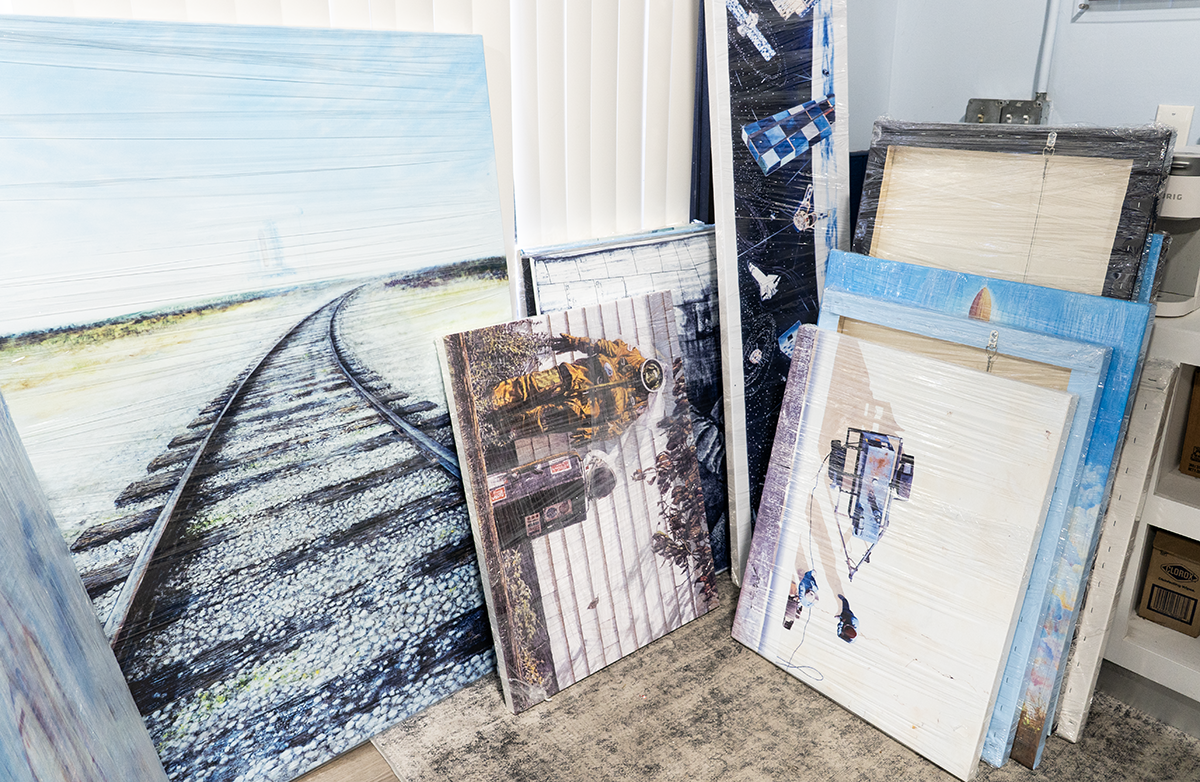
One probably doesn’t realize just how much art 19 pieces actually is until you have it all in one place.
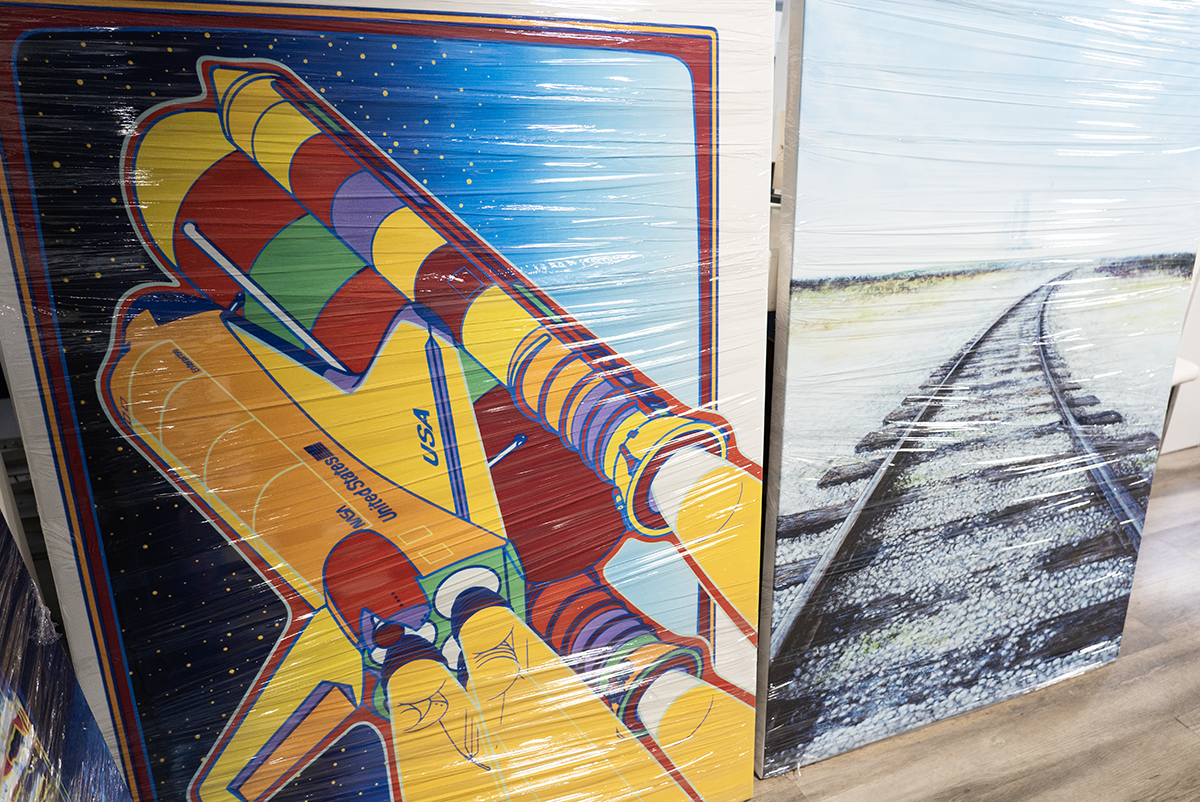
One of the most difficult parts of delivery day was not wanting to keep a good amount of the artwork for ourselves.
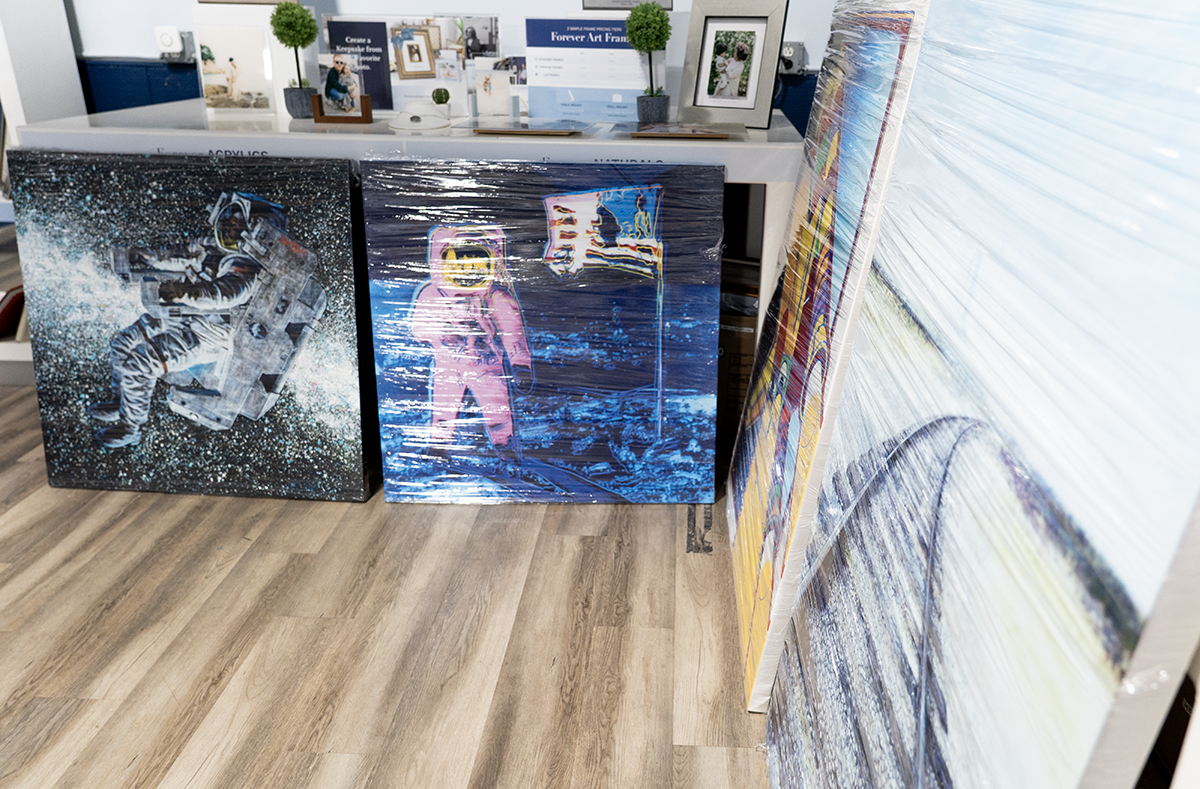
What was absolutely certain, was that the Admin Complex at the Kennedy Space Center was about to have a brand new dose of “cool factor”.
The Kennedy Center friends were waiting for our arrival to put up the pieces in their Admin Building. But the trip to the Kennedy Center was not short and Gaby & Zachary had a very exciting and fun adventure on the way.
Forever Studios · Boca Raton, FL
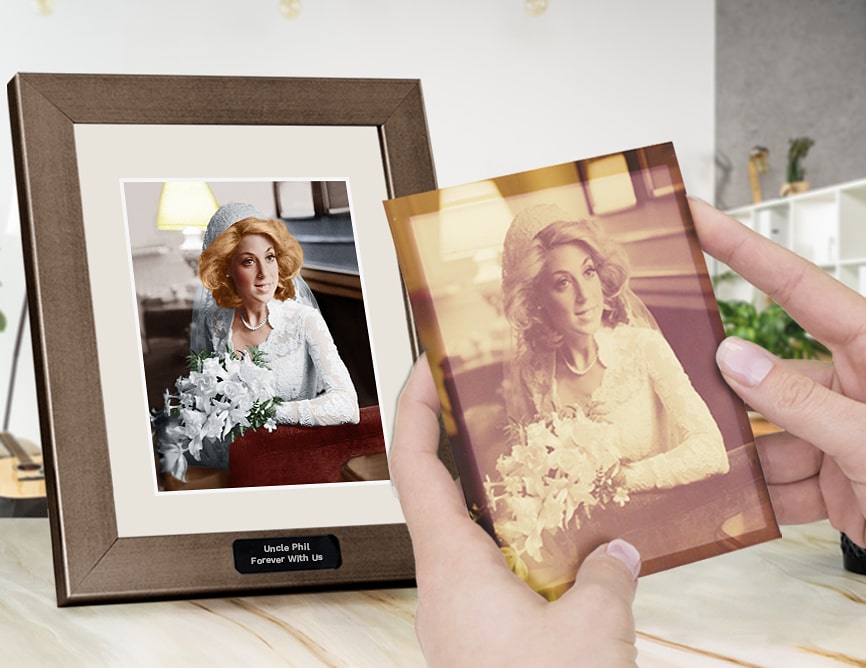
Professional Photo Restoration
Damaged, faded, or torn photos restored by hand by our artists.
GET STARTED →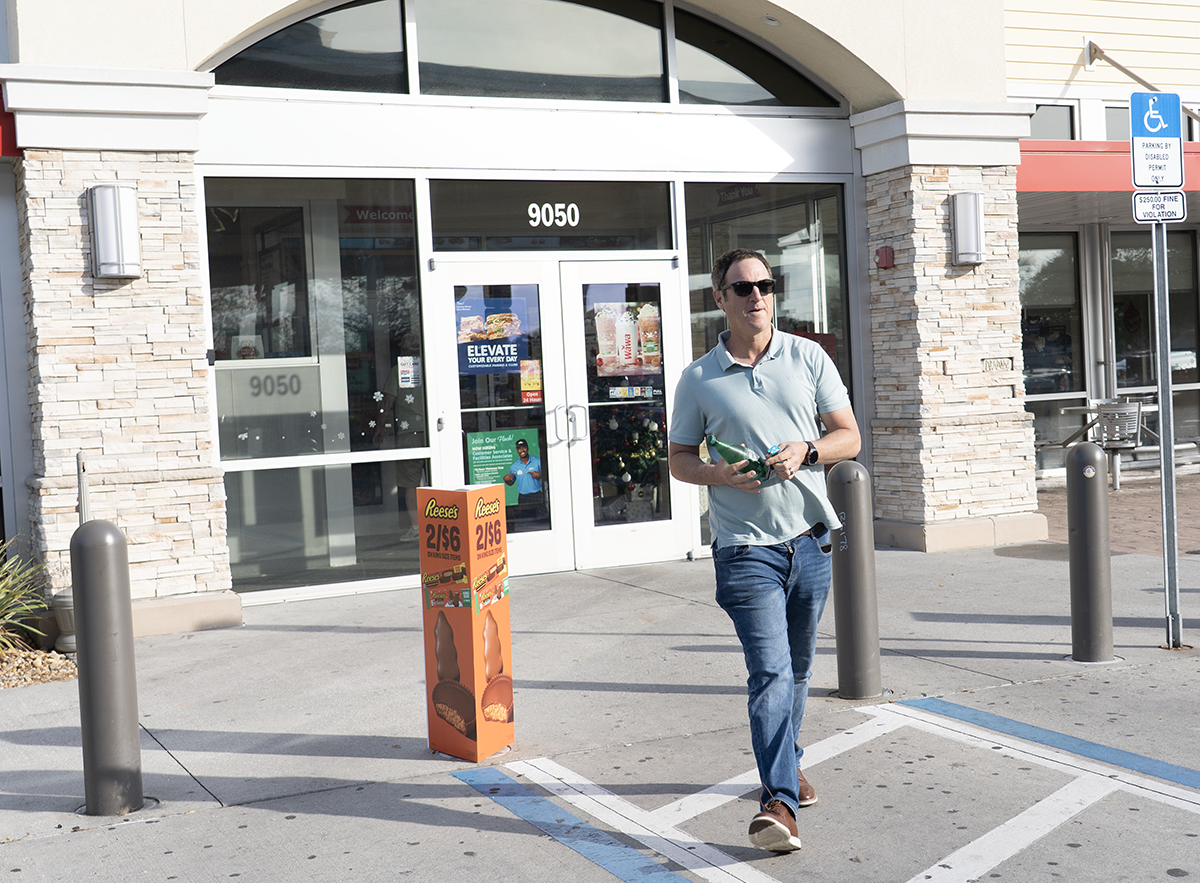
Of course, it’s not a proper road trip without a successful snack stop early on in the ride.
The Kennedy Space Center people were very kind to give the FS PRO team an “all access” pass to tour the entire facility. It was a wonderful tour as well.
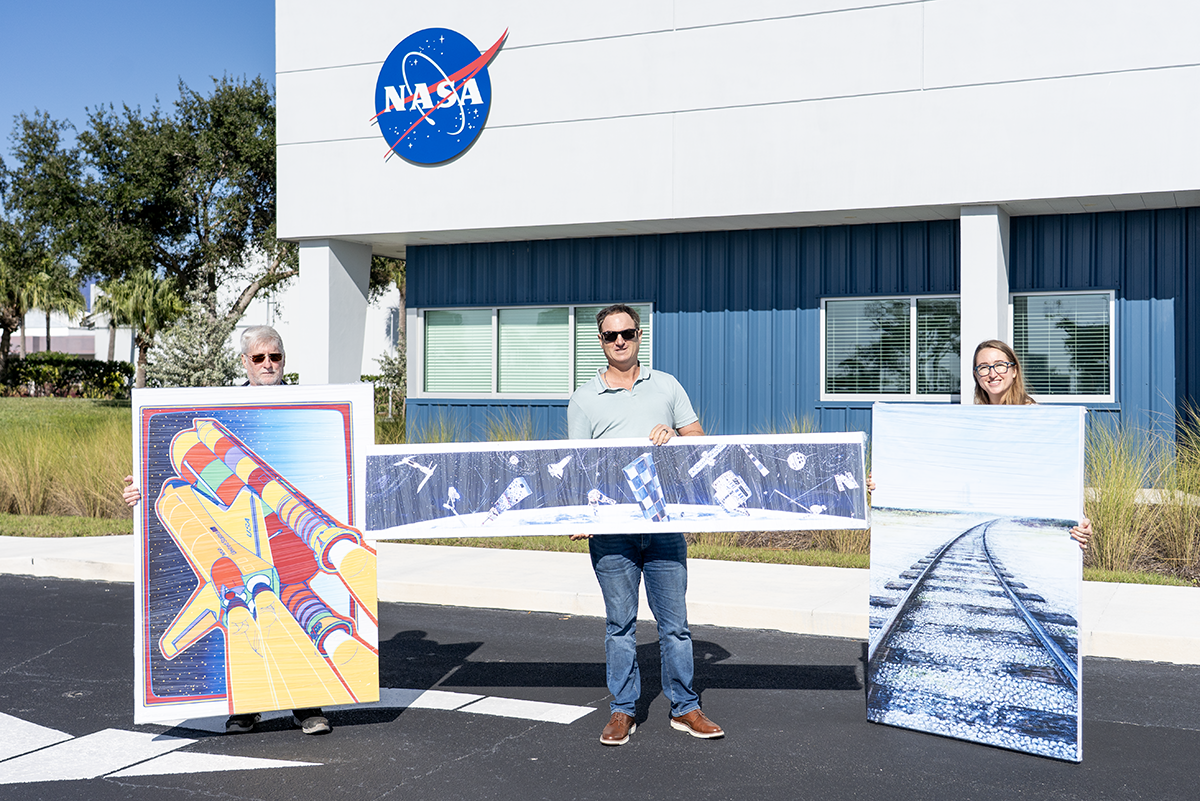
Delivery to our new NASA friends over at the Space Center went fantastically, and they were proud to show off their fresh decor.
But before that, they were extremely eager to see the finished products, and to say they were blown away by what they received from FS PRO would be just a slight understatement. We carefully loaded all of the new artwork into the facility along with the Space Center staff after having a quick review of the deliverables, and then it was time to enjoy the tour.
The Kennedy Space Center is a must see experience for anyone who hasn’t had the chance to go yet. Before you ever make it to the visitor center though, there are so many cool things to see outside of it. Obviously the best time to visit the Space Center is when there are launches going on, but there is lots to look at even on the odd occasion there aren’t any.
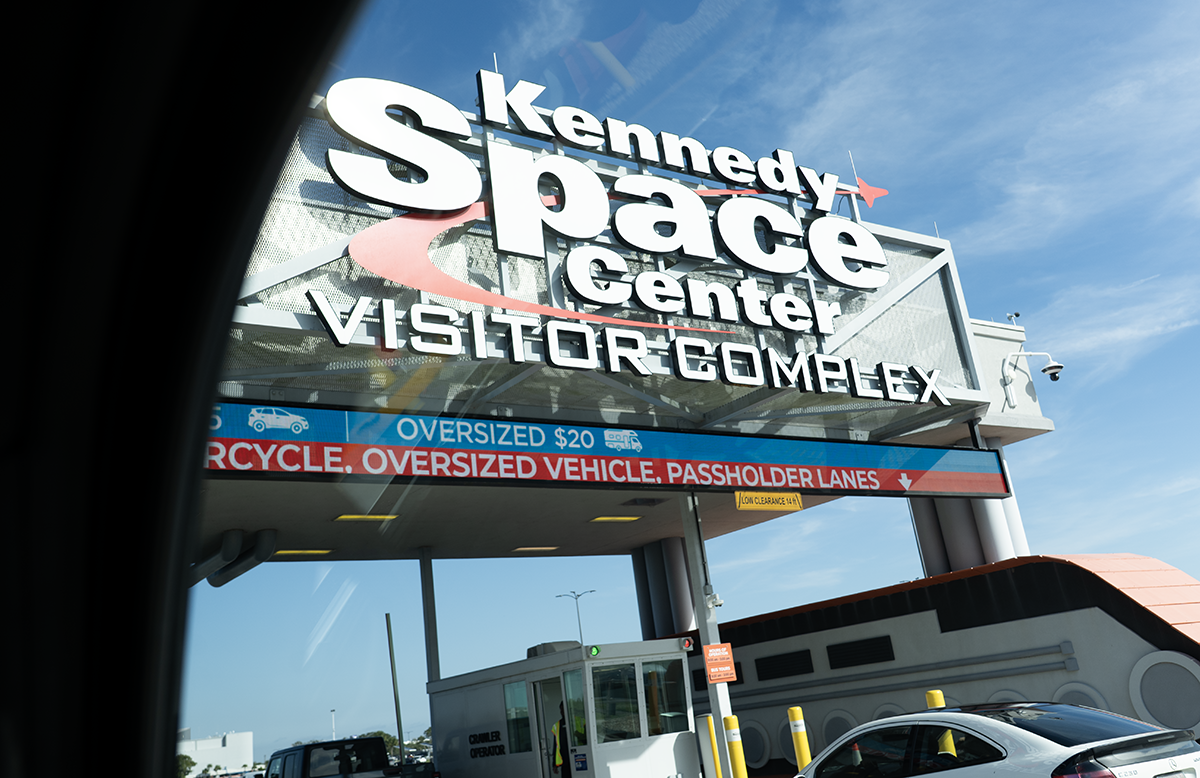
Even the view on the way into the grounds & facility is rather exciting.
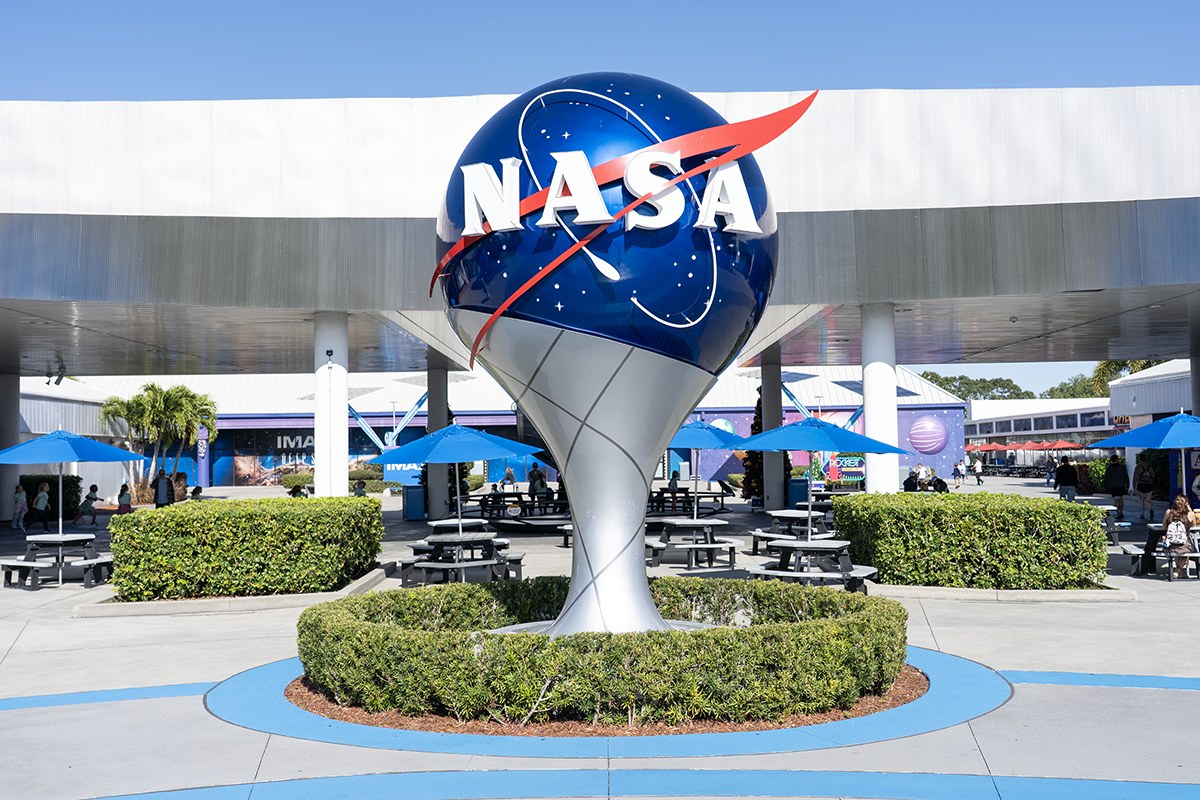
And of course, once you arrive, it’s a NASA wonderland full of incredible sights.
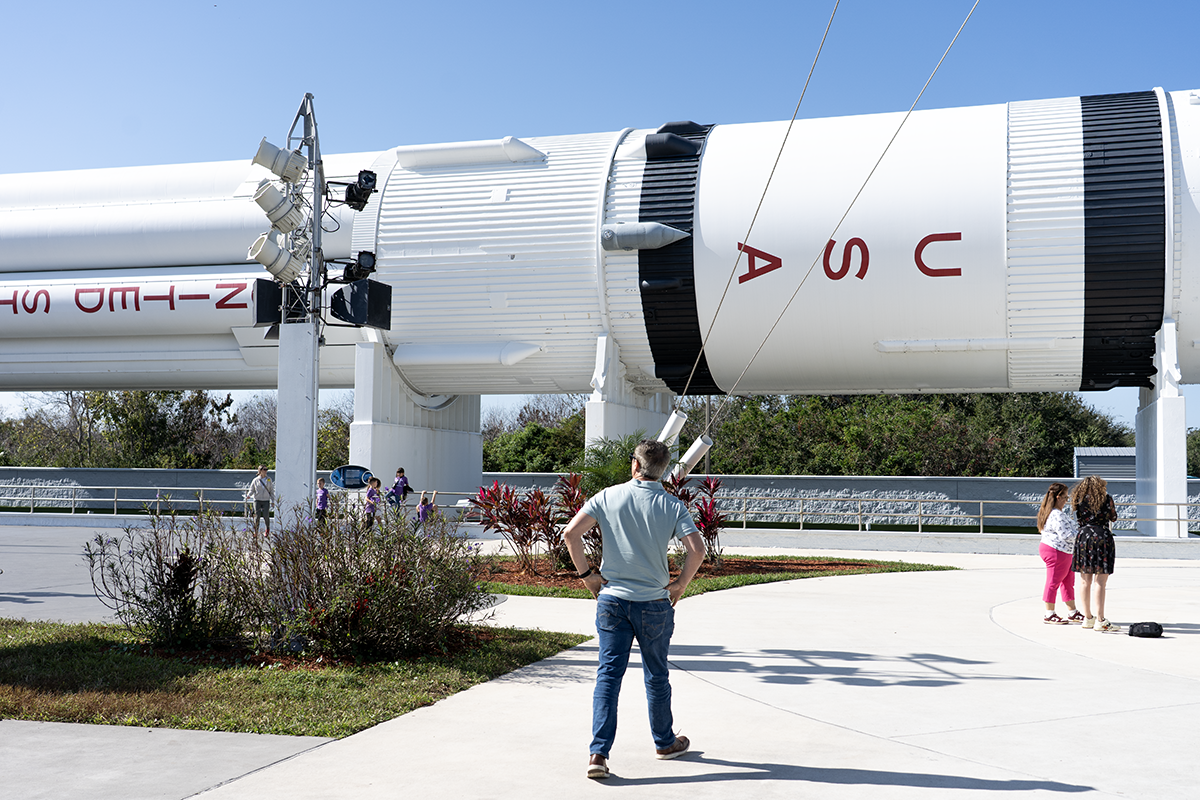
The sheer scale of the vehicles developed for space travel is something that has to be seen to properly appreciate.
The visitor center itself is an audio/visual journey through the history of NASA and its different space missions and vehicles, and the presentation is sure to get your heart racing even if you’re not already a space exploration enthusiast.
Obviously, everyone else back at FSHQ was just a little bit jealous of the trip that Zachary and Gaby got to take on delivery day.
How do you correct color shifts in decades-old transparencies?+
We begin by capturing in RAW format, which preserves maximum tonal and color data for post-processing. Correction combines objective measurement—analyzing known white and gray points across multiple images to identify consistent color casts from aging—with subjective artistic judgment, since the original photography may also have introduced shifts. Adjustments to white balance, individual color channels, exposure, and saturation are made iteratively, often consulting archival references or subject-matter experts to approximate the artwork's appearance when new. Test prints validate corrections before final output.
What equipment is essential for capturing small transparencies at high resolution?+
Professional DSLR camera bodies paired with macro lenses, rigid overhead mounting systems, and calibrated LED lightboards form the core setup. The lightboard provides perfectly even backlighting through the transparency, while the macro lens resolves fine detail at 1:1 or greater magnification. A tethered workstation displays live high-resolution previews, allowing real-time verification of focus, exposure, and white balance before committing the capture. This controlled pipeline eliminates variables that would degrade quality in the final large-scale reproduction.
Can you reproduce artwork if the original is lost or unavailable?+
Yes—when original artwork cannot be accessed, we work from the best available photographic documentation, typically film transparencies or high-quality prints. Our process involves specialized macro capture on LED lightboards, extensive color correction in RAW format to reverse age-related degradation, and calibrated large-format printing. We've successfully recreated artwork for museums, government facilities, and corporate collections, producing reproductions that honor the artist's original intent even when the physical piece is lost, damaged, or otherwise inaccessible.
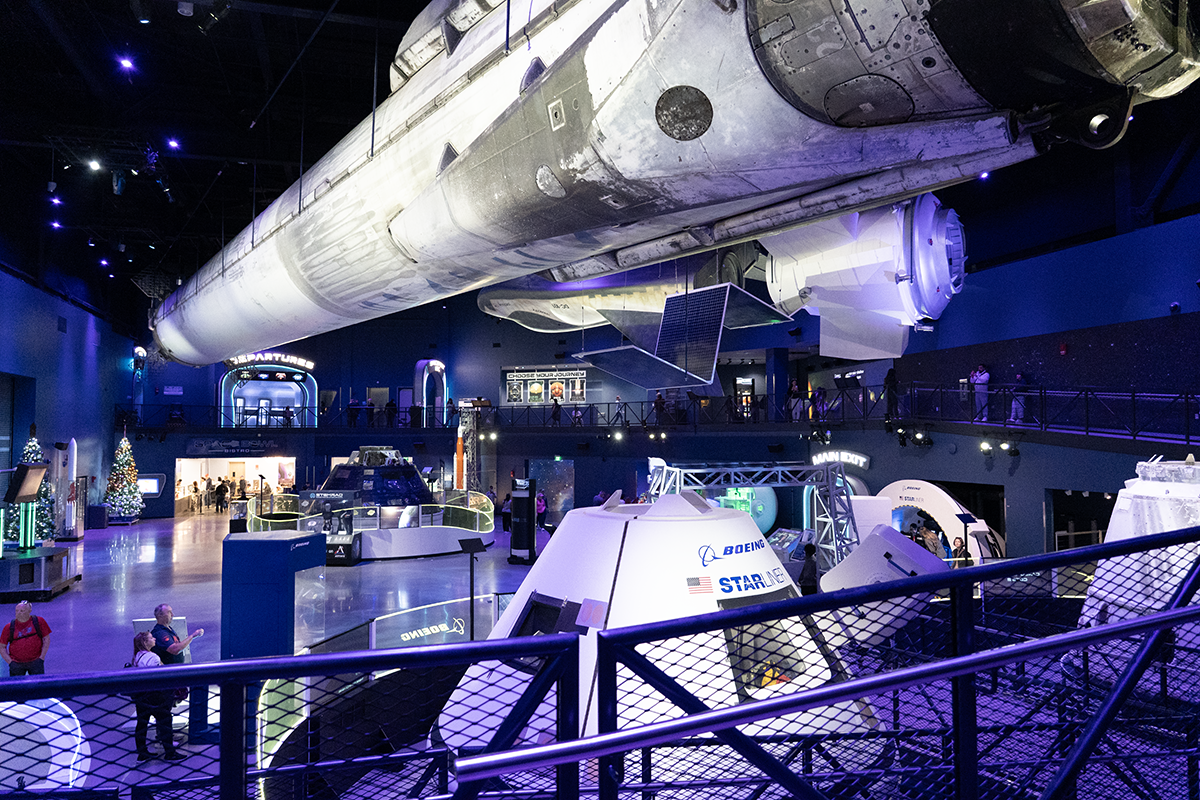
While the huge variety of incredible space exploration machinery is overwhelming, you can get just as lost reading all the associated information about how they were built and used.
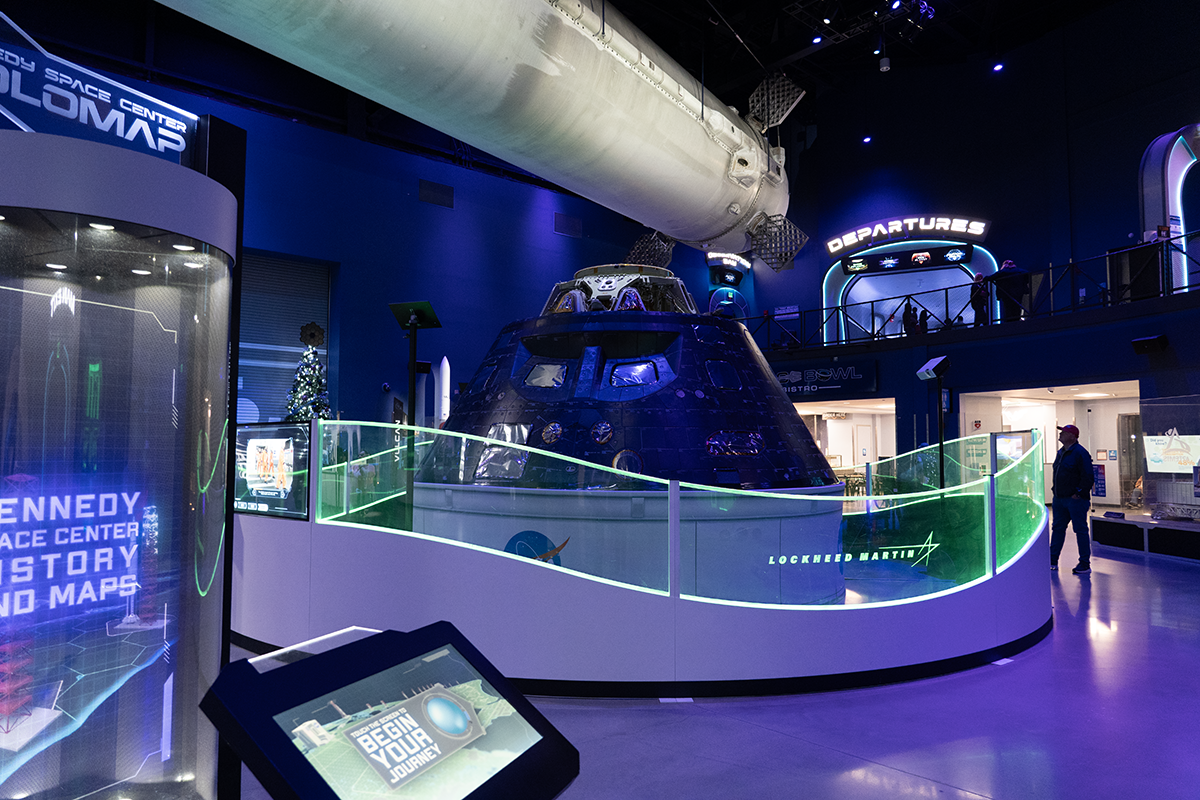
Say what you will about companies like Lockheed Martin and Boeing. But there’s not a human on Earth that can argue that they don’t make some of the most incredible feats of human achievement.
★★★★★
"Forever Studios recreated a very blurred photo into a clearer, sharper image."
Robert, verified customer review
What Makes Complex Art Reproduction Projects Successful?
If you couldn’t tell by this point in the article, each of us found this project to be a really fun challenge to work on. One of the things that we think makes Forever Studios PRO unique, is that when a client like the Kennedy Space Center shows up with a complex job like this, we definitely geek out just a little bit.
It’s the sort of project where the mix of cool subject matter, historical significance, and a client that we genuinely want to impress makes everyone extremely motivated to do their best work. And if we’re being honest, we think that this characteristic is also why clients like this enjoy working with us, instead of a more generic provider.
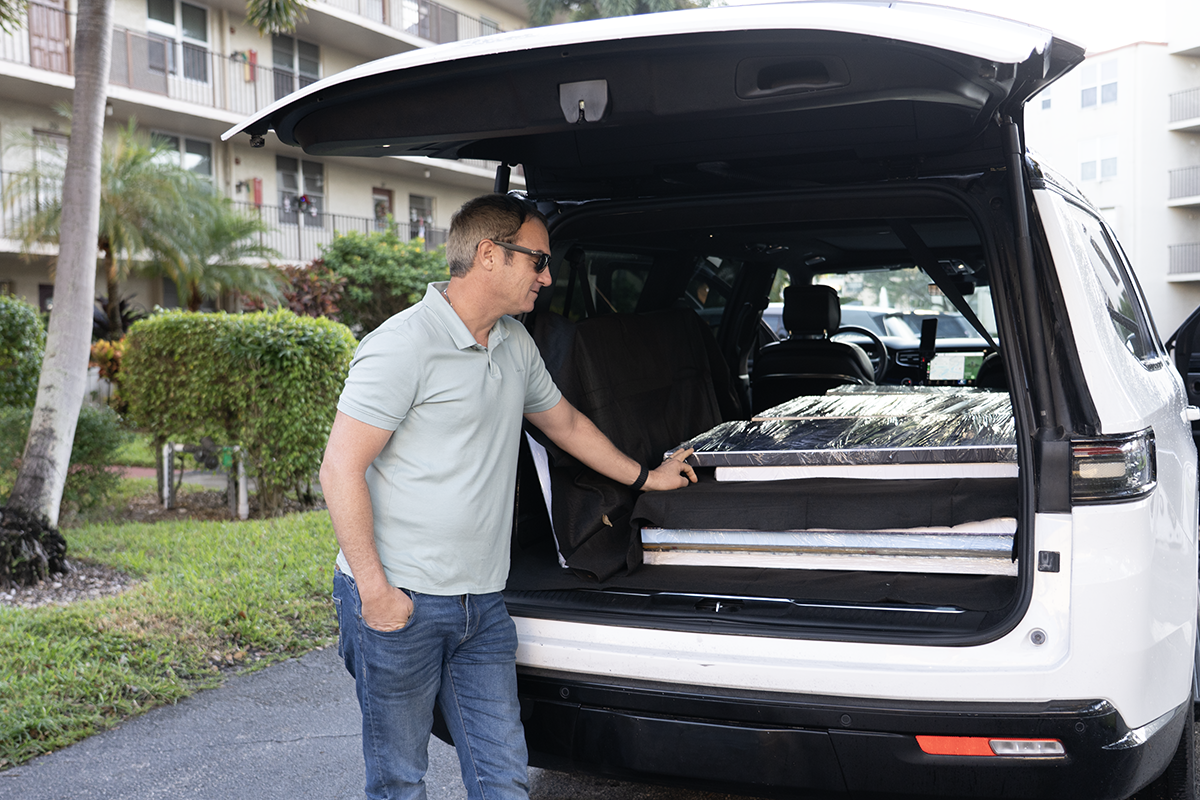
Here’s Zachary looking lovingly towards the work that he’s about to hand deliver to our client. No doubt reflecting on all the team effort that went into making it all happen. He tends to get pretty proud about stuff like that.
We legitimately love the work that we do, and that is 100% reflected in the quality and level of care that a client like the Kennedy Space Center receives.
The other main takeaway from this project that we’ve been reflecting on is the fact that, despite it being a pretty specialized niche, there are countless clients out there that have this need to preserve and recreate artwork that’s in danger of being lost to posterity.
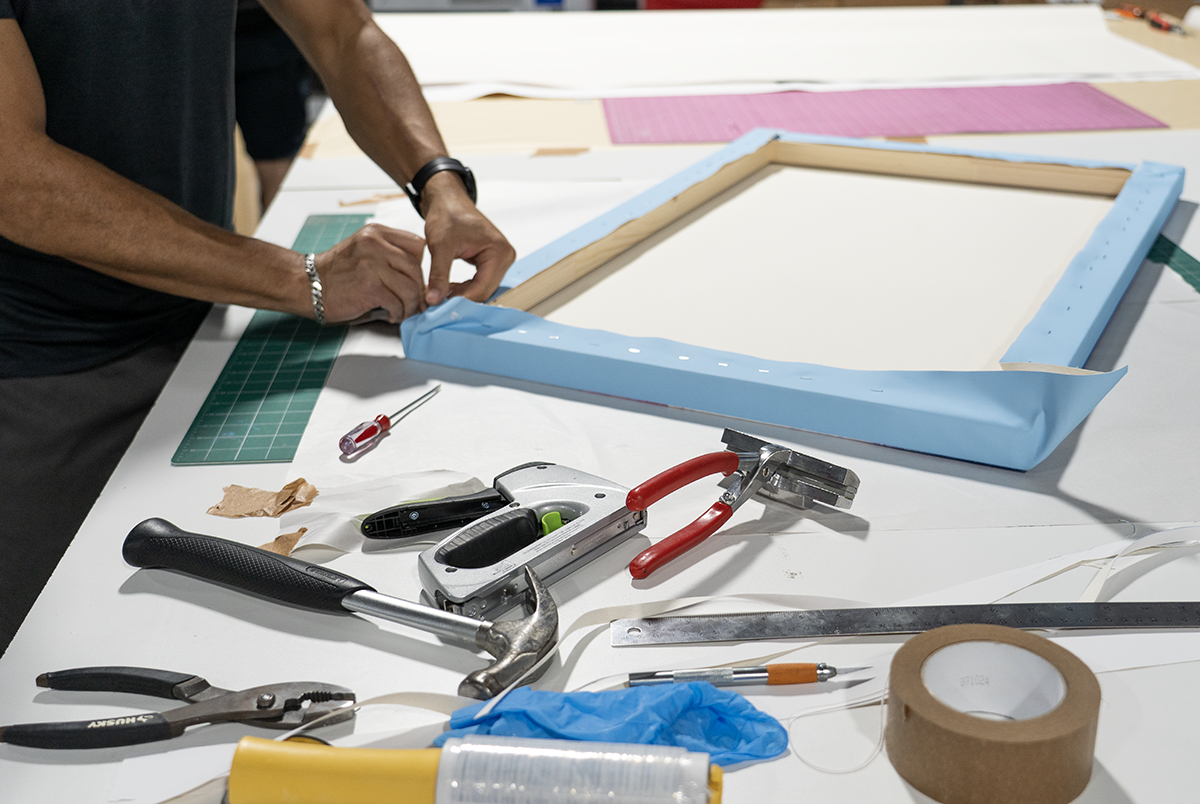
It’s often said that if you love what you do, you don’t work a day in your life. And with Forever Studios & Forever Studios PRO, we’re trying to see if that can apply to an entire company.
After completing so many projects we have found a way to complete them as efficiently as possible to the highest quality. It is a true honor to complete work for so much of the classic NASA artwork and the Kennedy Space Center.
The whole team can’t wait until we have a chance to work with them again.
Ready to digitize it right the first time?
Bring your tapes, film, and photos to the team that treats every project as irreplaceable. All work is handled in-house in Boca Raton, never outsourced.