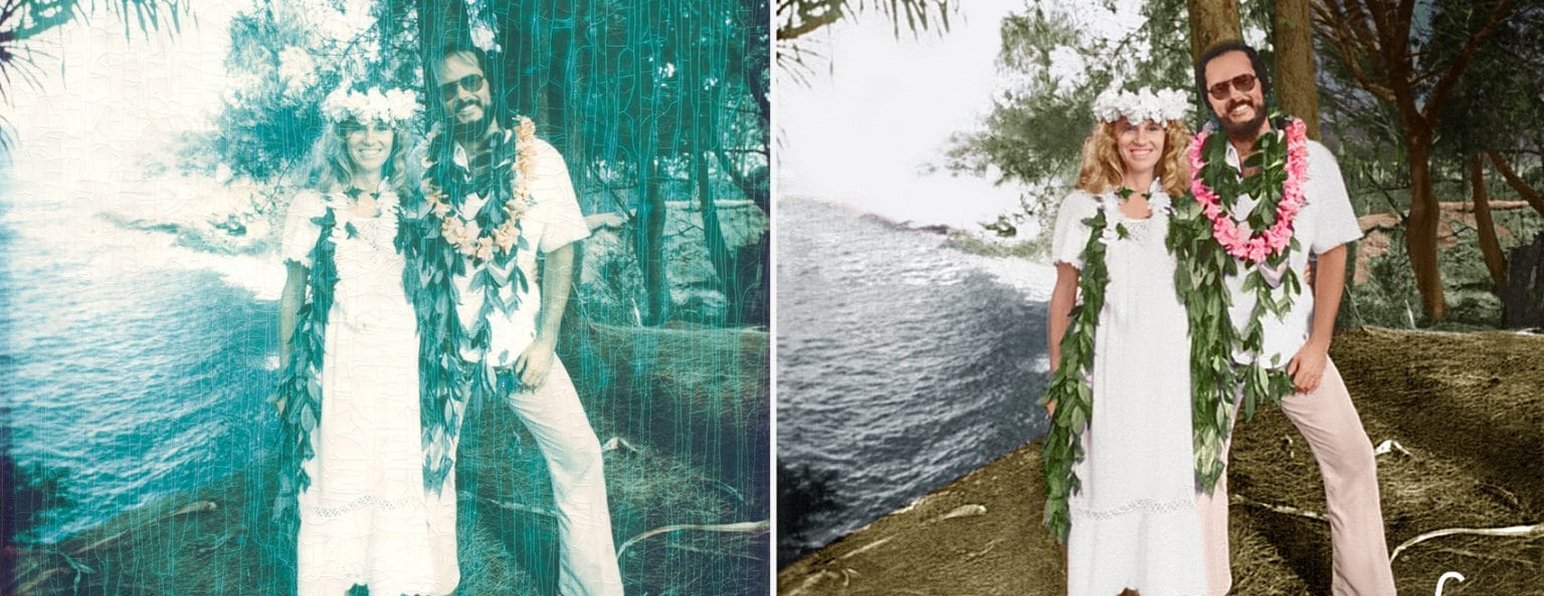
How to Save and Restore Water Damaged Photos: Guide
Is it possible to salvage water-damaged photos? Sure is! Check out our step-by-step guide and learn how to save damaged photos!

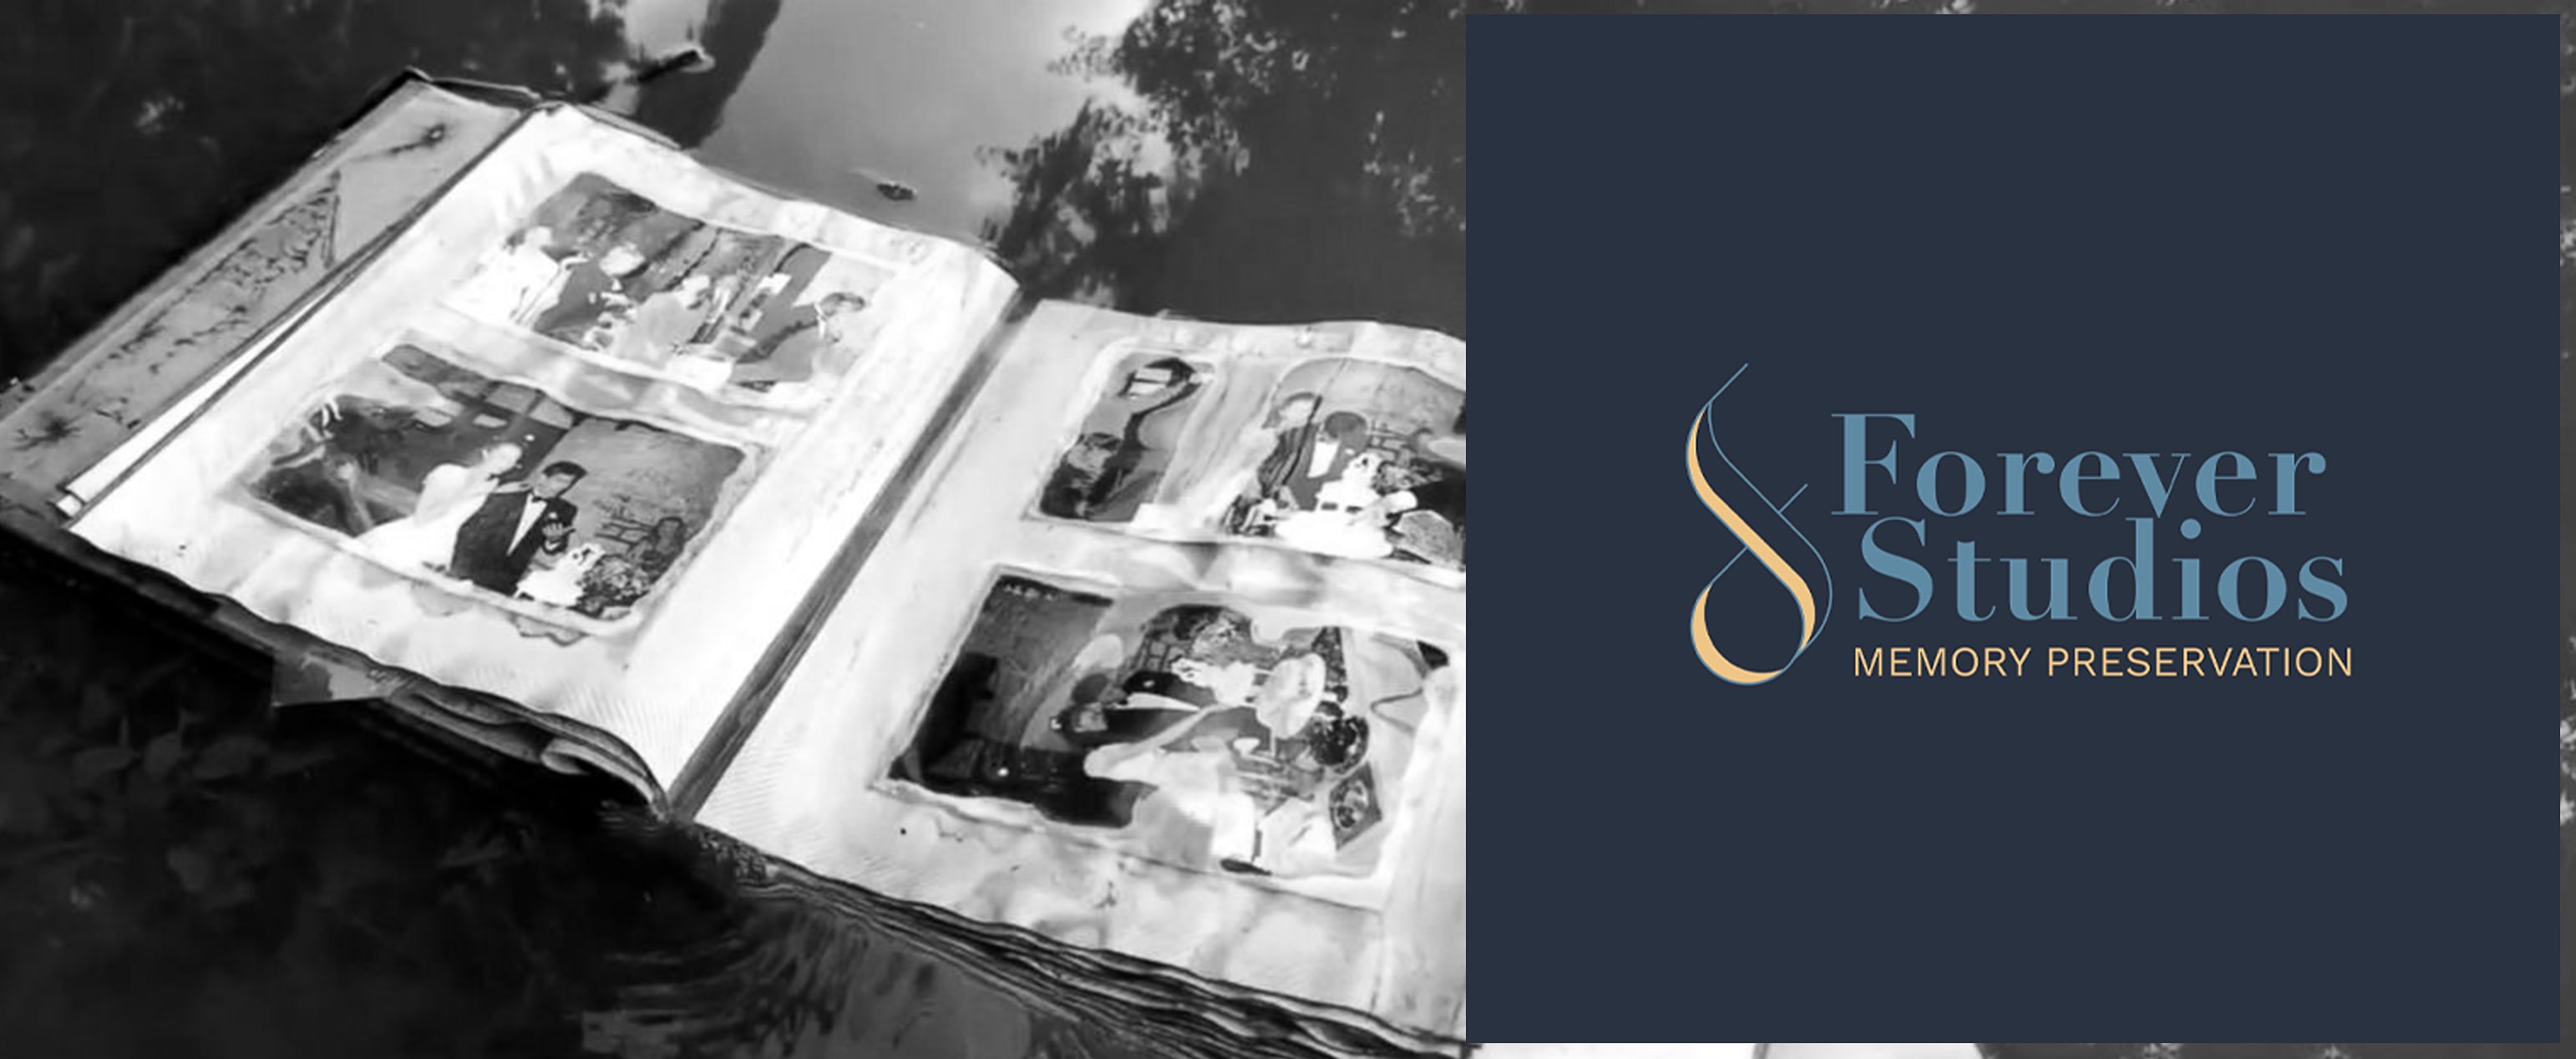
About Forever Studios
Forever Studios is a South Florida based company that specializes in family history preservation serving customers across the United States in VHS to Digital Conversion, 8mm Film to DVD, Photo Scanning Services, Old Photo Restoration & Wall Art & Photo Prints.