How to Clean Old Photos: A Thorough Guide

A Guide on How to Clean Old Photos
Photographs are irreplaceable. They are like a storehouse of fond memories that are great to revisit often. Old photographs, in particular, are like the only surviving physical link to a person or place of the past.
However, to preserve these precious memories, it’s a must to know how to clean old photos properly.
When it comes to cleaning photos, the process needs patience. No expensive instruments, no complicated process. Cleaning an old photograph without knowing the process can lead to permanent damage that only photo restoration services can fix.
When photos are kept on display or even in photo boxes, cleaning them once in a while is a good way to preserve them.
How Do I Prepare for Cleaning Photos?
Learning how to clean photos means understanding what tools and materials you need to do so.
After all, photo cleaning is not a complicated process, but it needs you to be attentive and patient. Using a cleaning brush with even the softest bristles can cause scratches on the image.
A photo cleaning process, if done correctly, is safe. However, to avoid any chances of losing your photograph, get a digital copy of it prepared.
Go for a high-quality scanning service and store your photo safely in the cloud or your device. The other benefit of scanning photographs is that you can use them for viewing purposes on screens. That way, you can keep the original copy untouched.
Only after having the digital copy saved can you start the actual cleaning process.
How to Clean Old Photos
Removing Dust From Photos
To remove dust from old photos, you will need several items. A clean and soft towel, a pair of pure cotton gloves, preferably white, a soft brush with the most delicate bristles, and a photo cleaning spray.
Before you work on your photos, lay the towel and place the negatives on top of it. Then, put on the gloves. Go for lint-free gloves. White gloves will let you see when it becomes dirty from the dust. Try getting white ones for cleaning old, dusty photos.
Once you are ready, hold the photograph that you want to clean by the edges and use the brush to gently remove the dirt particles from the pictures. Start from the middle of the image and keep brushing outwards. Use very slow motion to get the dirt off the photo.
If you have a compressed air can, use it to blow away any remaining finer dust particles from the surface. This is, however, purely optional.
After brushing off the dust, check whether the photo has any adhesive residue. Be gentle on these as well. Continue to brush in slow motion until you remove them.
Once you have removed all the dust and adhesive residues from the old photo, it’s time to use the photo cleaning solution or spray you got. Read its instructions and use it to remove any other kind of stain from the photo. Be careful not to use a lot of it: it might lead to photo damage.
Keep the photo in the air to dry and, voilà, your old photo cleaning process is done.
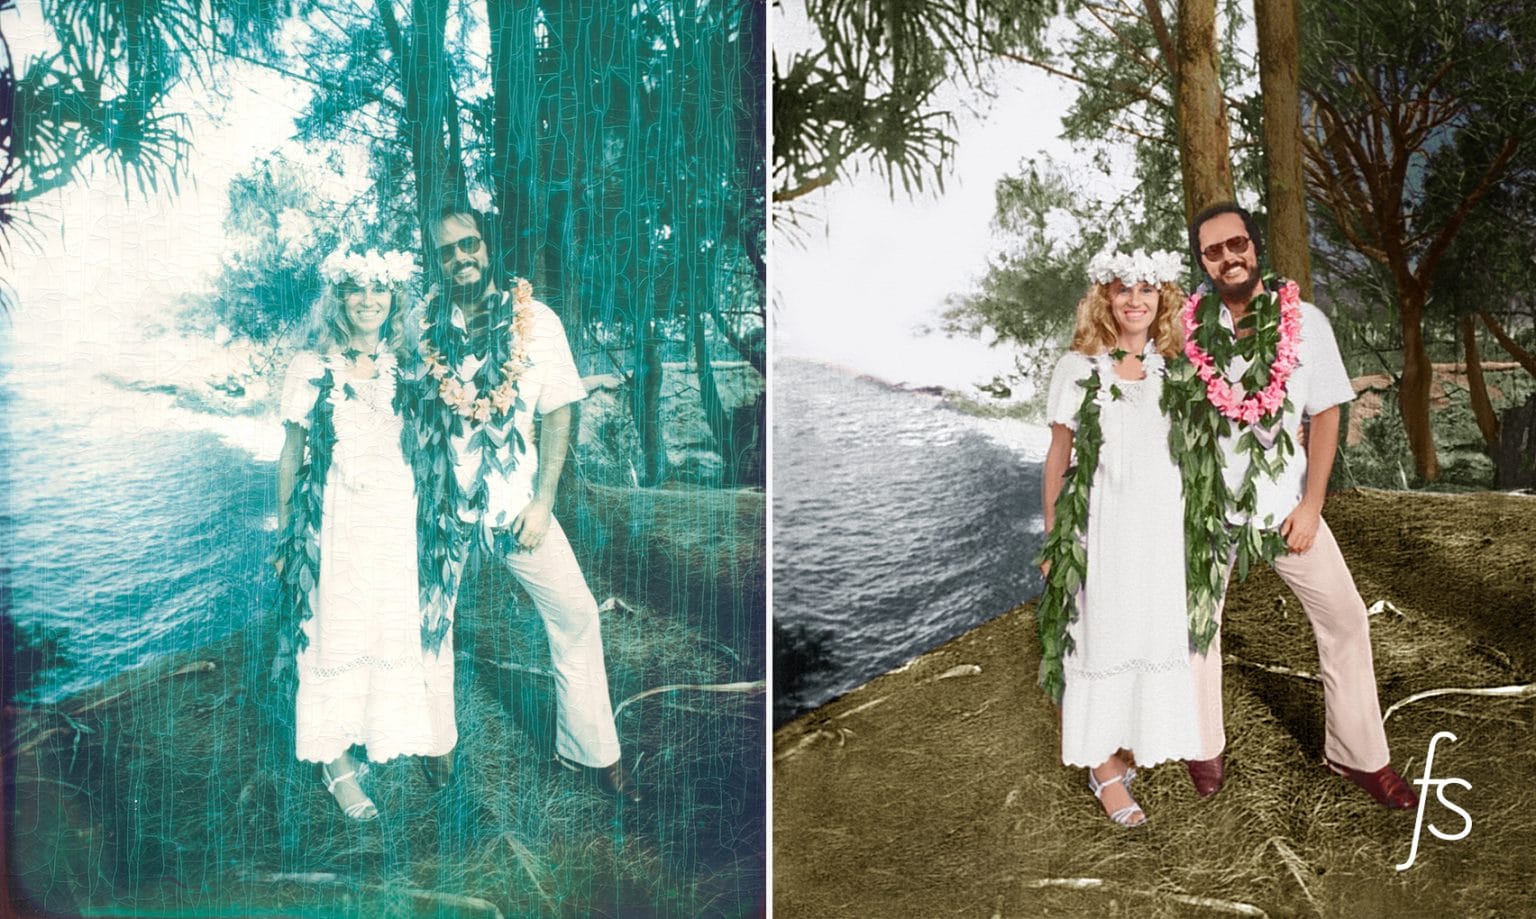
If you still see stains or ingrained dust despite the cleaning, don’t try to remove them by force since that can cause the photo to get damaged. Go for a professional scanning and restoration service where your photo can be restored to its original form, instead.
Detaching Photos From Glass
Old framed photos often get stuck to the frame glass.
When you put images framed in cheap, unmatted glasses for years, the print often sticks to the glass. Air moisture is another cause of photos sticking to the glass. In such a condition, you need to be careful while removing it from the class and cleaning it.
For this, you need de-ionized water to clean frame-stuck photos. Due to de-ionized water having a low mineral level, there is less chance of the image getting stained.
If you are dealing with an heirloom photograph or something irreplaceable, dip a Q-tip in water and rub it. Notice how the paper reacts to water. If the paper remains intact, slowly submerge the photo and roll it back and forth.
Once you have done this for almost half an hour, flip the photo over. Once you flip it, you will notice air bubbles between the glass and the picture. Gently rub your fingers on the back of the print to push out the air bubbles.
Once you have removed the air bubbles, keep the print in water for almost an hour. After that, use a little force to see if the glass gets released on its own. If it doesn’t, do not try to push harder or it might damage the photo even further!
You can use a razor blade to carefully push the photo away from the glass. Do not use it near the image, otherwise, it might get cut. Pull the image by applying very little force.
Should parts of the image remain stuck to the glass, put the photograph back in the water and wait for another half an hour. Pull the image once again. If you find any resistance while trying to glide the razor blade in between the glass and photograph, don’t apply force.
Provided the print is completely saturated, this is usually enough to detach the photo from the glass.
Once the old photo has been removed from the glass, hang it to dry. Lastly, get the photograph flat with proper pressure applied to it for at least 3 days. For this, you can either iron the photo over several layers of cloth or place it between two books.
If you don’t want to go over this cleaning process again, use mats the next time you frame photos. There’s no need to remember how to clean photos if you can prevent it!
Conclusion
To prevent old photos from getting stuck on frame glasses or getting grimy, use proper storage and time-to-time cleaning methods. You can also use frame glasses that have no ripple effect on the surface of the glass, which can also block UV rays.
Additionally, dust your photo frames at least once every month to prevent photos inside them from getting too dirty.
If your photo is badly damaged, it is best to consult with an antique photo restoration specialist. They will know what to do to prevent you from losing this valuable keepsake.