How To Clean and Restore Old Photos | Forever Studios
Discover photo cleaning without harm and photo restoration to preserve your family's pictorial legacy for future generations.
Contents
- Photo surfaces should only be cleaned with soft brushes or microfiber cloths. Water or chemical solvents can dissolve the emulsion layers and should be avoided.
- Apply gentle pressure and brush from the center outward to prevent scratching the photograph surface.
- When photos are stuck to glass, submerge them in deionized water for 30 minutes to several hours. Forceful pulling can damage the print.
- Scanning at 600 DPI or higher preserves the original prints and allows damage to be repaired through digital restoration.
- Store framed photos with UV-blocking glass and matting to prevent moisture contact and fading.
Photographs are irreplaceable physical artifacts that allow us to revisit memories decades after they were made. In many families, a photograph is the only surviving visual link to ancestors who lived generations ago. Preserving those images requires proper handling and storage. The safest preservation method combines light physical cleaning with professional digitizationo clean them and then store them properly.
High-resolution scanning preserves every detail before digital restoration begins
Founded in 2007, Forever Studios has scanned and restored over 2 million family photographs. Our process keeps originals in a secure, climate-controlled facility in Boca Raton, Florida, they never leave the building you hand them to us in. Every restoration project begins with professional scanning at up to 600 DPI, capturing detail invisible to the naked eye, then our artists repair damage digitally so the physical print is never touched. That separation is the safest path for irreplaceable images. We've combined over 3,800 reviews across Google, Facebook, Yelp, and Reviews.io at an average of 4.9 stars.
"We see hundreds of photographs every week that families tried to clean at home, and many arrive with new scratches or chemical damage that complicates restoration. The emulsion layer on vintage prints is fragile, even distilled water can cause buckling if the photo isn't dried properly. Our process starts with high-resolution scanning to capture every detail, then we restore damage digitally so the original print is never touched. That separation is the safest path for irreplaceable images."
Heather F., Preservation Specialist, Forever Studios
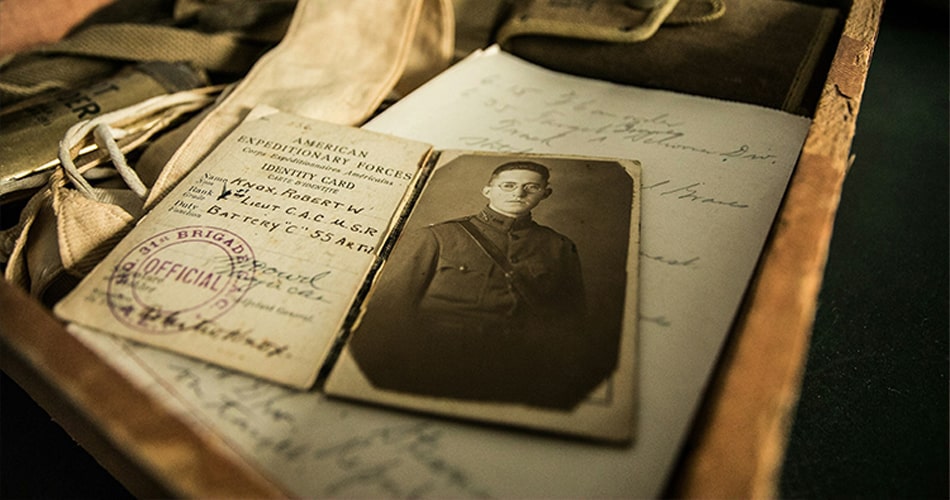
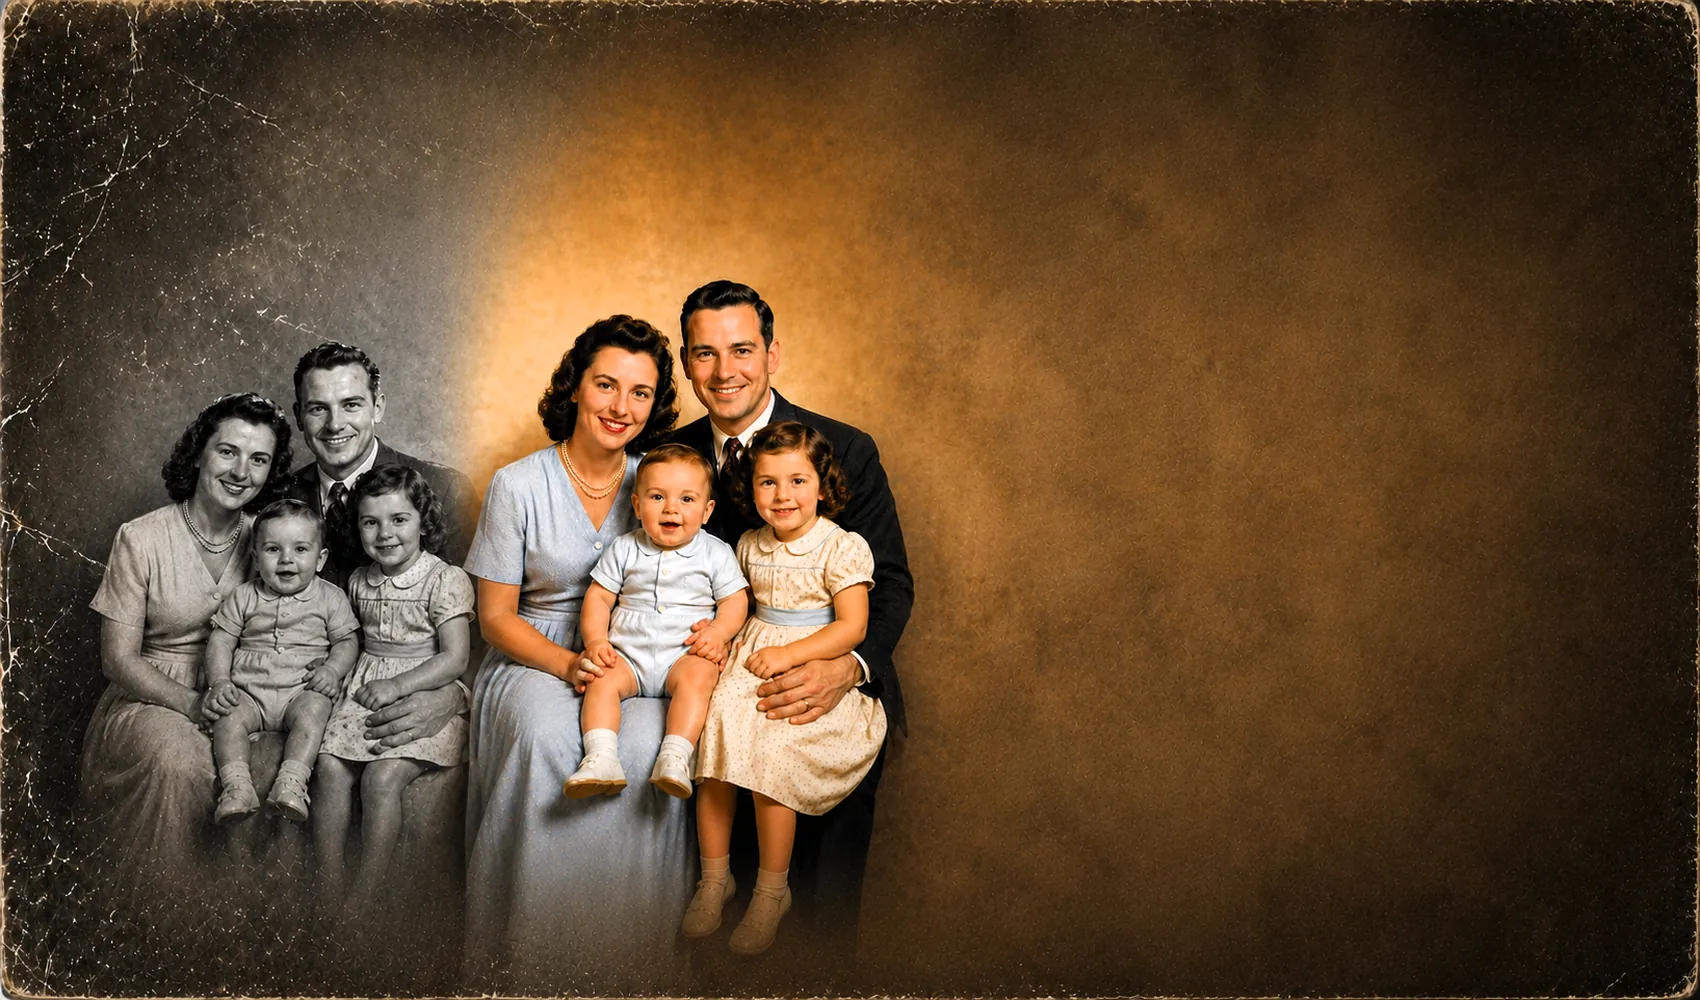
An old, but important photo of a family member.
What Basic Supplies Do You Need to Clean Photographs Safely at Home?
You can clean surfaces with items you have around the house: a soft-bristle brush (such as a clean makeup brush), lint-free microfiber cloths, white cotton gloves and a clean towel.
WORD OF WARNING:
Cleaning an old photograph without knowing the process can lead to permanent damage that only photo restoration services can fix! If that sounds like a pain or a legitimate concern, my advice would be to go to the professionals at Forever Studios before you try cleaning photos on your own!
TOOLS
For photo cleaning you will need a soft natural-hair brush (e.g. artist brushes or even a clean makeup brush), lint-free microfiber cloths, white cotton gloves to prevent oil marks and a flat surface to clean on covered with a towel.
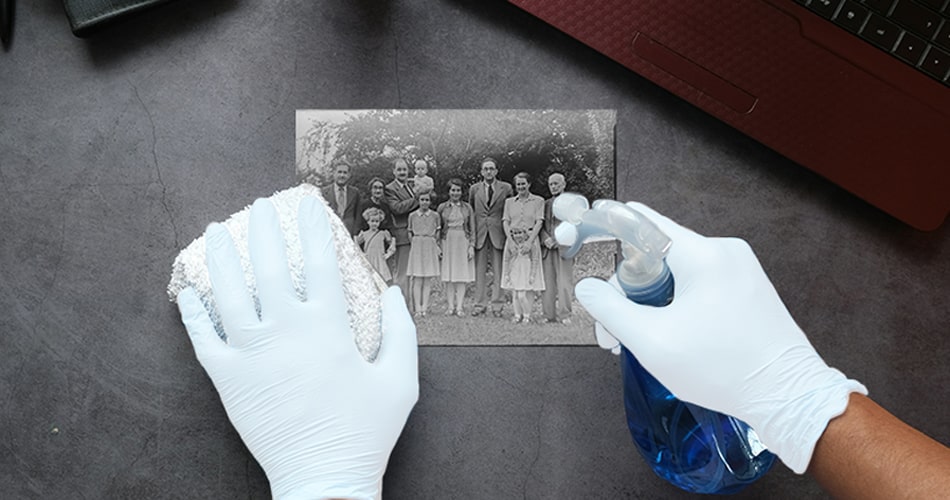
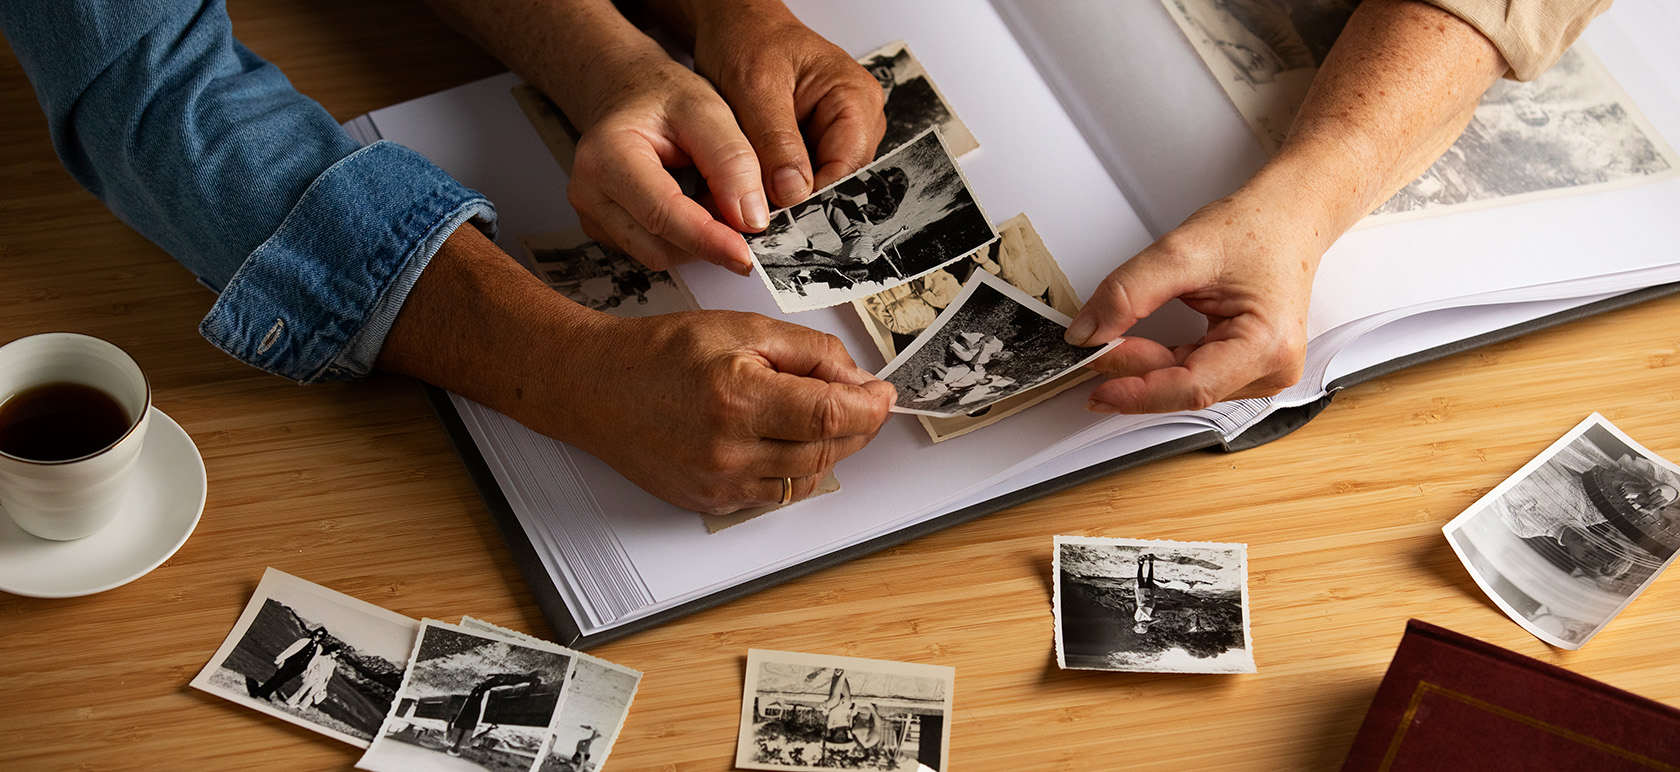
Get ready to clean your photo with the proper tools.
How Do You Safely Remove Photos Stuck to Glass Frames?
Even soft brushes can scratch vintage emulsion layers if excessive pressure is applied. The safest technique uses light sweeping strokes from the center outward, never circular motions. Circular scrubbing grinds particles across the surface and creates permanent scratches.
TIME TO CLEAN!
Lay a clean towel on a flat surface and place the photographs on top. Put on white cotton gloves, which show accumulated dust before it transfers to the photos. Hold photographs by the edges only and gently sweep dirt particles from the center outward with the brush or microfiber clothges. Use light pressure when brushing the images and have a can of compressed air handy to blow away any fine dust particles that may have settled on the surface of the photographs.
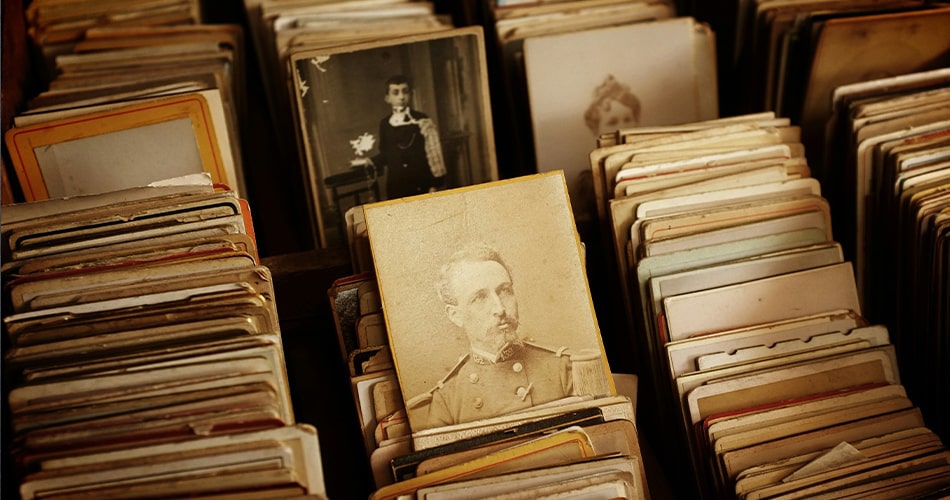
Once you get down the process, its time to clean the collection!
ADHESIVE RESIDUE
After removing loose dust, inspect the print for adhesive residue from old album pages or mounting tape. If you try to scrape off such residue with force, you will probably end up removing some of the print’s emulsion as well. Photographs with stubborn residue are candidates for professional digitization and digital repair rather than aggressive physical cleaninging any form of physical ‘cleaning’.
STAINS
For surface stains, use only photo-safe cleaning solutions. Read the product instructions and verify the solution is formulated for photographic emulsions. Apply sparingly, excess moisture damages paper fibers and causes buckling. Let photos air-dry completely on a clean towel before handling.
WHAT TO DO WHEN THINGS DON’T GO PERFECTLY
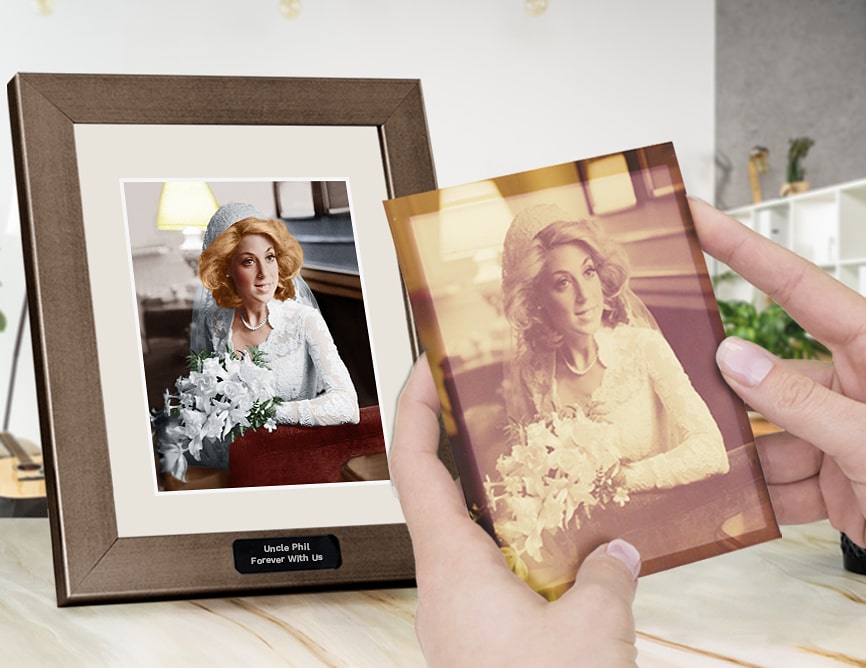
Stains or stubborn dust particles that just won’t budge? Don’t fight it! And if, after all your tedious cleaning of your photos, some parts of them just weren’t able to be removed, no problem! Our friendly and professional graphic designers at Forever Studios can now easily touch up the digital image of your photo and make it look brand new!
Forever Studios · Boca Raton, FL
Professional Photo Restoration
Damaged, faded, or torn photos restored by hand by our artists.
GET STARTED →How Do You Remove a Photograph That's Stuck to Picture Frame Glass?
Old framed photographs frequently adhere to glass, especially in frames without matting. If the frame has unmatted glass then much of this sticking is due to moisture in the air getting between the print and the glass. Pulling a stuck print tears the emulsion, leaving image fragments bonded to the glass surface. Safe separation requires controlled water submersion to dissolve the bond graduallyo come off the glass slowly as the stickiness dissolves.
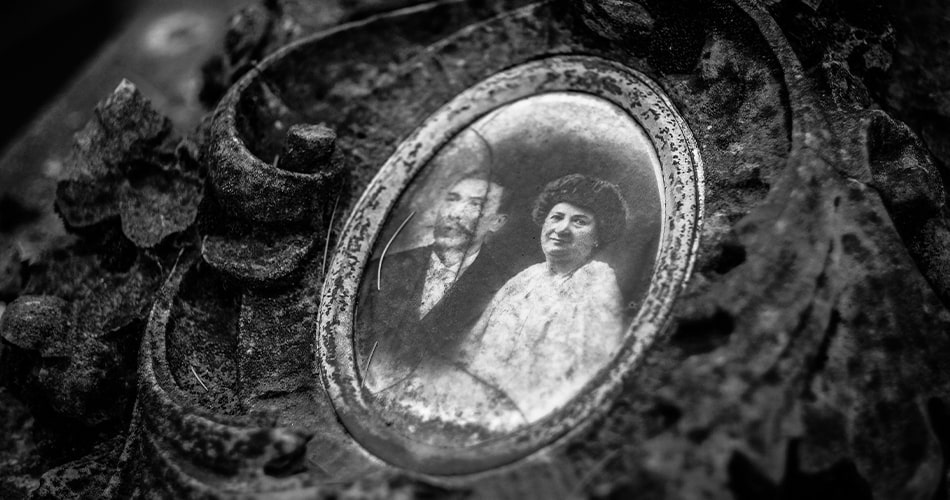
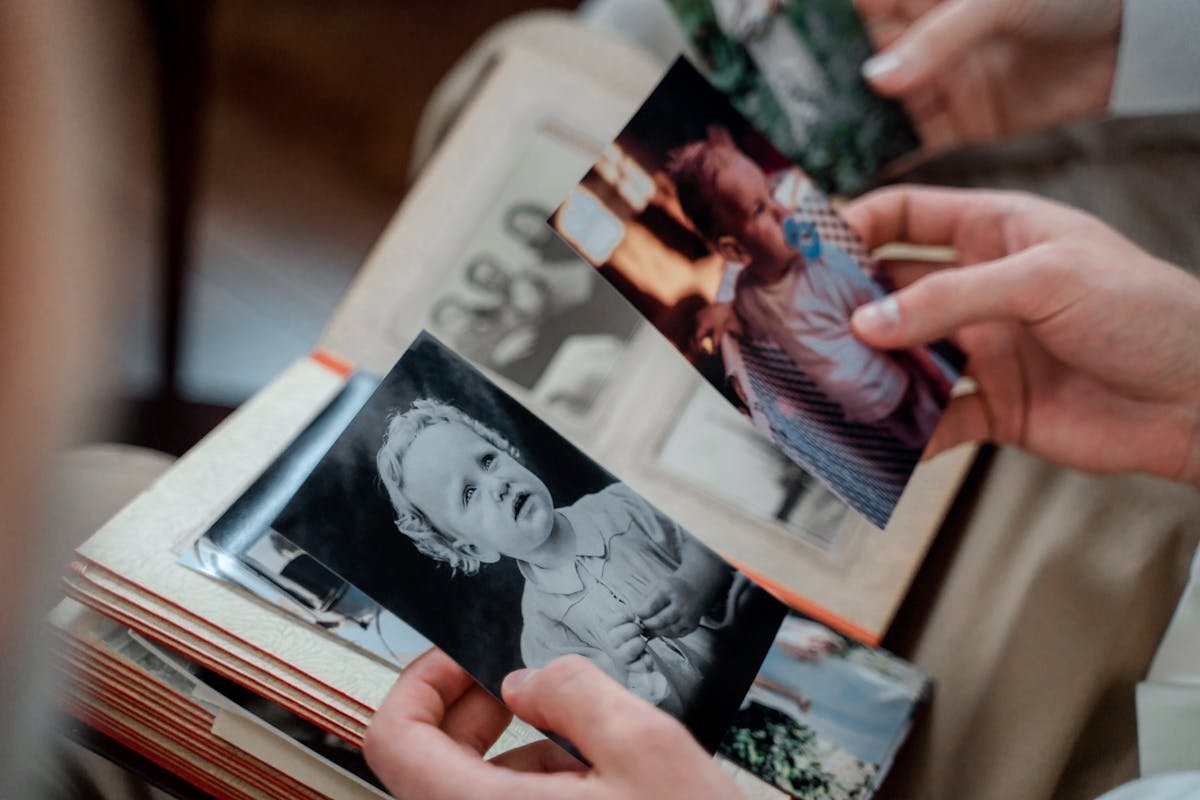
Ancestral photo behind glass. Be careful!
STEP 1:
Deionized water (low mineral content) prevents staining during the separation process. Test a small corner first by dabbing with a water-dampened cotton swab. If the emulsion remains stable and the paper doesn't immediately disintegrate, slowly submerge the photo-and-glass sandwich in a shallow tray of deionized water. Gently rock the tray to encourage water penetration between the surfaces.
STEP 2:
After approximately 30 minutes, flip the assembly over. Air bubbles forming between glass and paper indicate the adhesive bond is weakening. Gently press the back to encourage bubble migration. Continue soaking for another hour, then test whether the glass releases with minimal pressure. If it doesn’t come off easily, continue to soak it rather than trying to force it to come off.
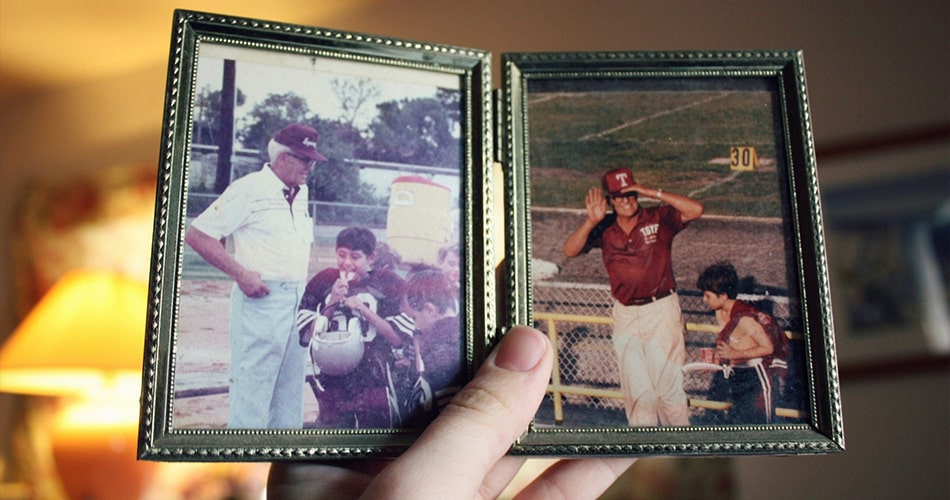
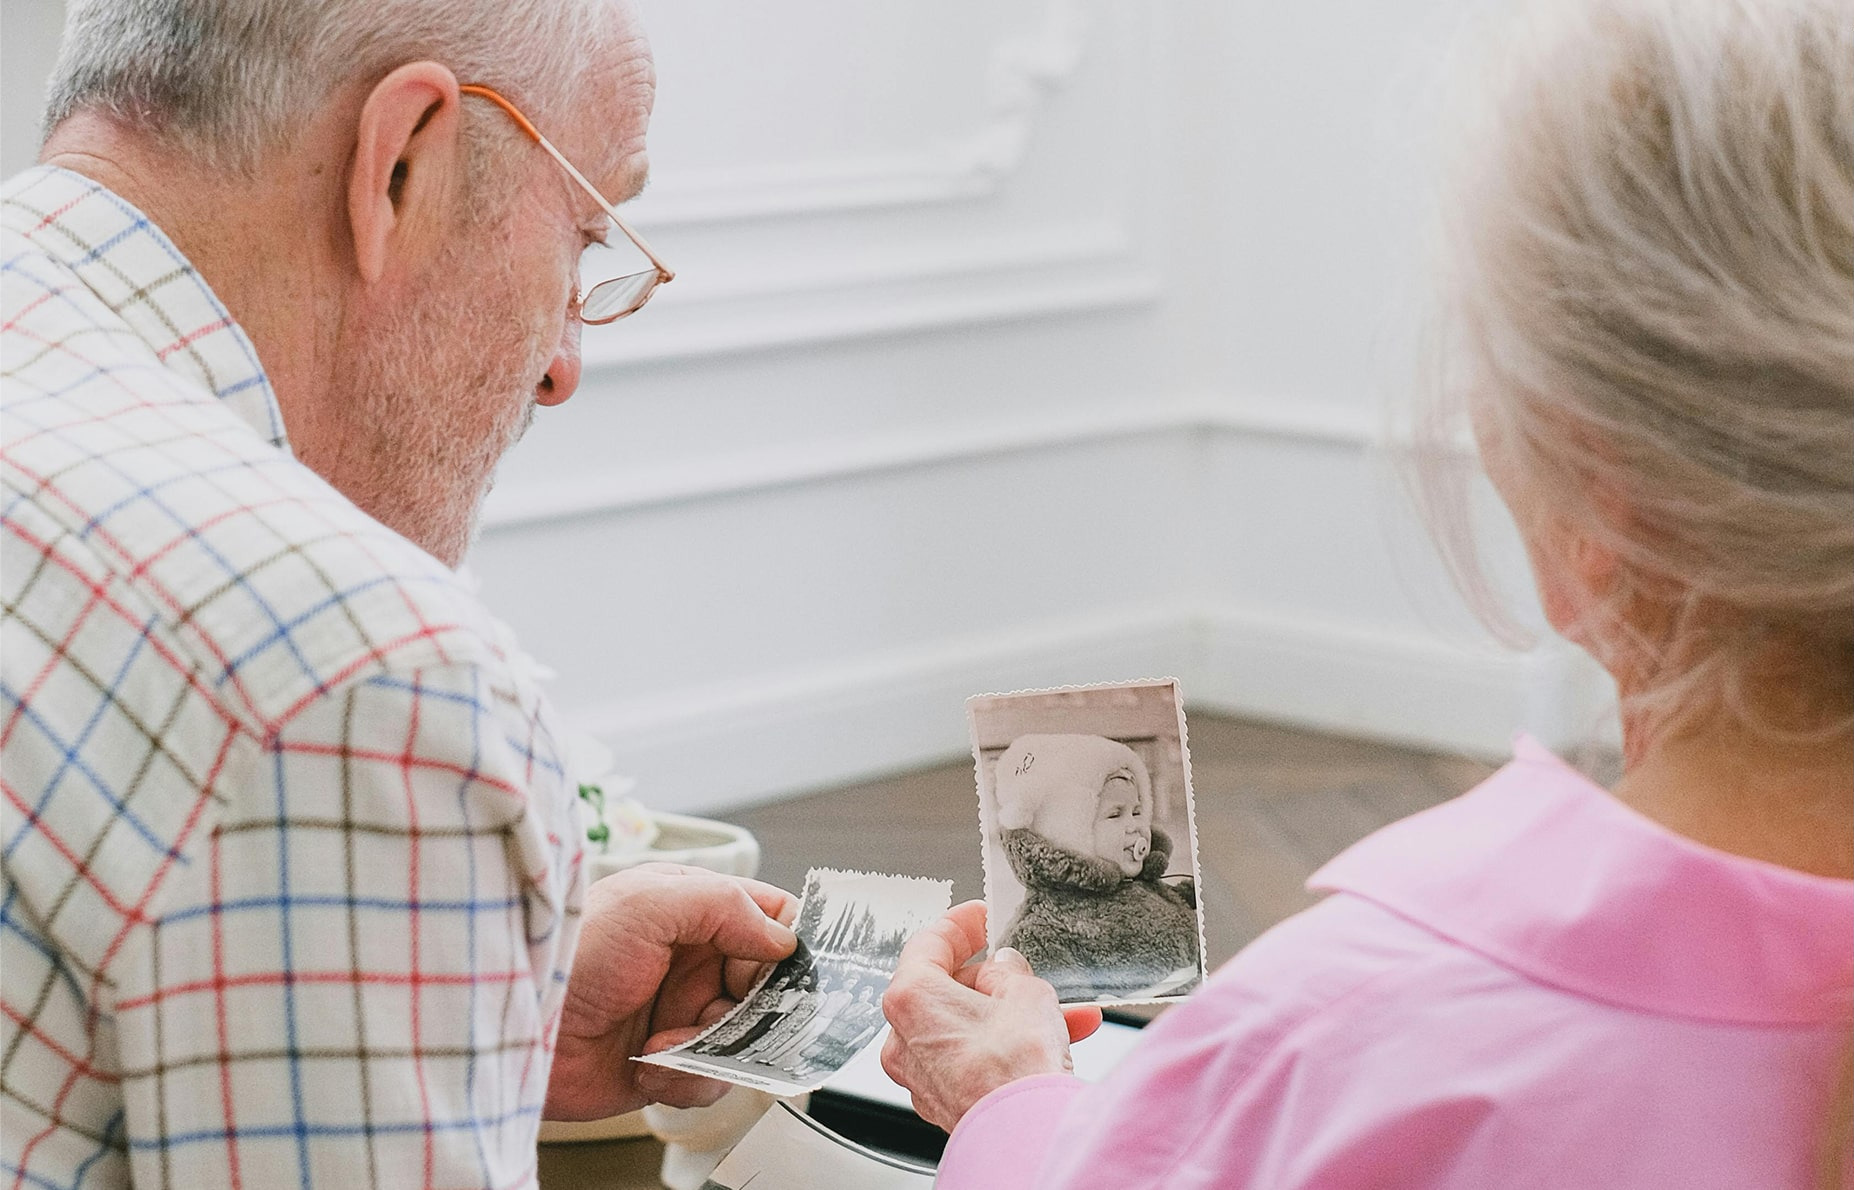
Enjoy your family photo memories like never before.
STEP 3 (IF NEEDED):
If portions remain adhered, return the assembly to the water for an additional 30 minutes. A thin plastic scraper (never metal) may be slid along glass edges away from the image area, but any resistance indicates the bond requires more soaking time.
Never use sharp blades near the printed image area. Emulsion layers are too fragile to withstand any scraping tool, and one slip permanently removes faces or details.
STEP 4:
Once fully separated, place the photograph face-up on a clean towel to air-dry. Water-buckled prints can be flattened by placing them between acid-free paper sheets under a heavy book for three or more days. Never apply heat or iron a photograph, high temperatures melt emulsion layers.
How Should You Store Photos After Cleaning to Prevent Future Damage?
Prevent adhesion by using acid-free matting that holds prints away from glass. You can also use frames with glass that have no ripple effect on the surface, which can block UV rays. Dust frames monthly to prevent particle accumulation. Regular dusting keeps airborne particles from settling on glass and migrating into the frameion.
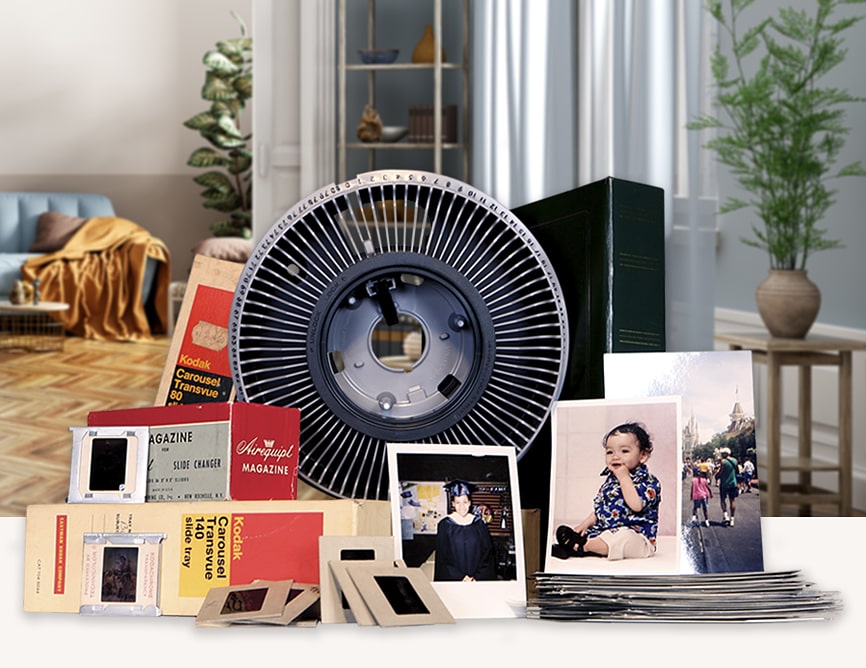
Forever Studios · Boca Raton, FL
Photo Scanning Service
High-resolution scanning for prints, albums, and loose photos.
LEARN MORE →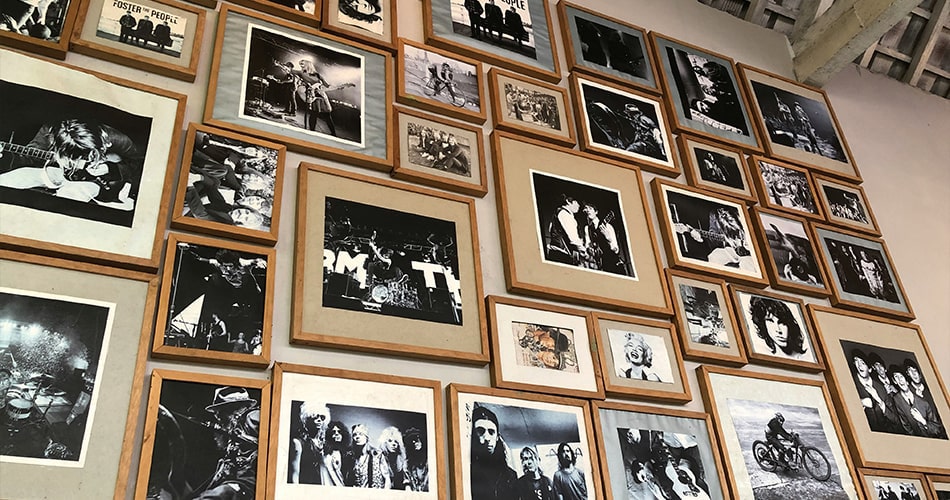
Master the smaller photos? Time to start removing frames from your wall!
How much does professional photo restoration cost?+
Professional photo restoration at Forever Studios starts at $35 per image. The service includes dust and scratch removal, tear repair, and contrast correction on a high-resolution digital scan. Colorization adds $20 (total $55 per image). One-business-day rush service adds $5. Originals remain untouched throughout the process remains untouched and is returned fully insured. is scanned at 600 DPI or higher, then returned to you undamaged while all restoration work is completed digitally, preserving the physical heirloom safely.
What damages old photographs the most?+
Skin oils transfer from bare hands to photo surfaces, attracting dust and providing a substrate for mold growth. Ultraviolet light fades dyes and degrades paper fibers; unfiltered sunlight causes visible damage within months to years depending on exposure intensity. Humidity above 60% causes emulsion layers to become tacky and adhere to glass or adjacent prints. Adhesives in vintage albums often contain acids that migrate into photographs and cause yellow-brown stainingm older scrapbooks and albums, including those with magnetic strips, can chemically react with photo paper and cause yellowing stains that are permanent. Temperature fluctuations and pests found in attics and basements cause faster photo deterioration.
Can you clean photos with water?+
Never apply tap water directly to photographs. Tap water contains calcium and iron that leave permanent stains, and moisture causes paper fibers to swell and buckle. When a photo is stuck to glass, deionized water (minerals removed) may be used in a controlled submersion lasting 30 minutes to several hours, followed by air-drying under gentle pressure between acid-free sheets. For surface dust, dry methods, soft brushes or microfiber cloths, are always safer than any liquid.
★★★★★
"The team at Forever Studios is second to none. Time and time again, their artists have impeccably restored my photographs to look brand new. Many images were originally 100 years old. They are also fast and very reasonably priced. I do not hesitate to recommend Forever Studios for any project, large or small."
John, verified customer review
When Should You Consider Professional Photo Restoration Instead of DIY Cleaning?
If you don’t wish to clean your photos, or perhaps you don’t have the time, you can always send them to the photo restoration specialists at Forever Studios. We scan originals at high resolution, perform all restoration digitally, and return prints fully insured, originals never leave our Boca Raton facility.
Ready to digitize it right the first time?
Bring your tapes, film, and photos to the team that treats every project as irreplaceable — handled in-house in Boca Raton, never outsourced.